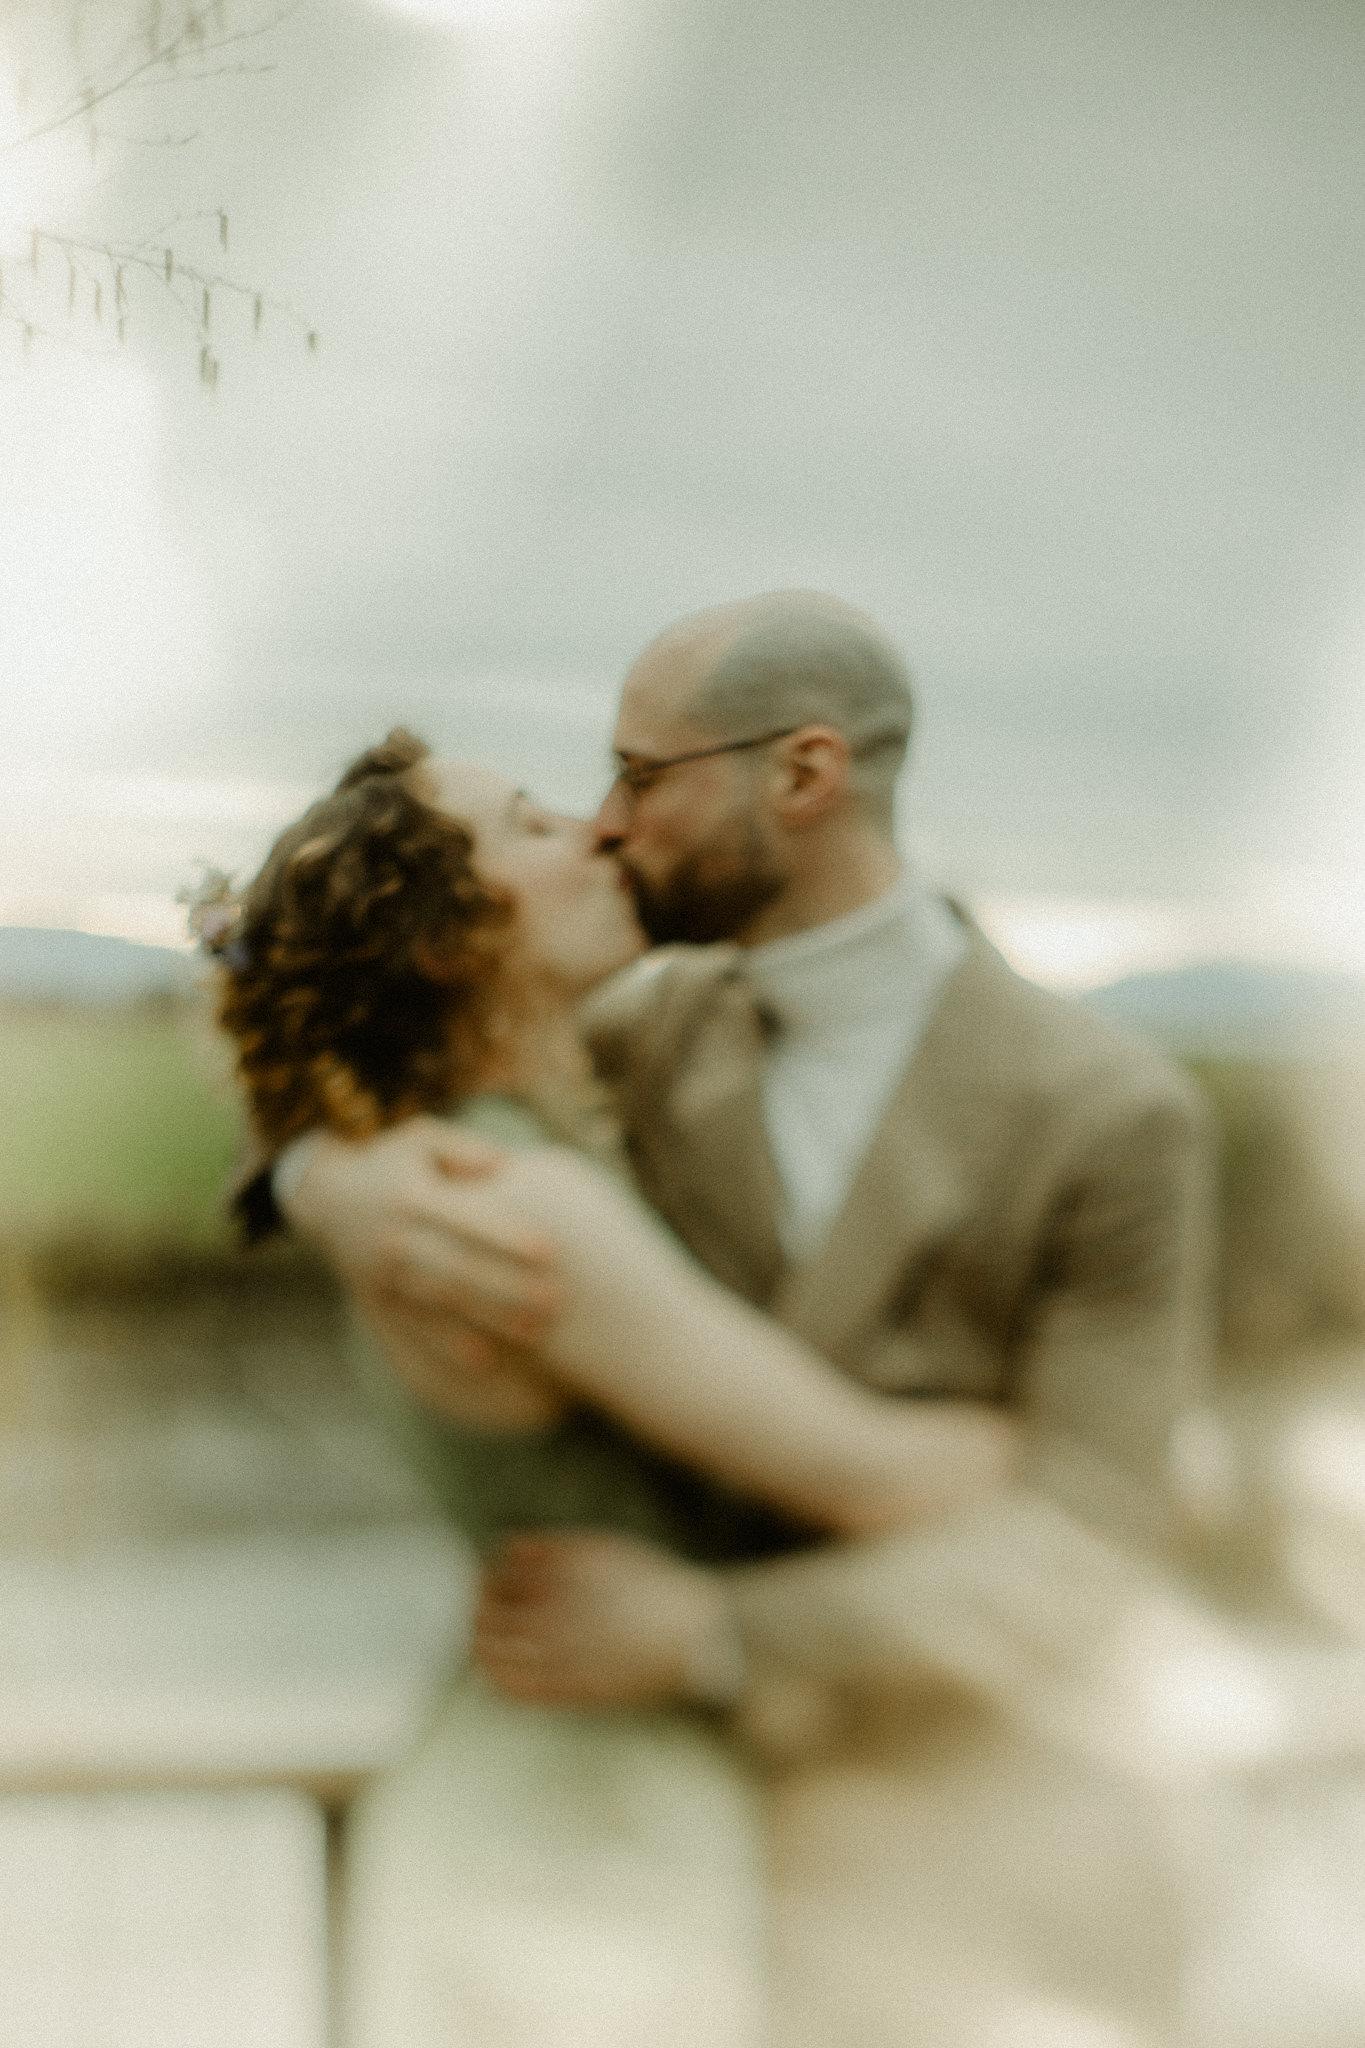
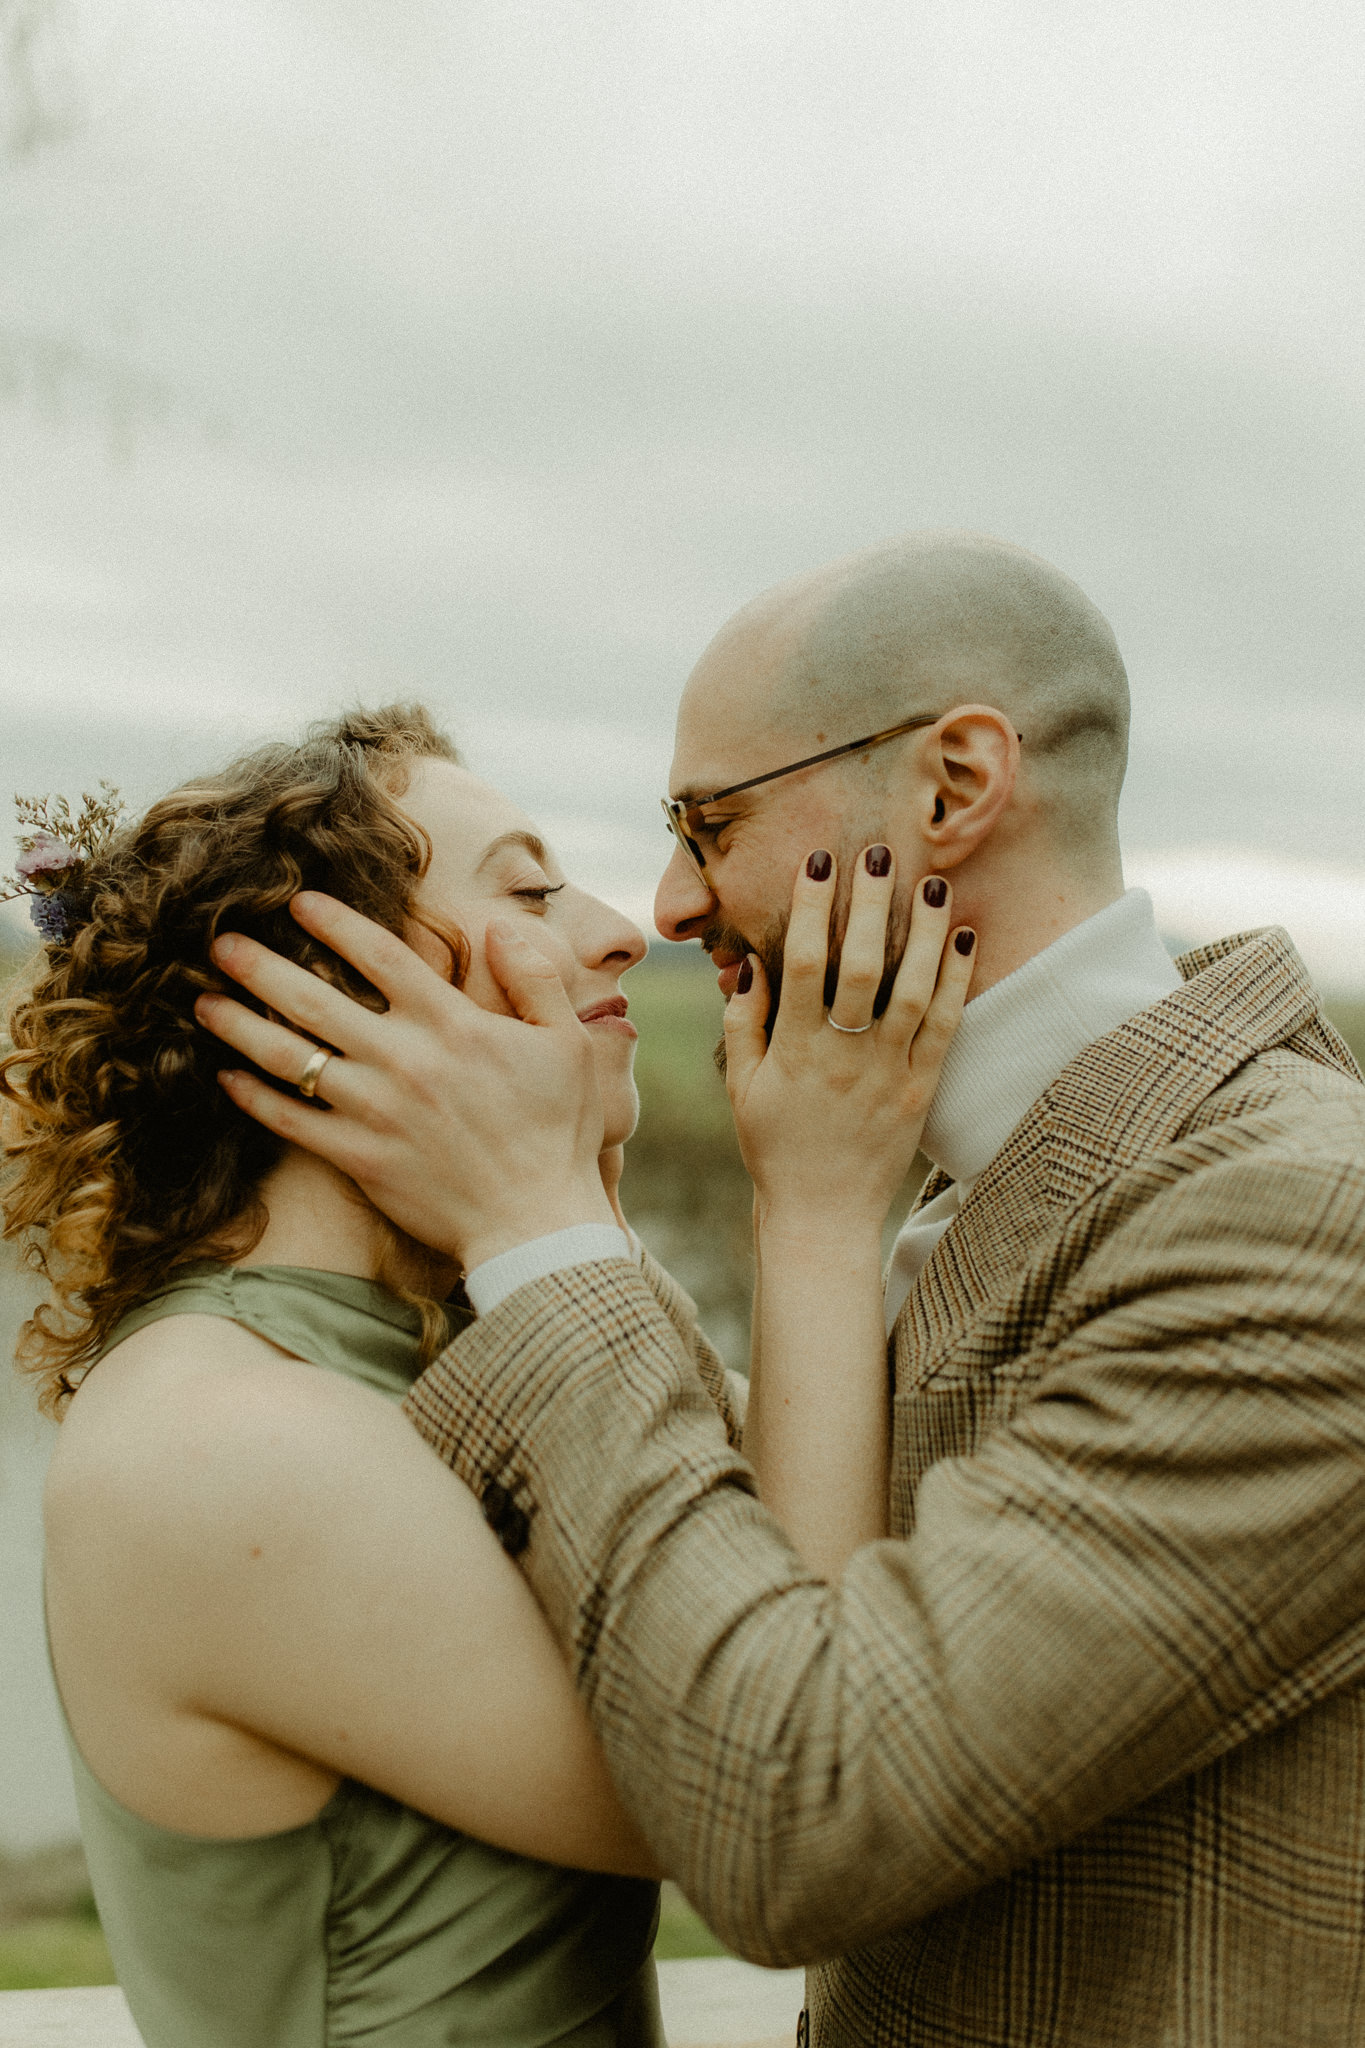
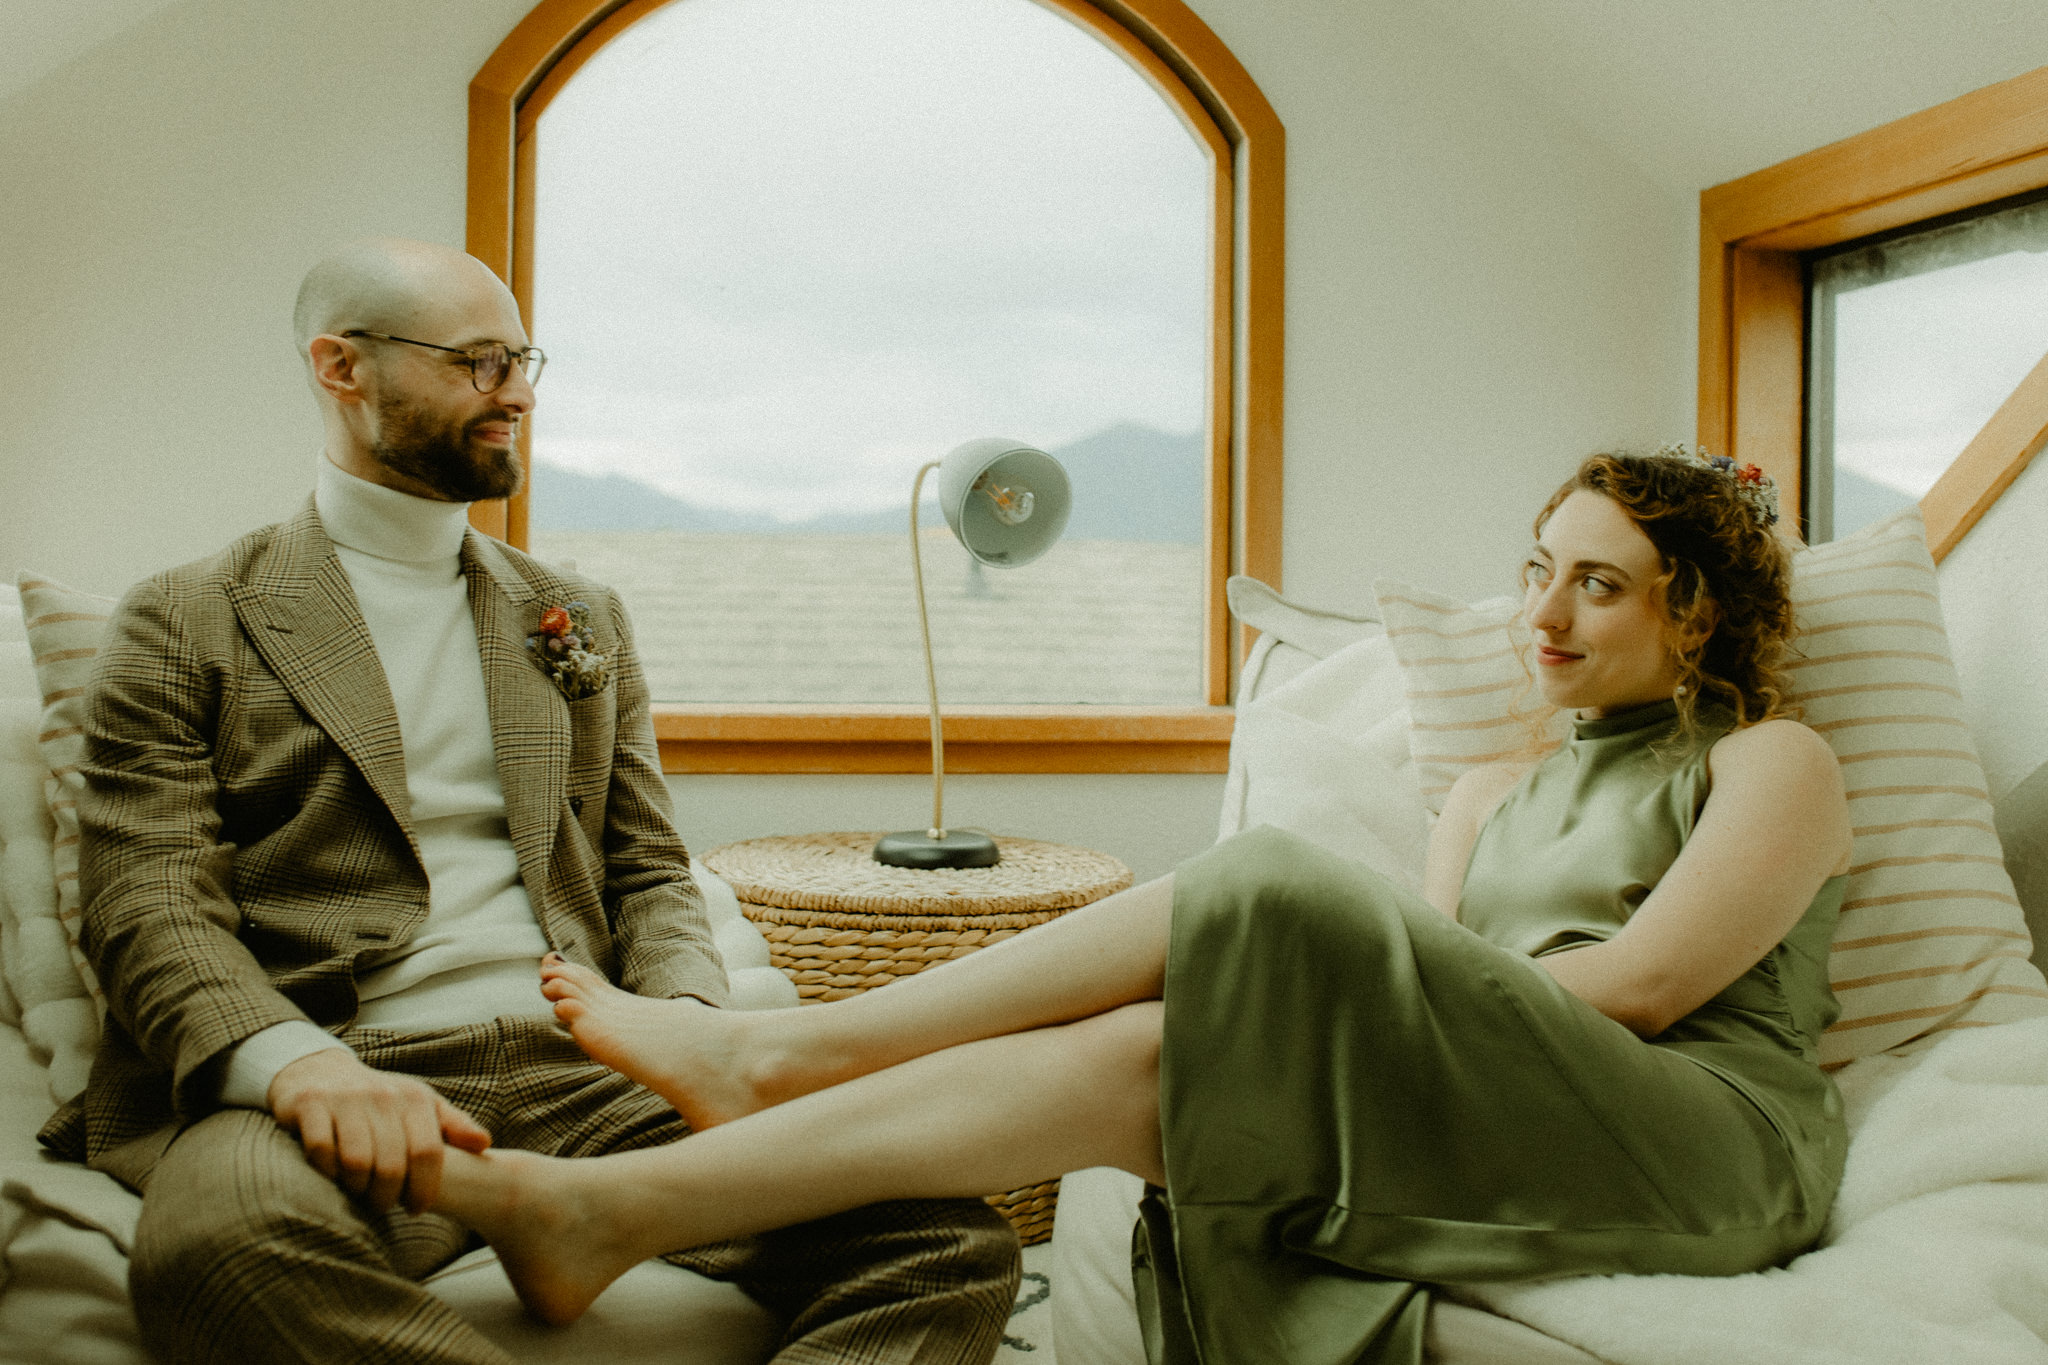
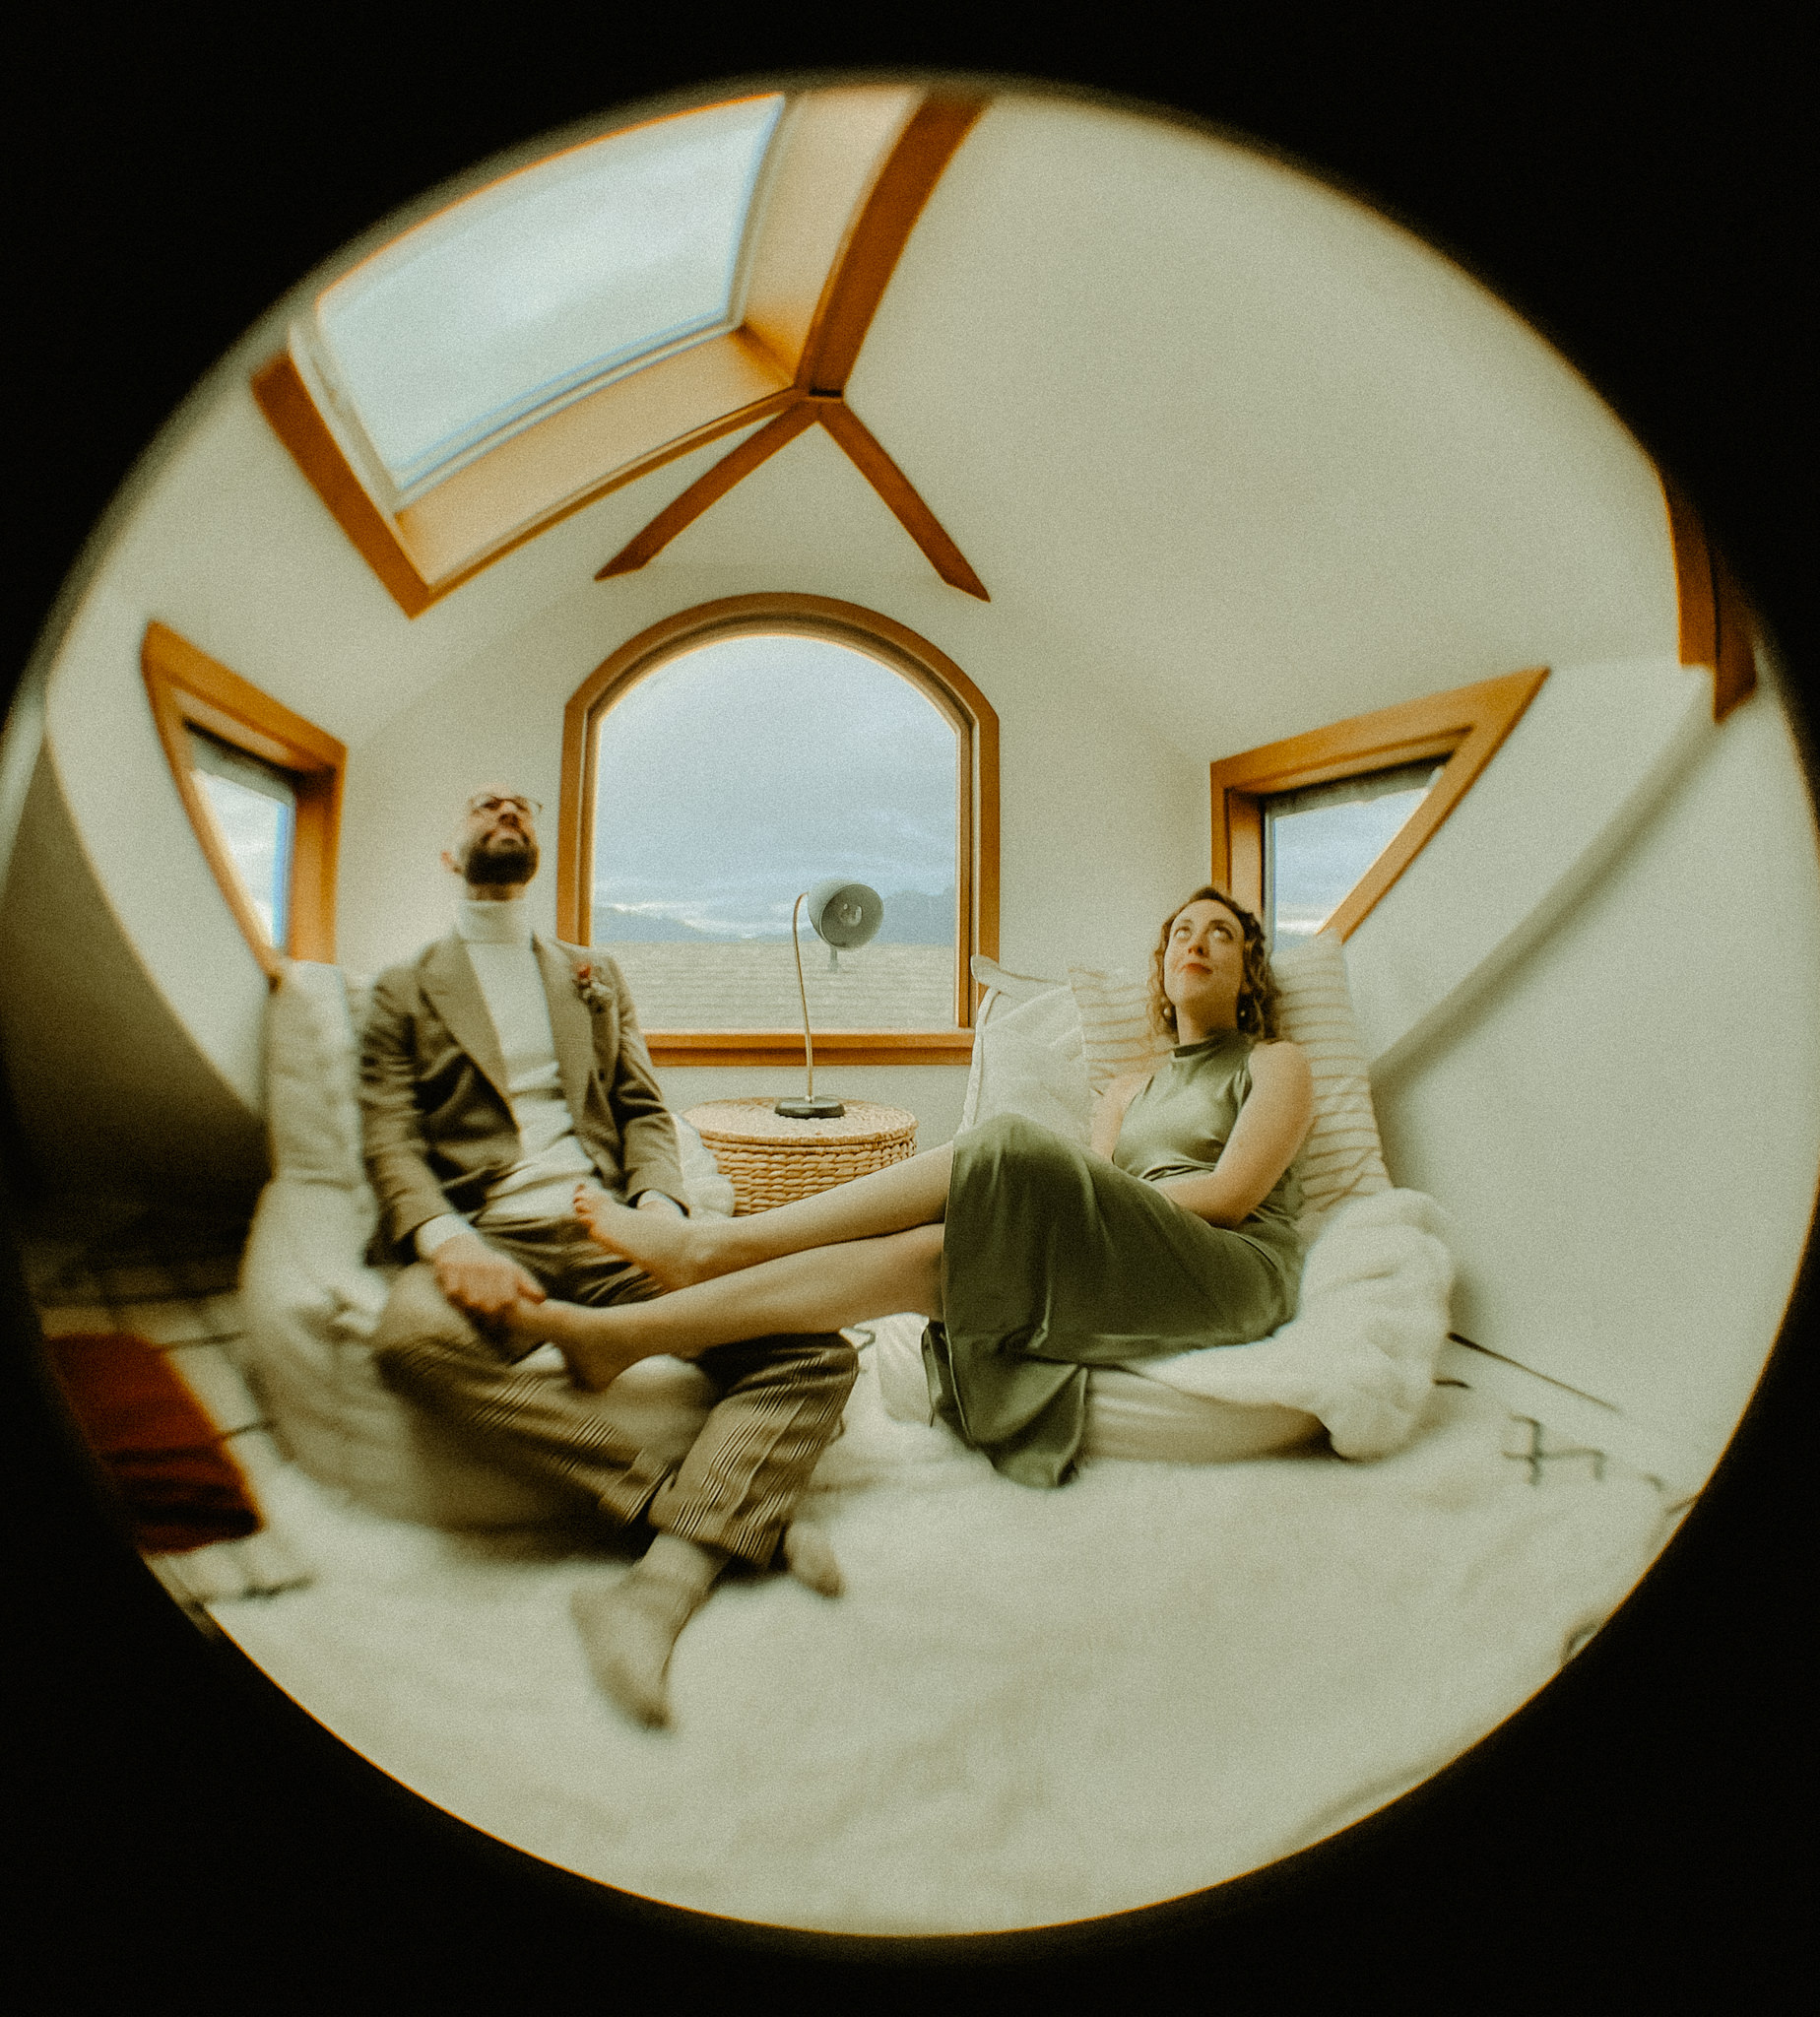
a heart-centered retro elopement in bow-edison
☽
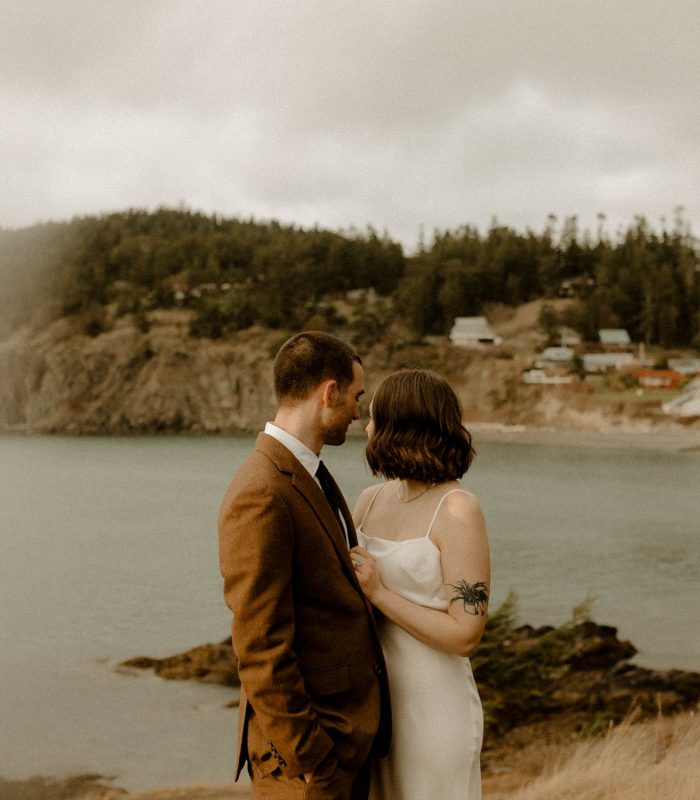
a truly unique PNW elopement for two artistic, thoughtful, & kind people
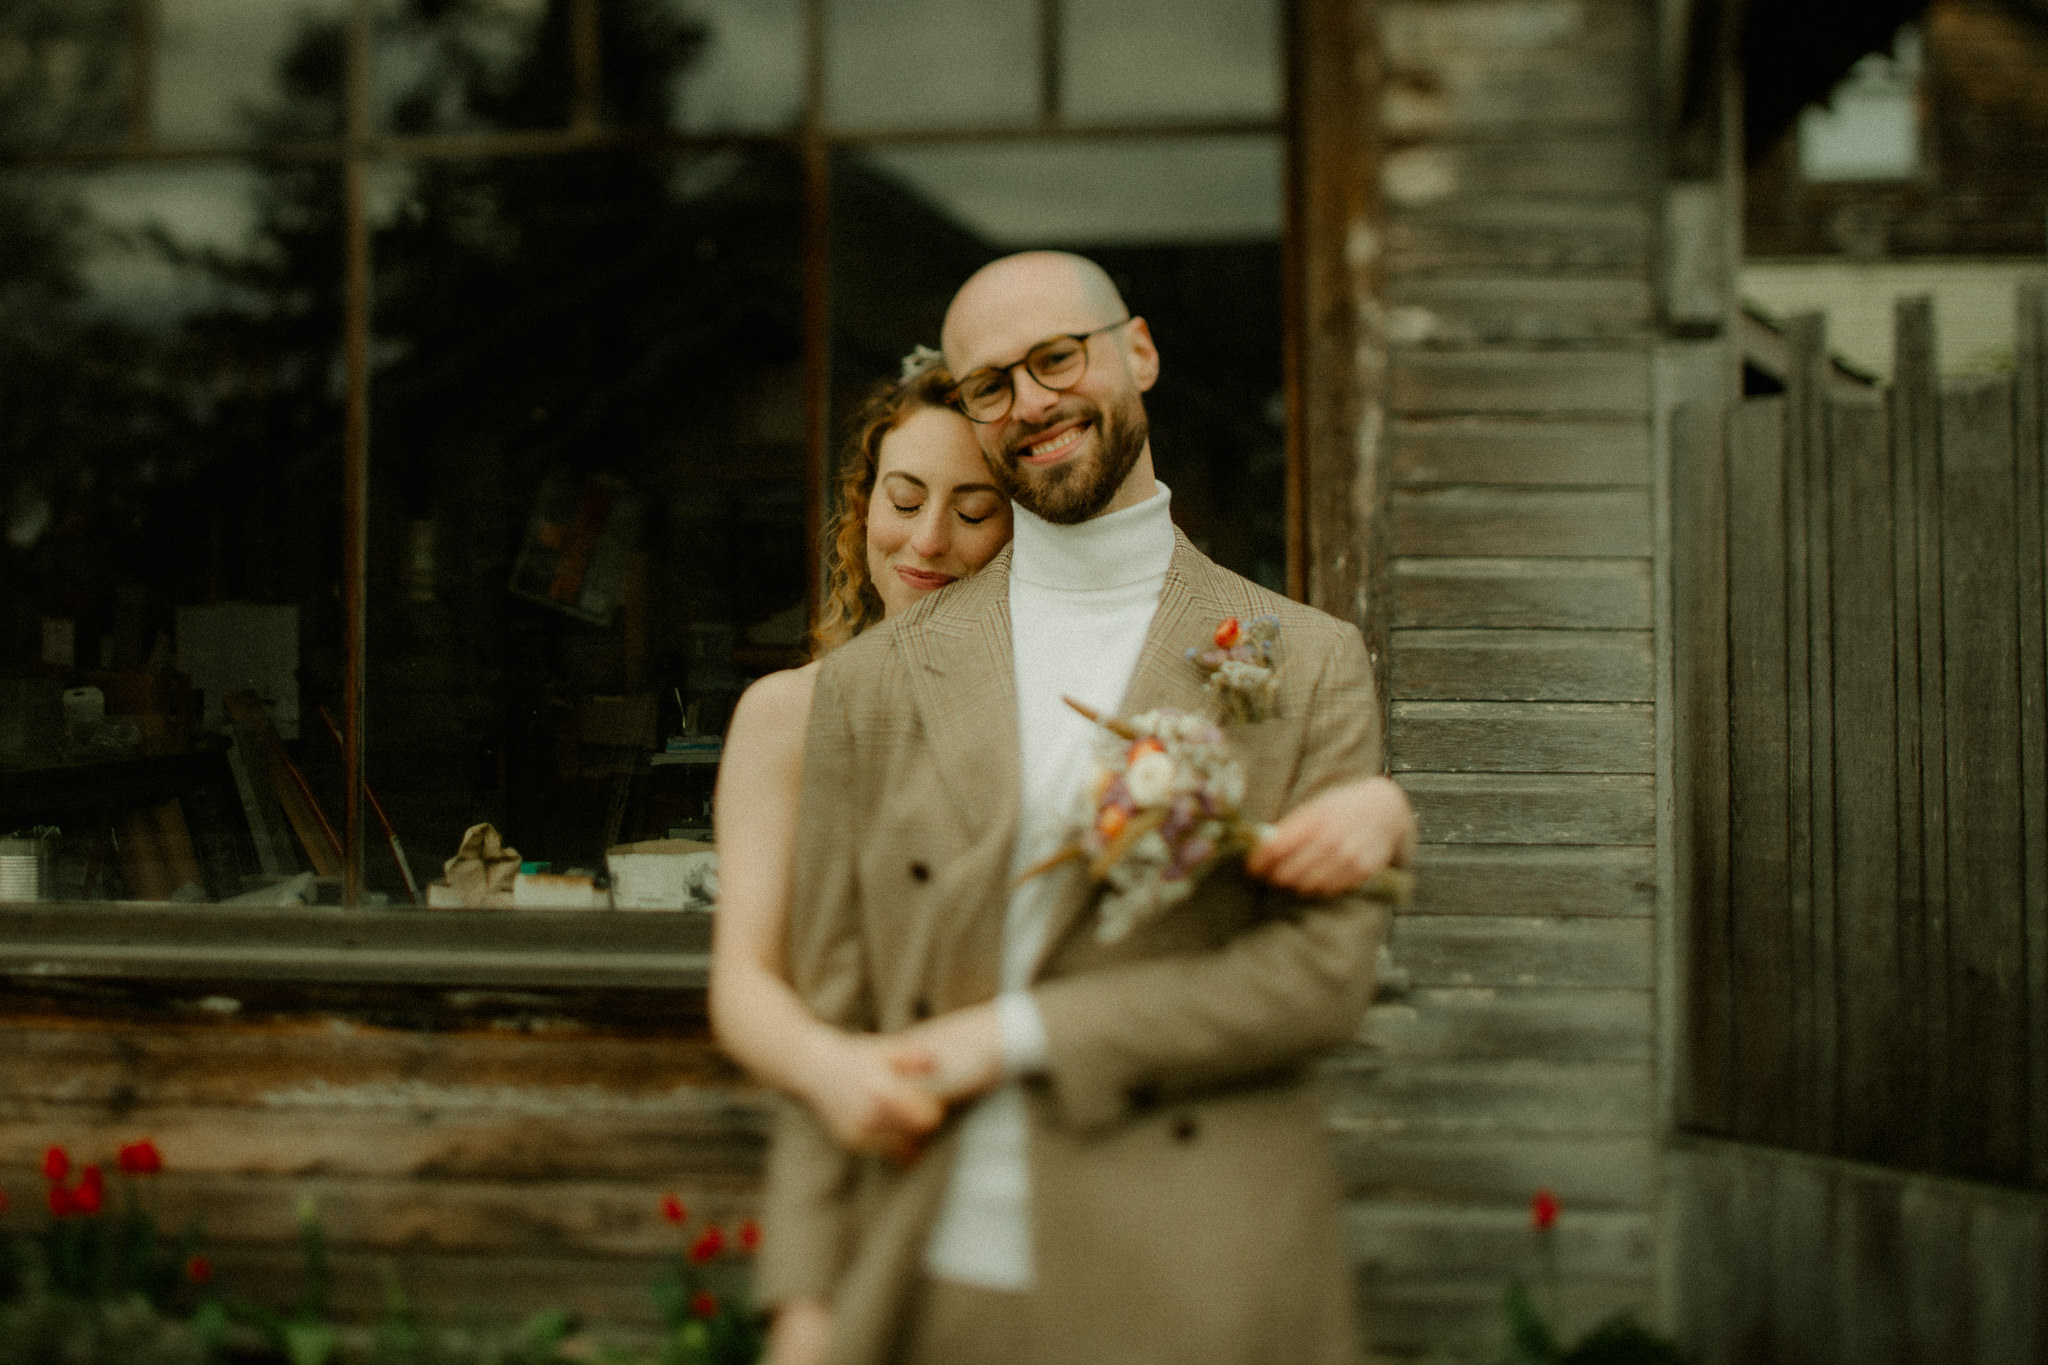
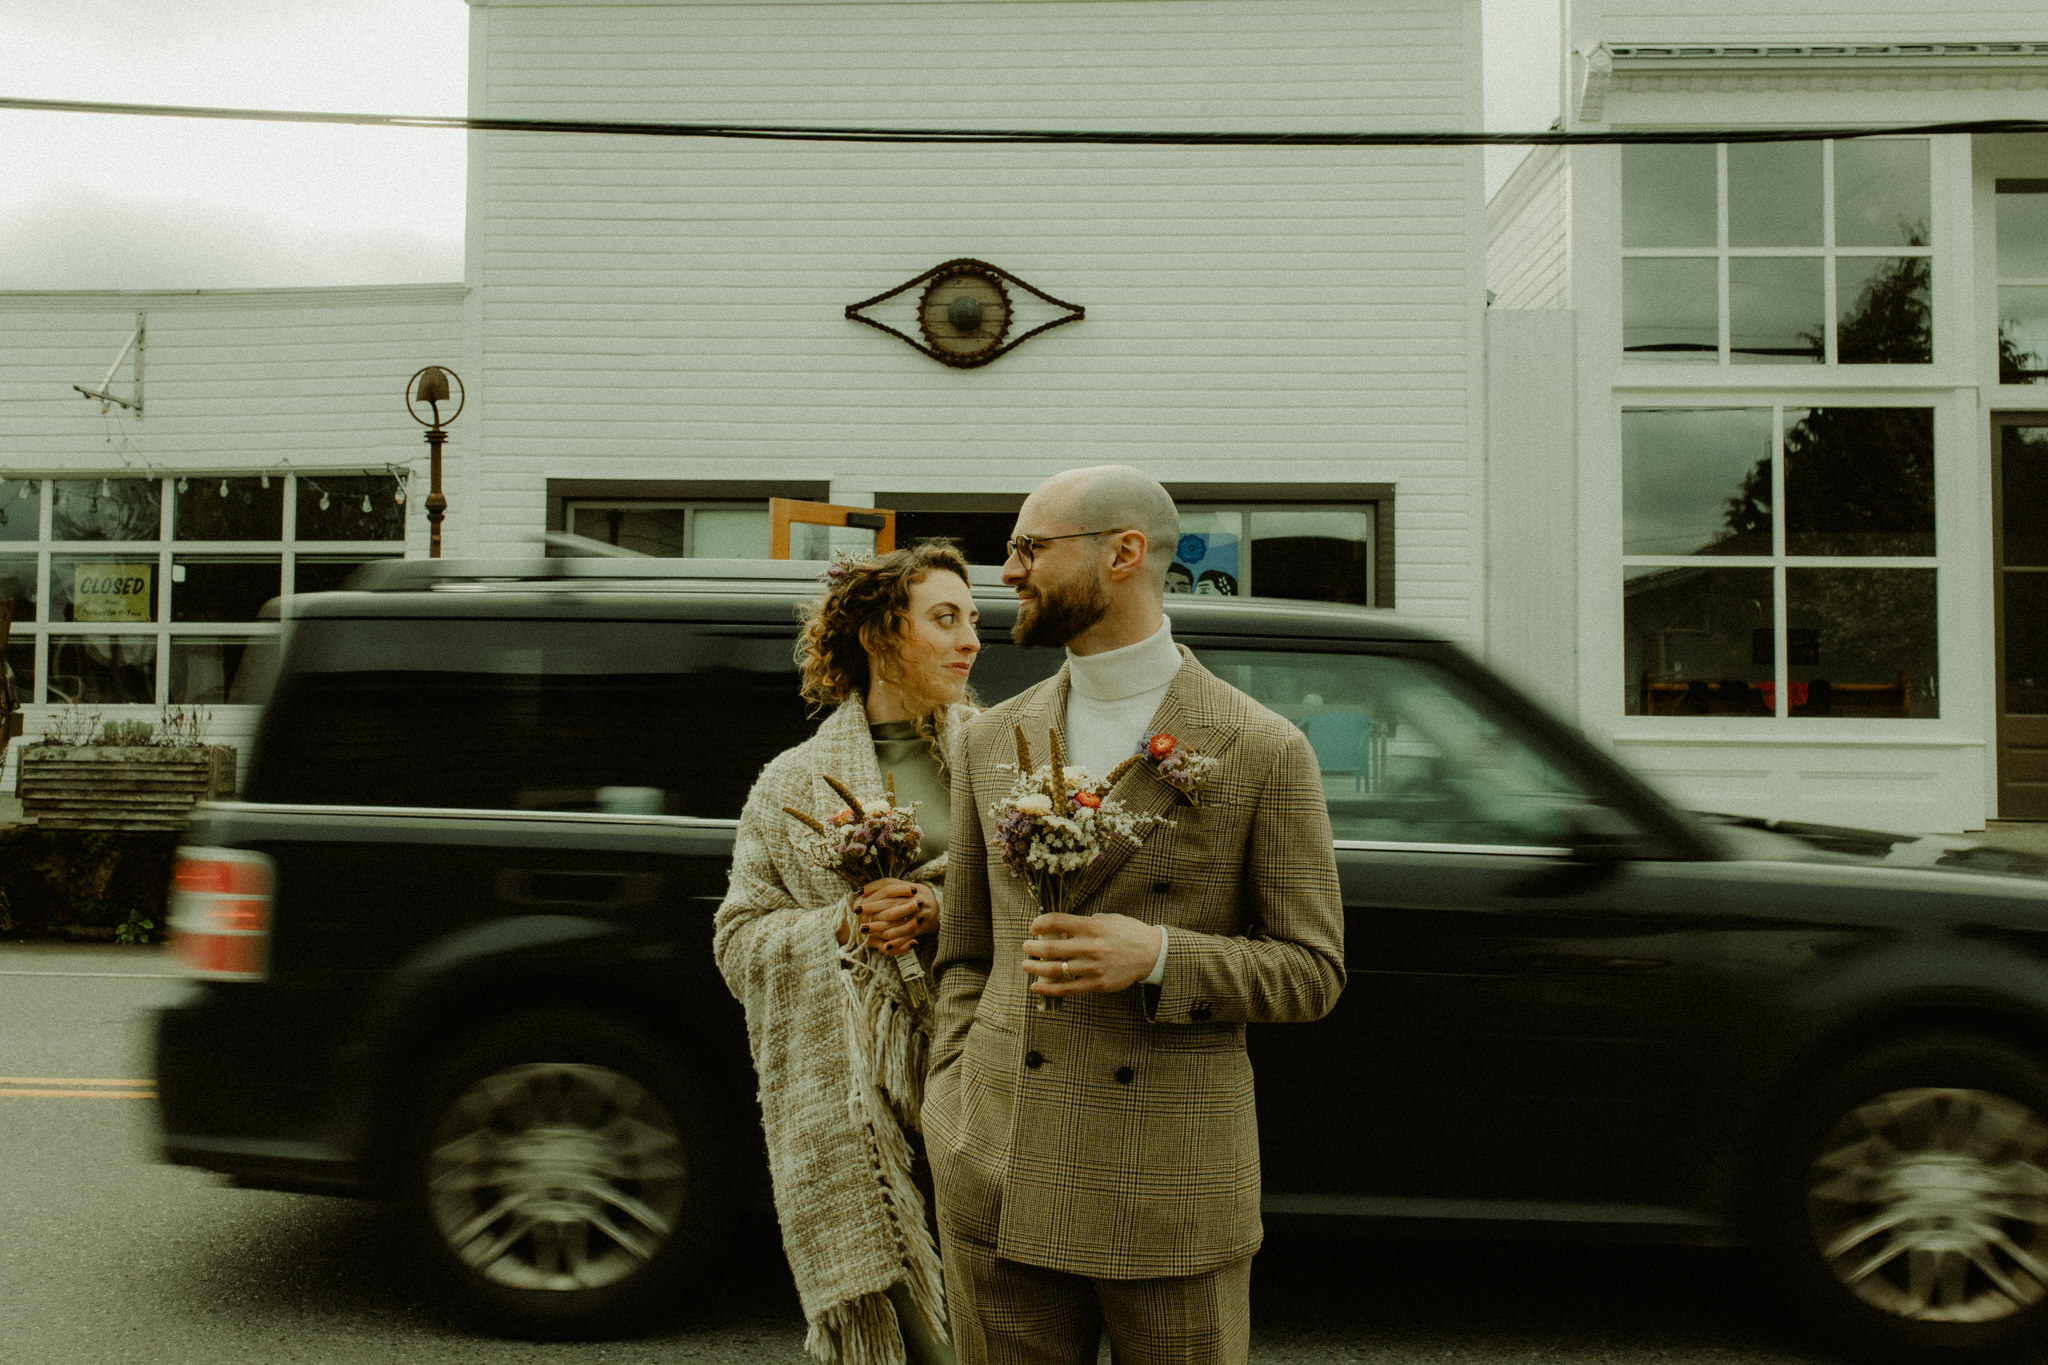
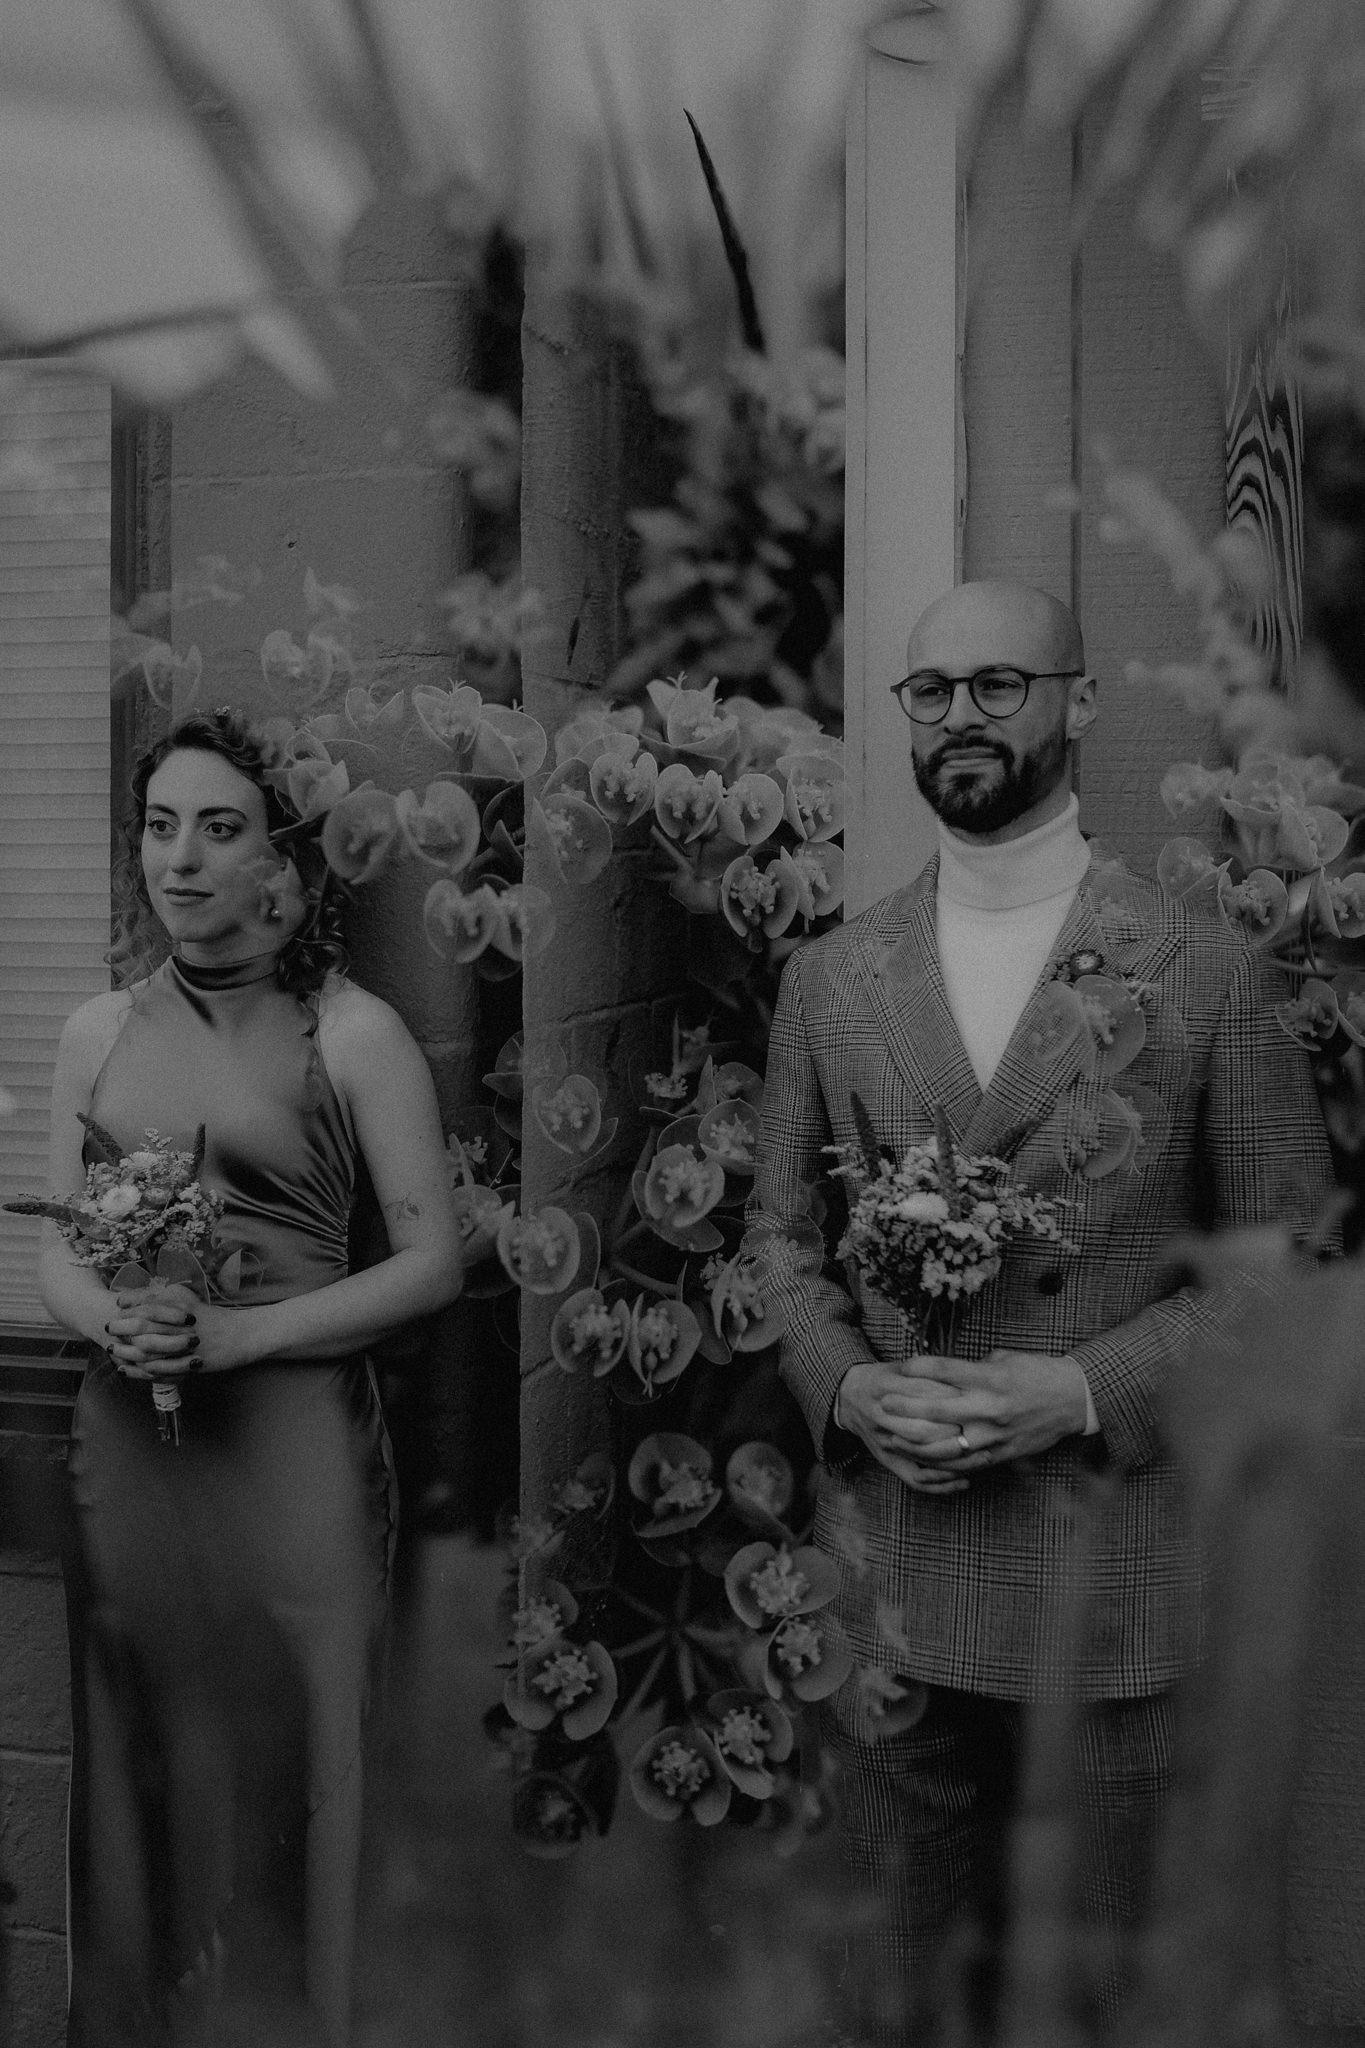
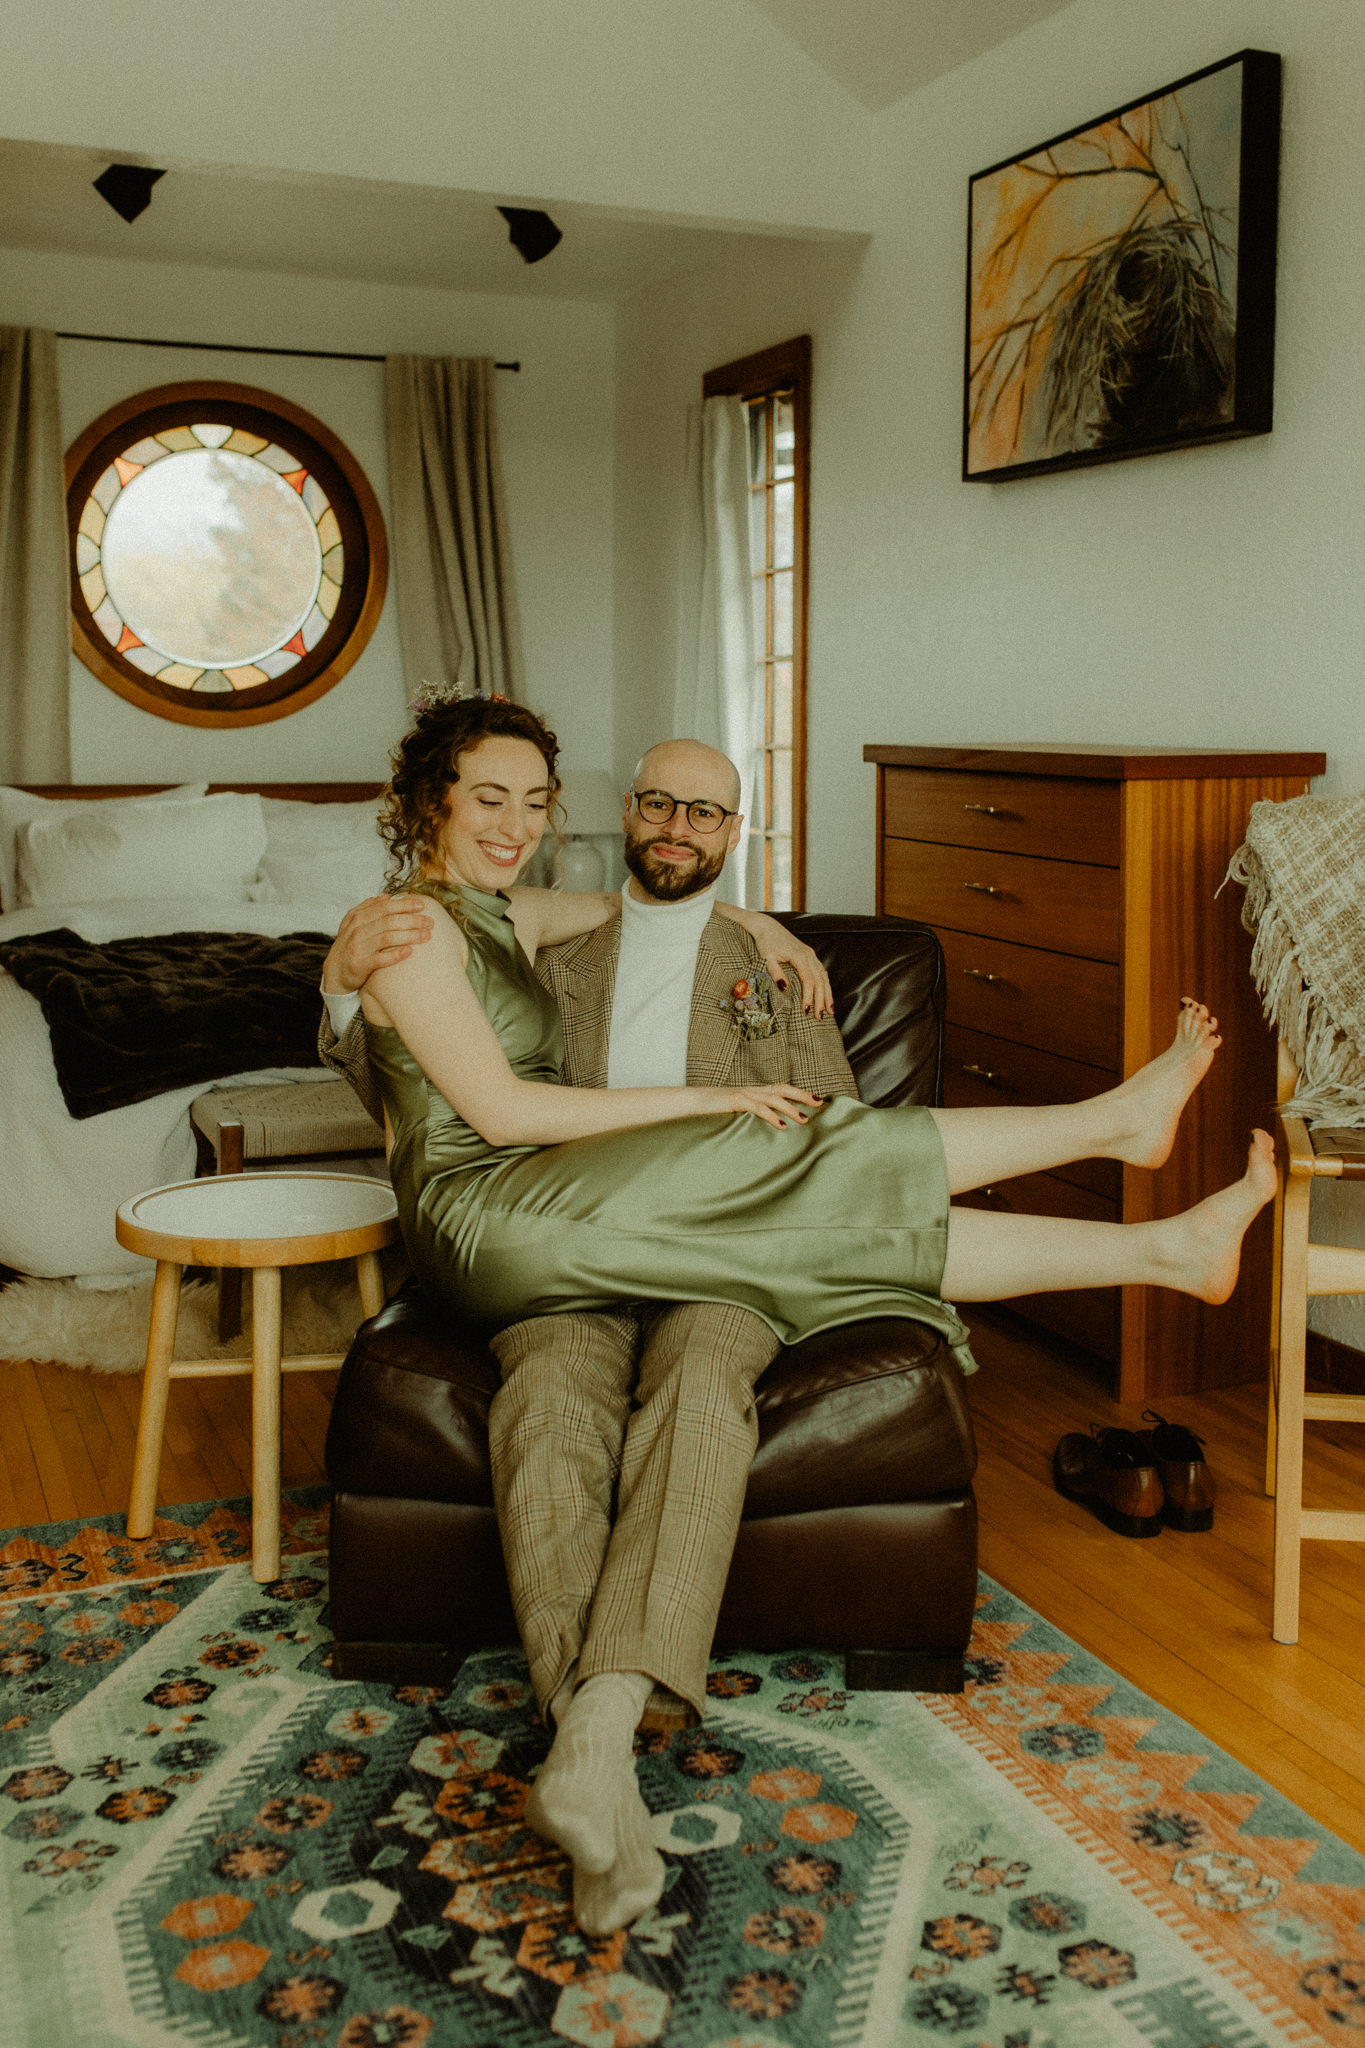
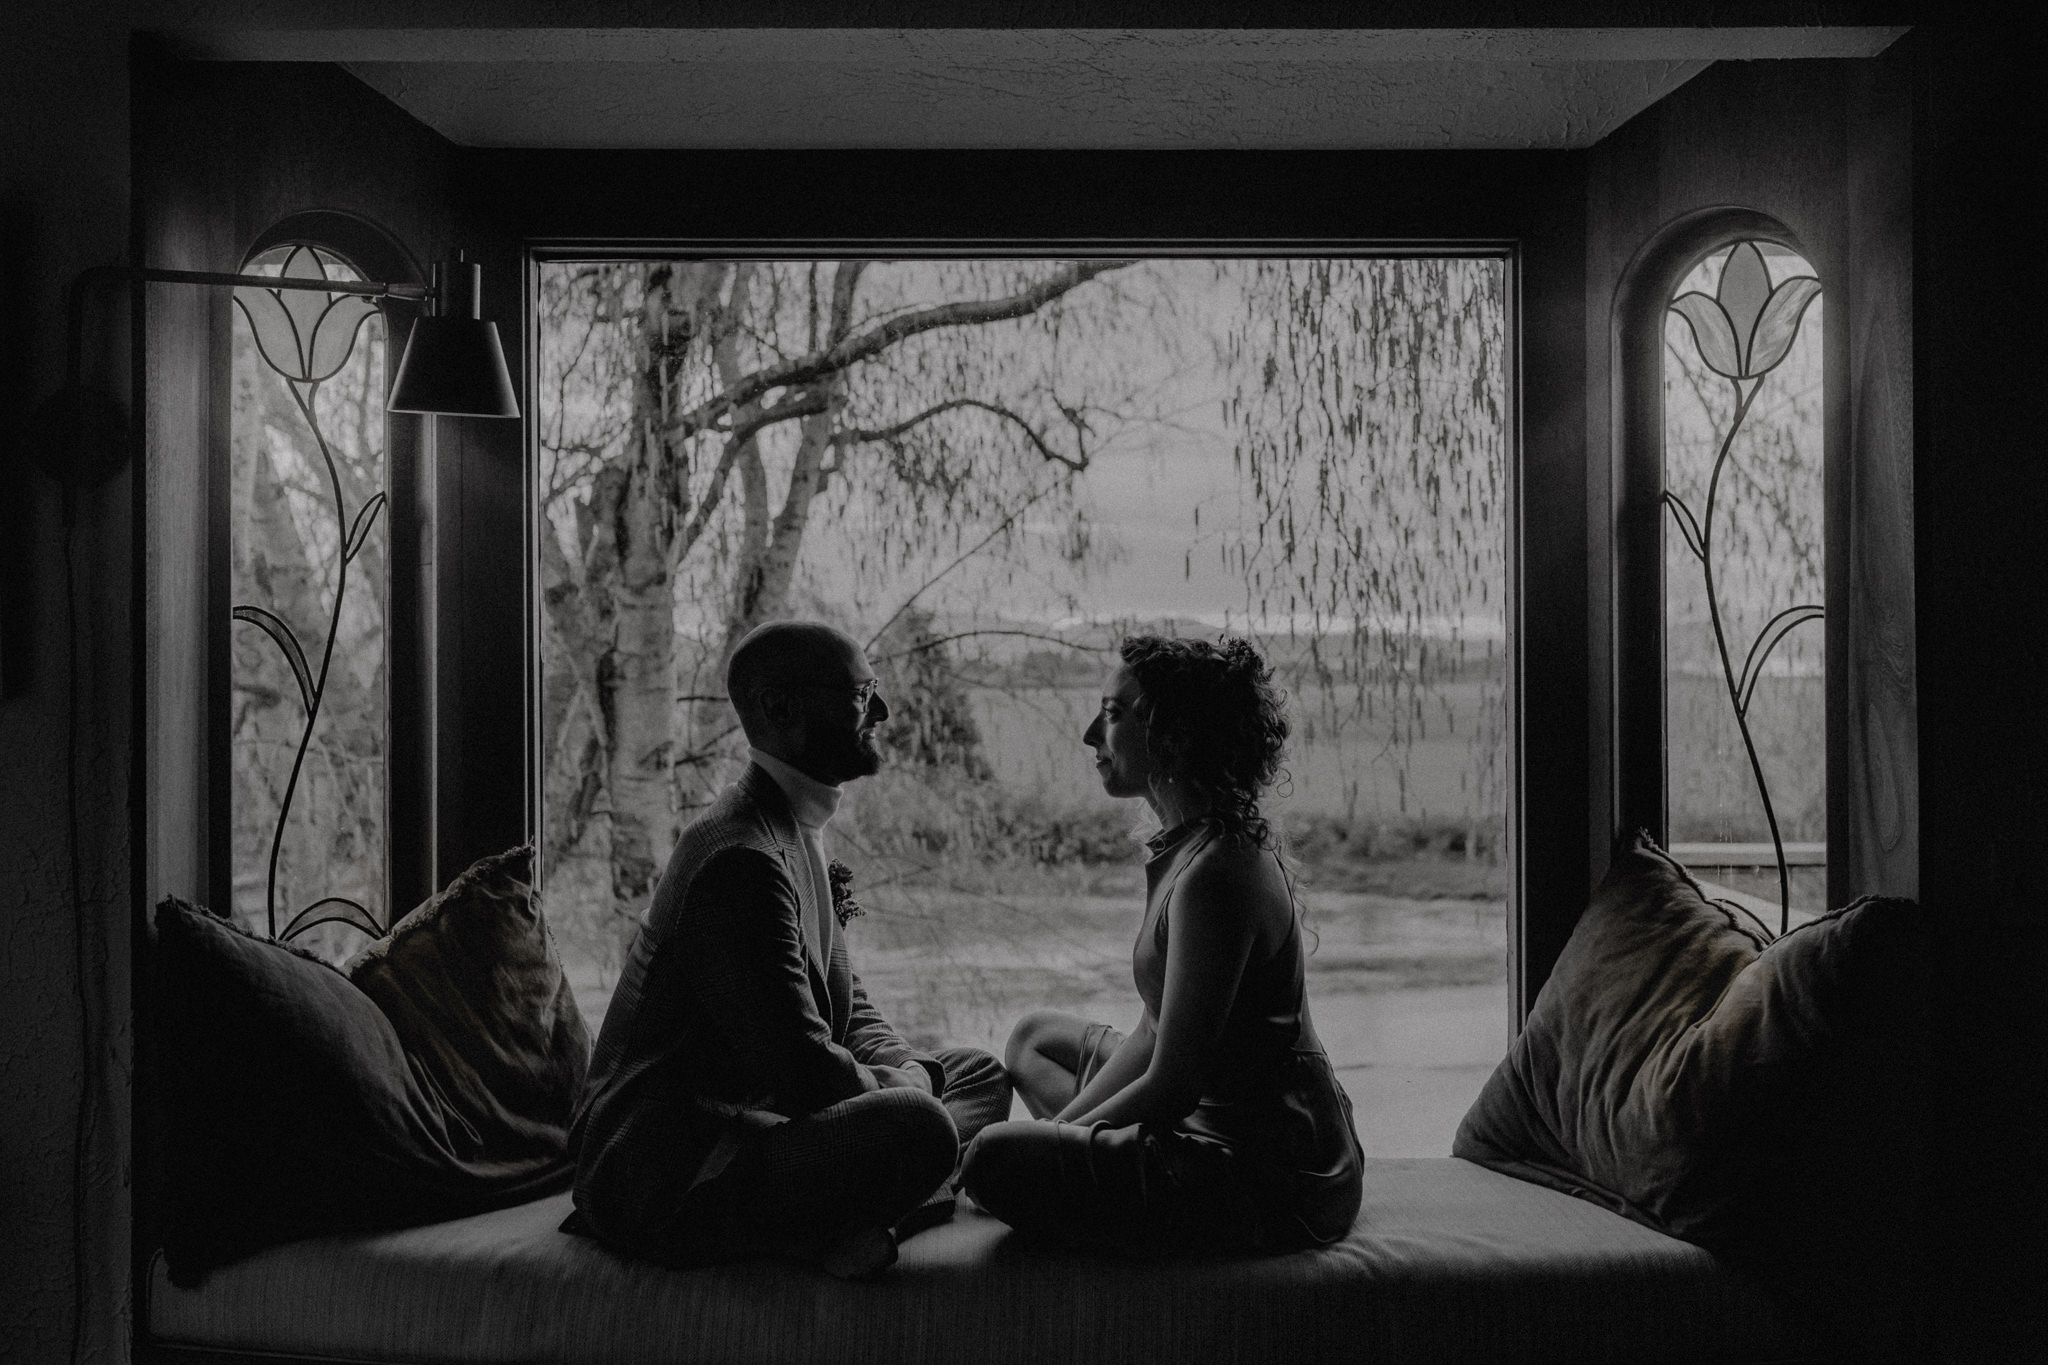
not just an elopement, but a channeling of two artistic natures into one love-filled intention
When the picture of ‘traditional wedding’ doesn’t fit you, you find something that does. A+D are the kind of people who are deeply connected to each other, and invest emotionally in everyone they care about. The kind of people that really give you hope for the world.
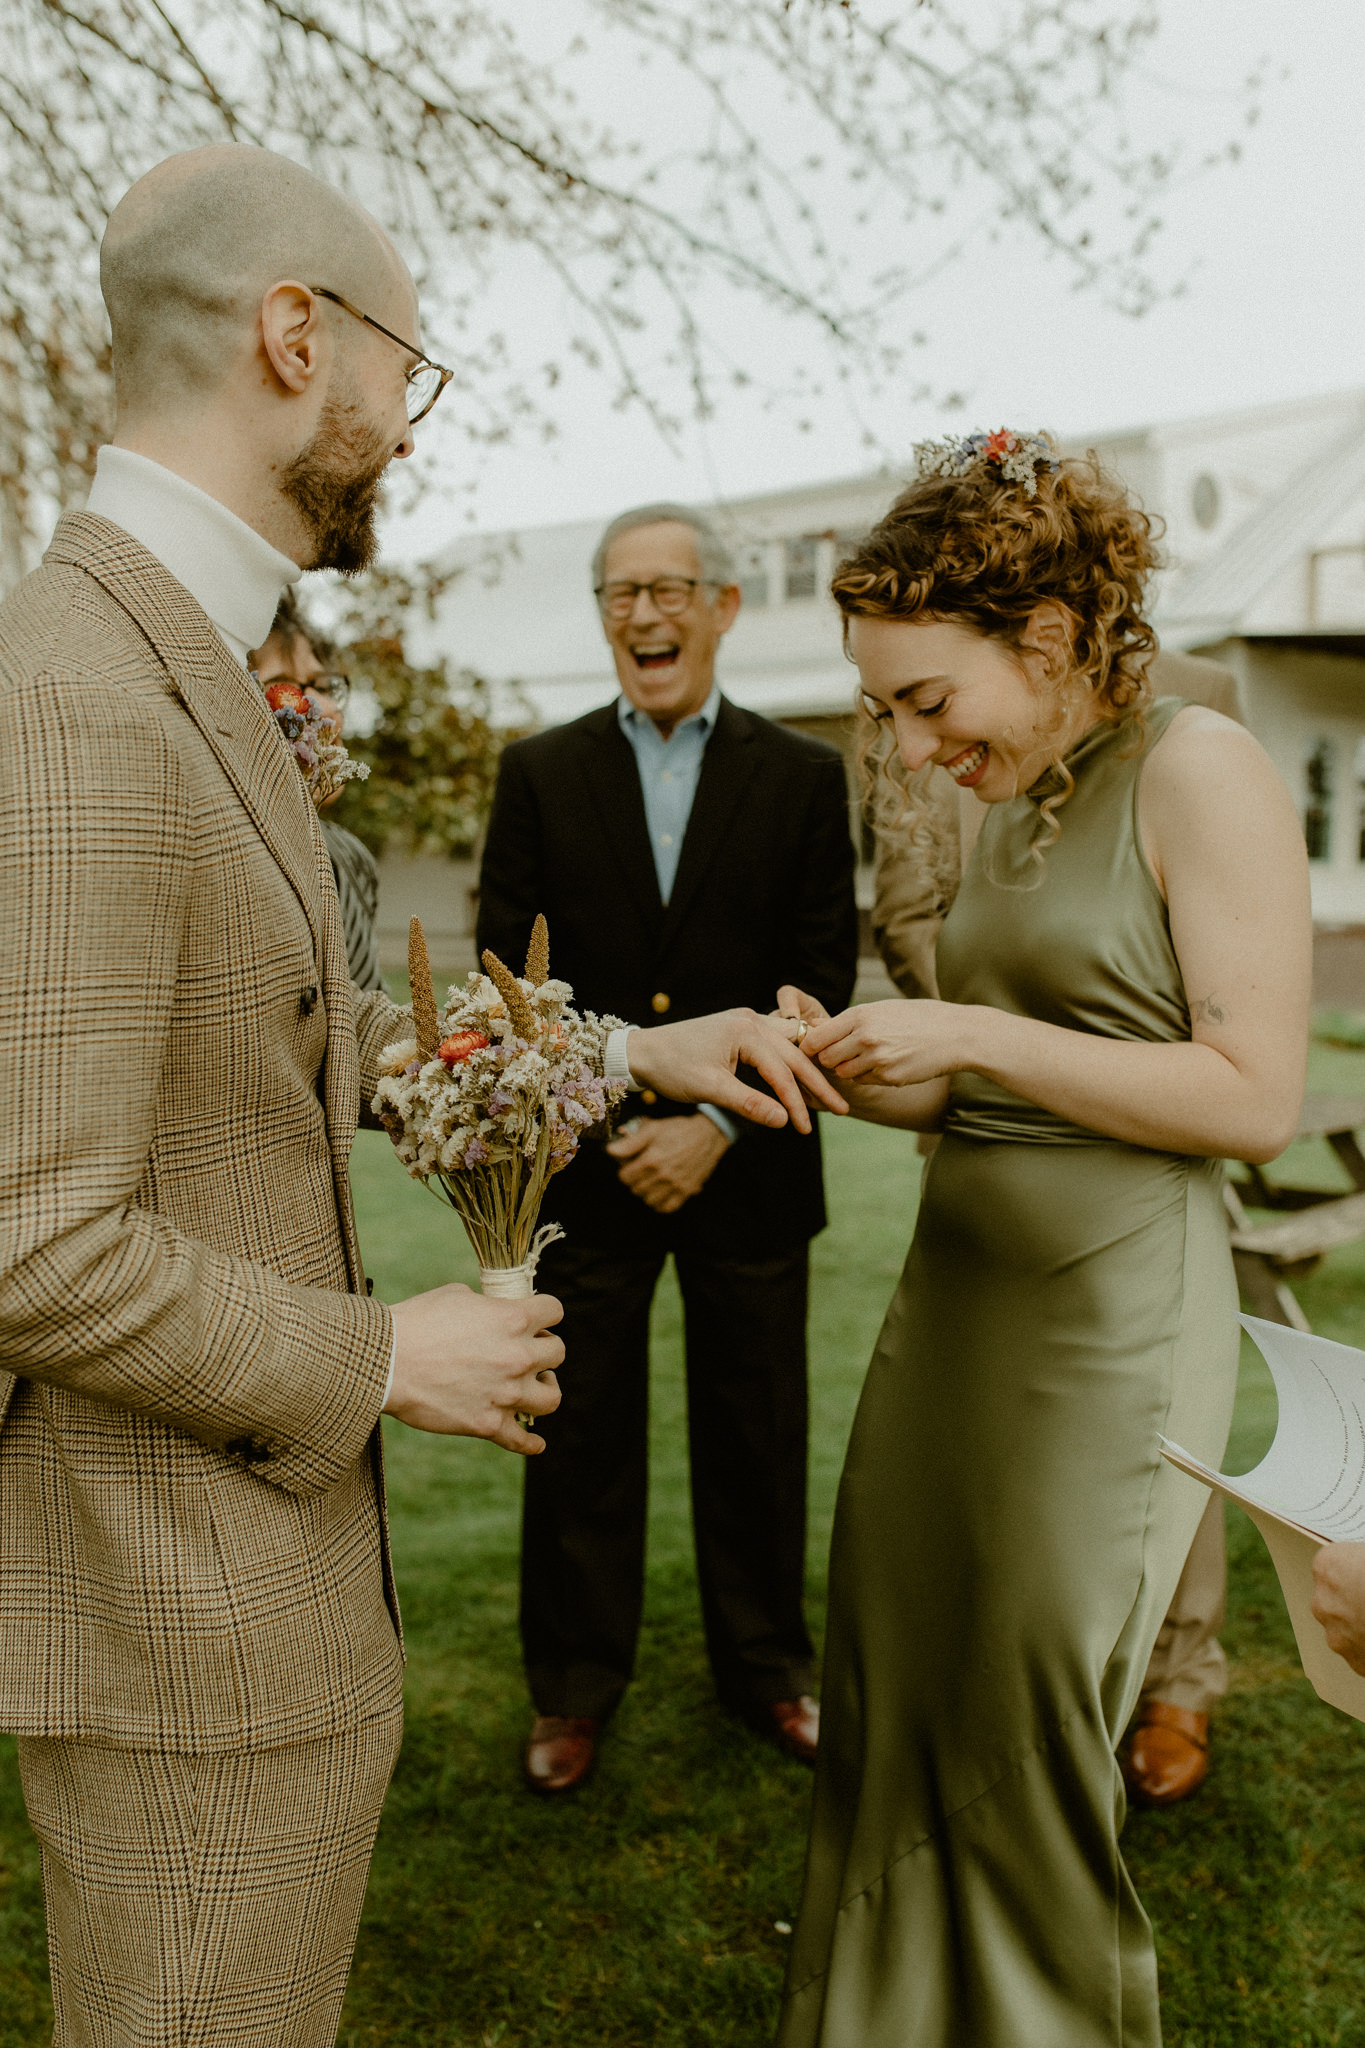
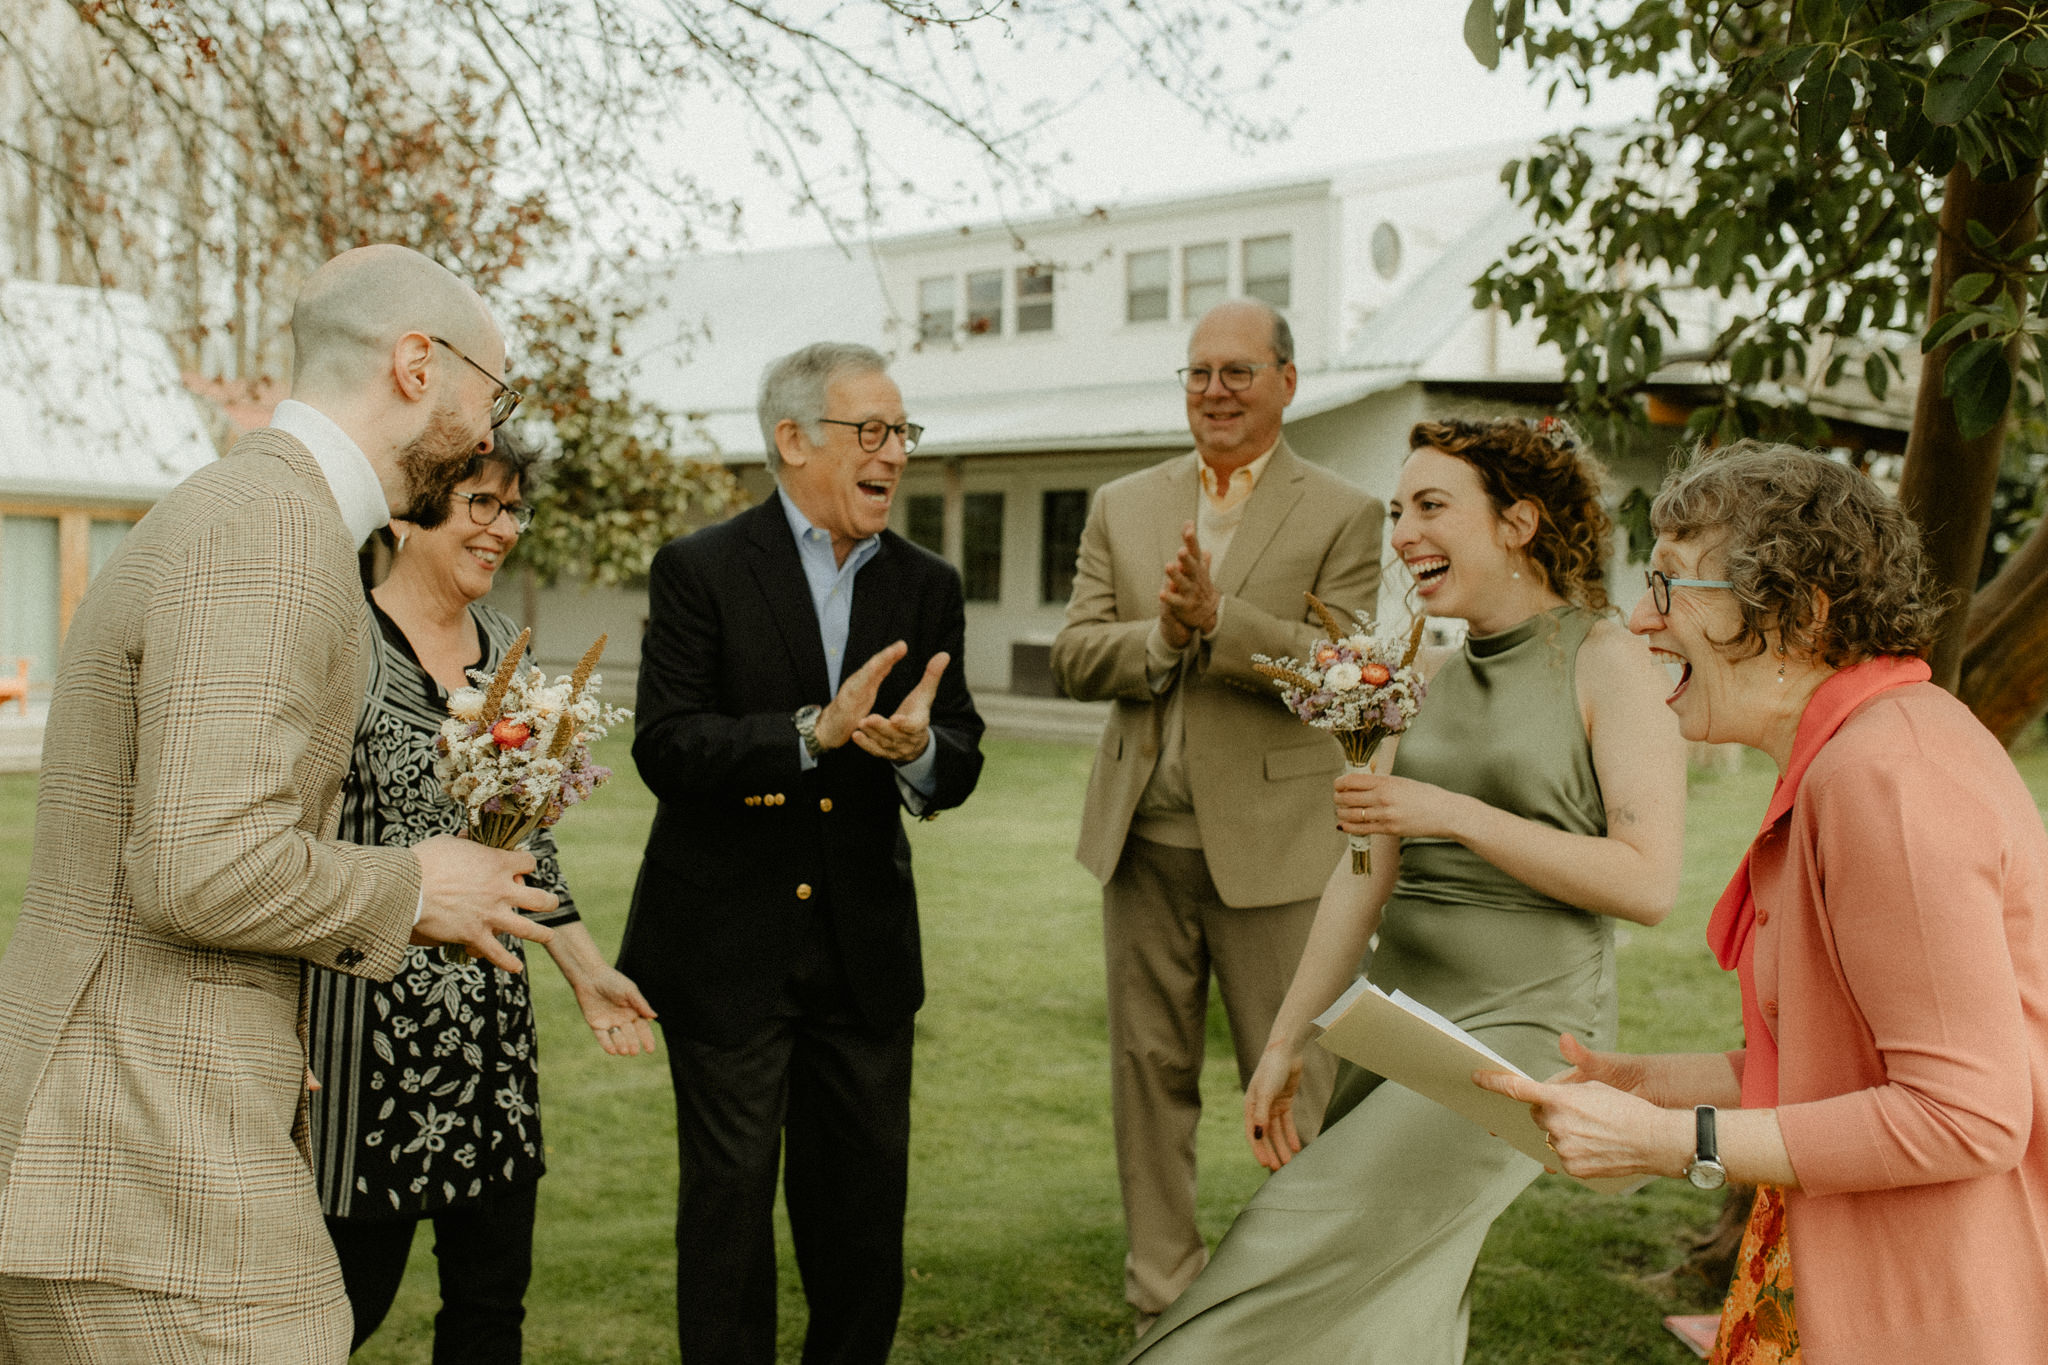
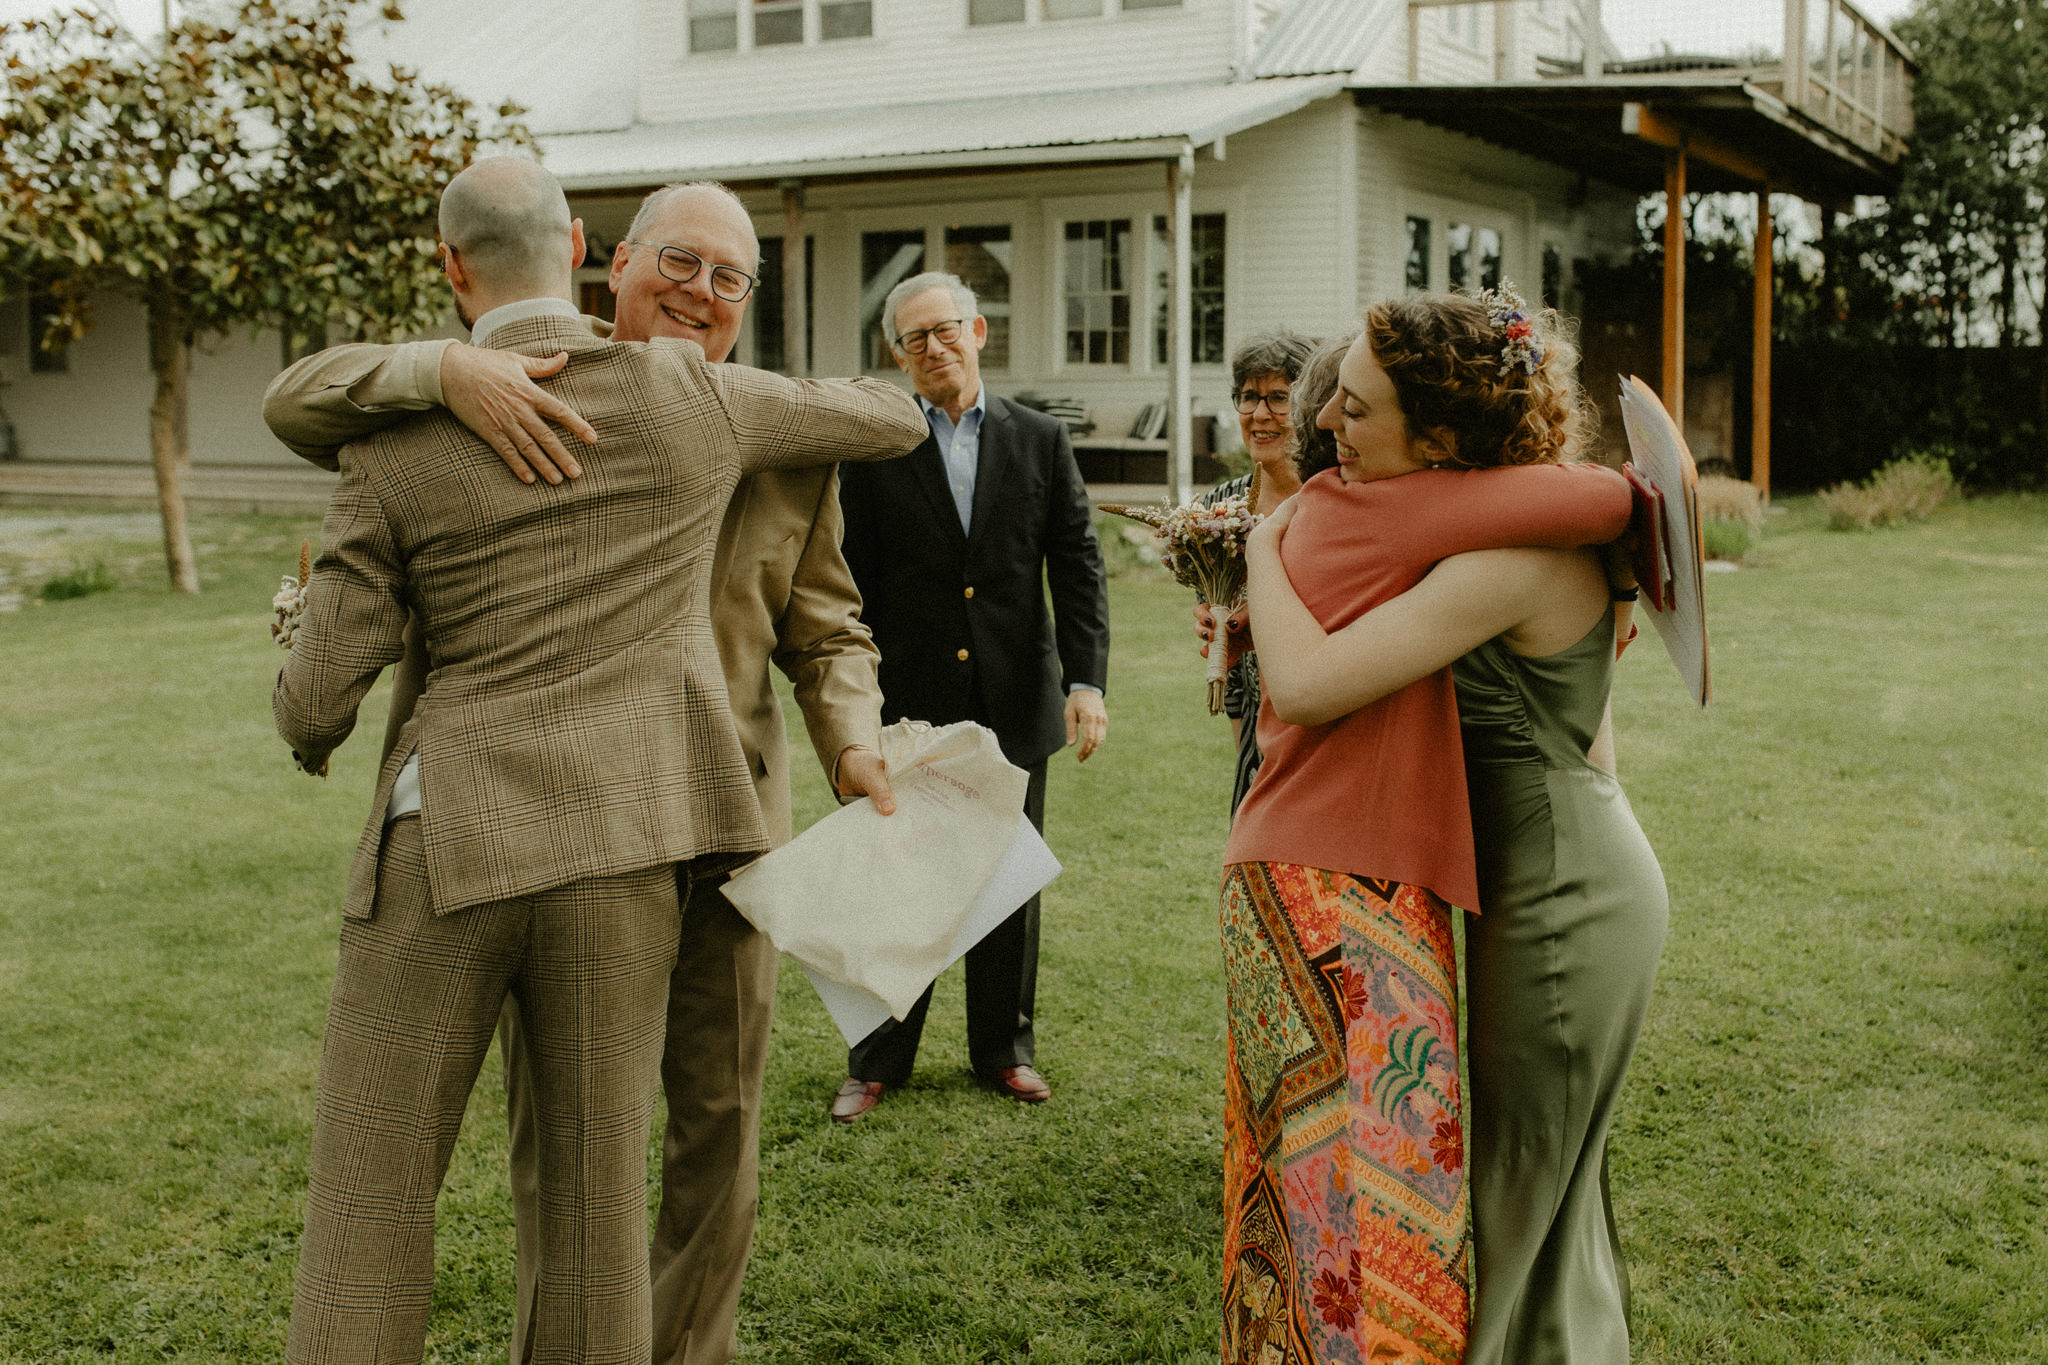
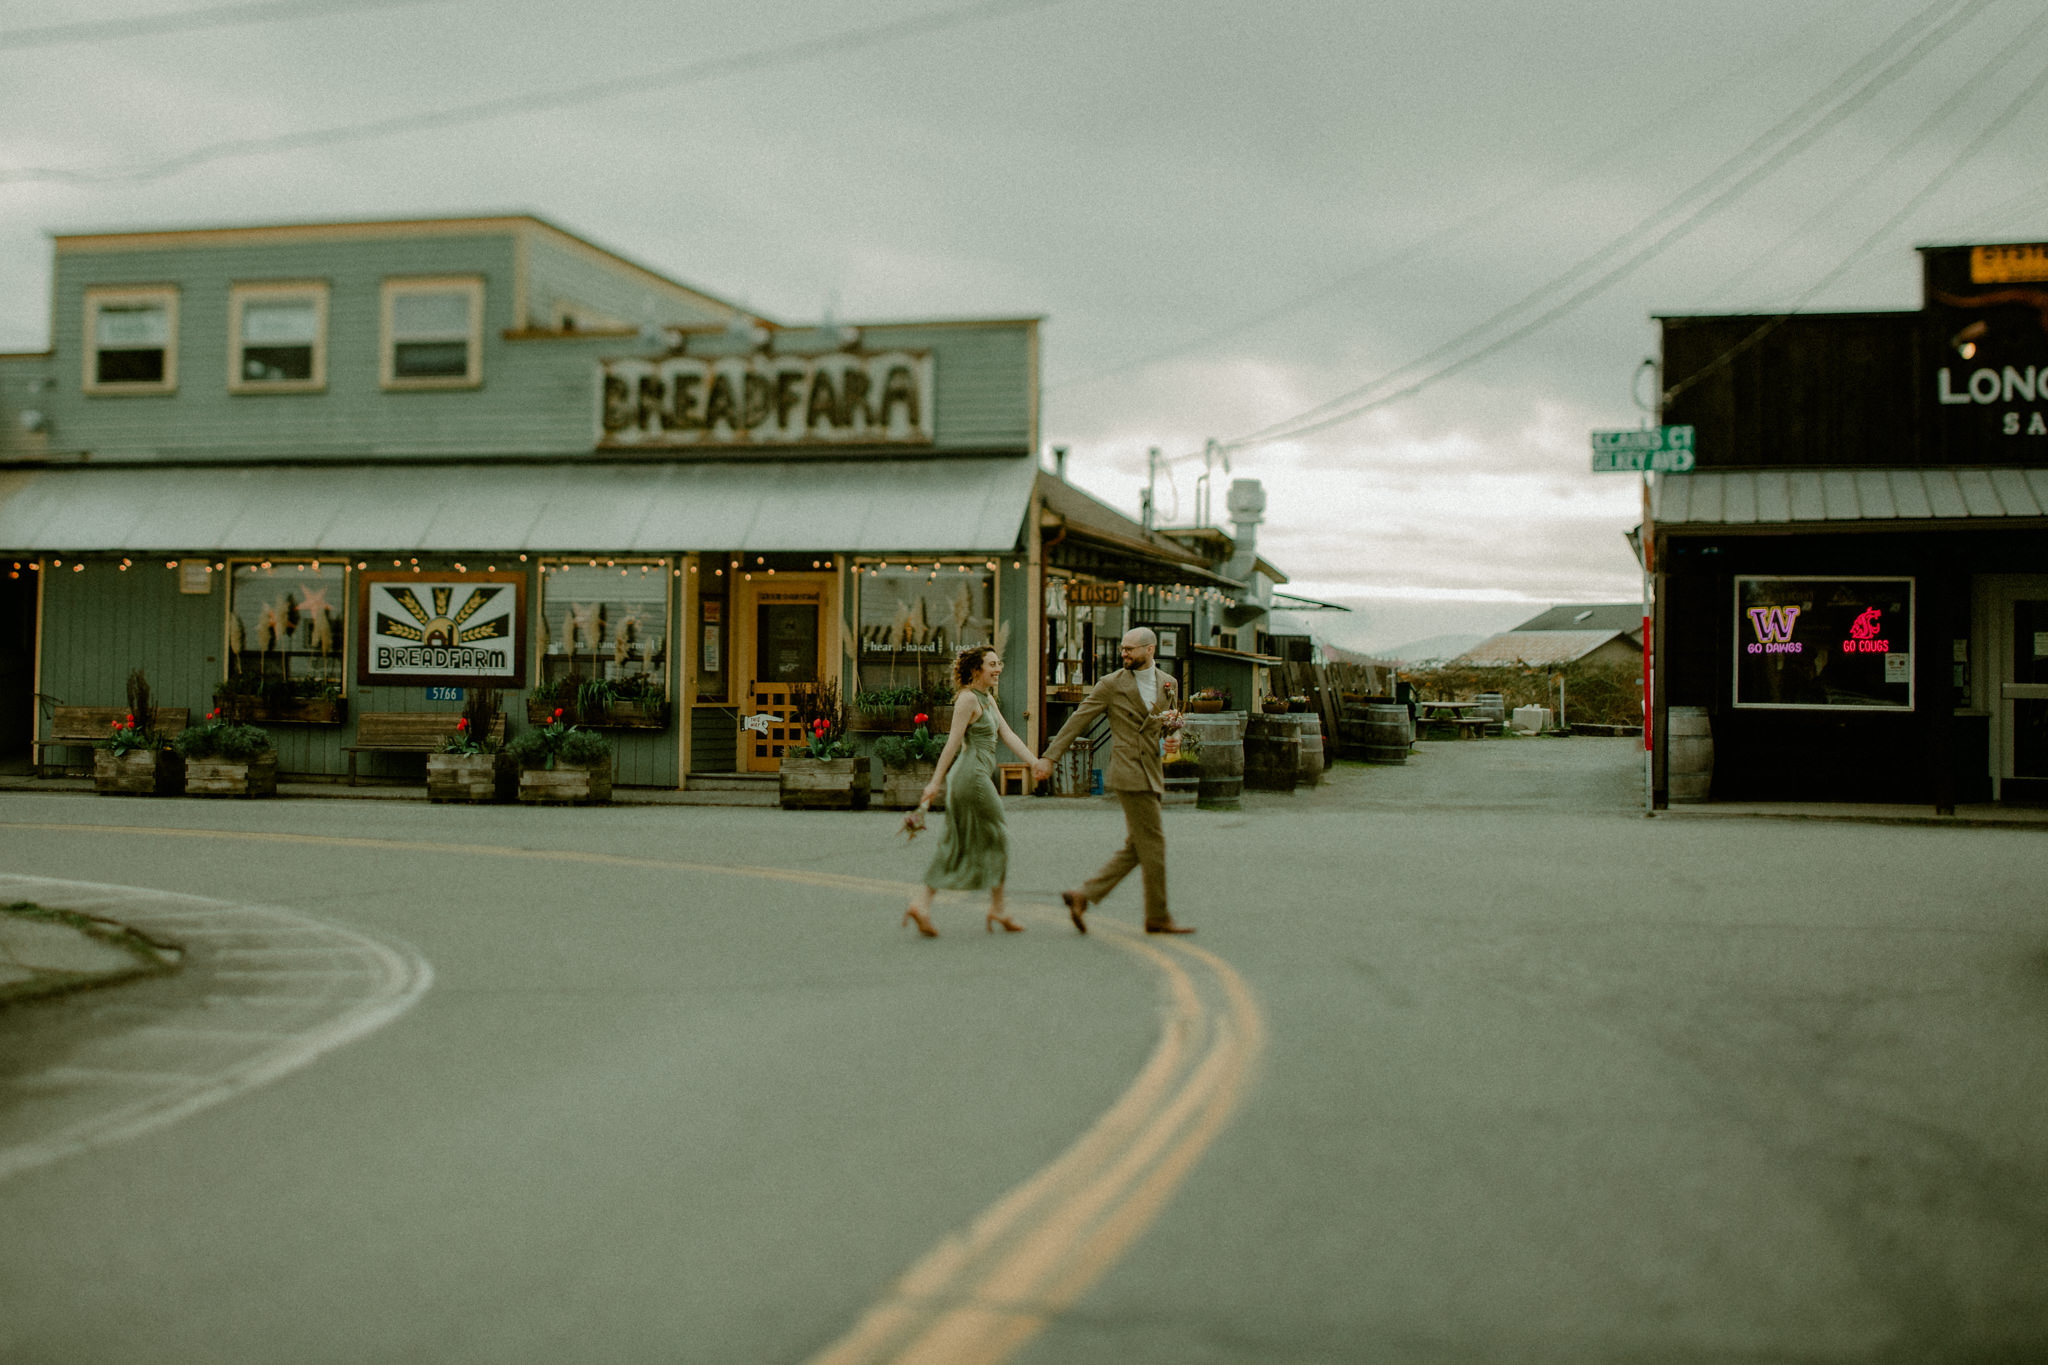
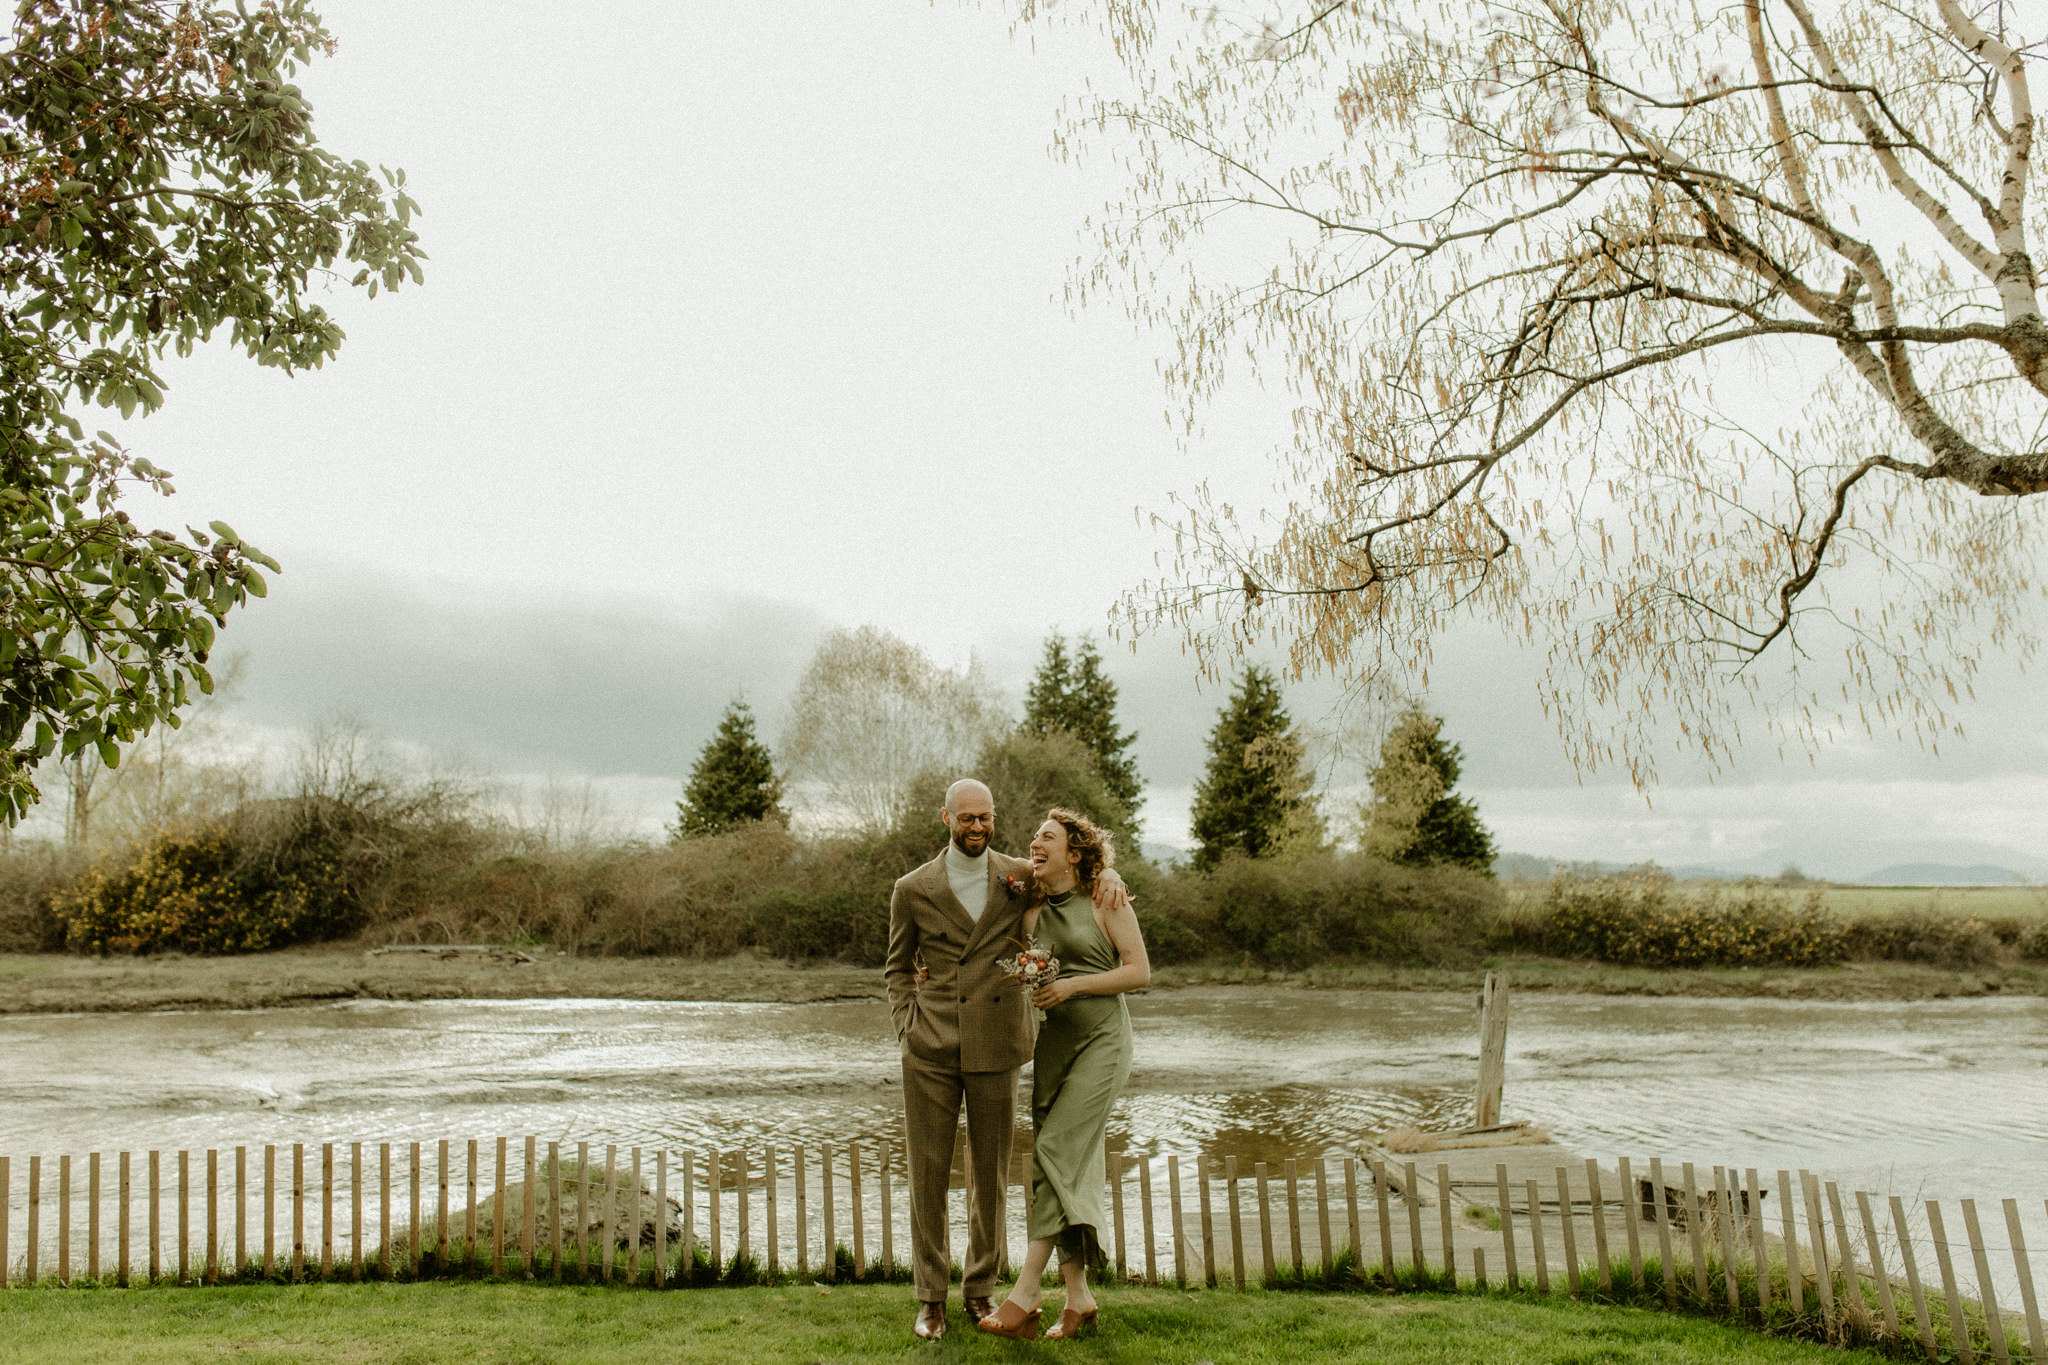
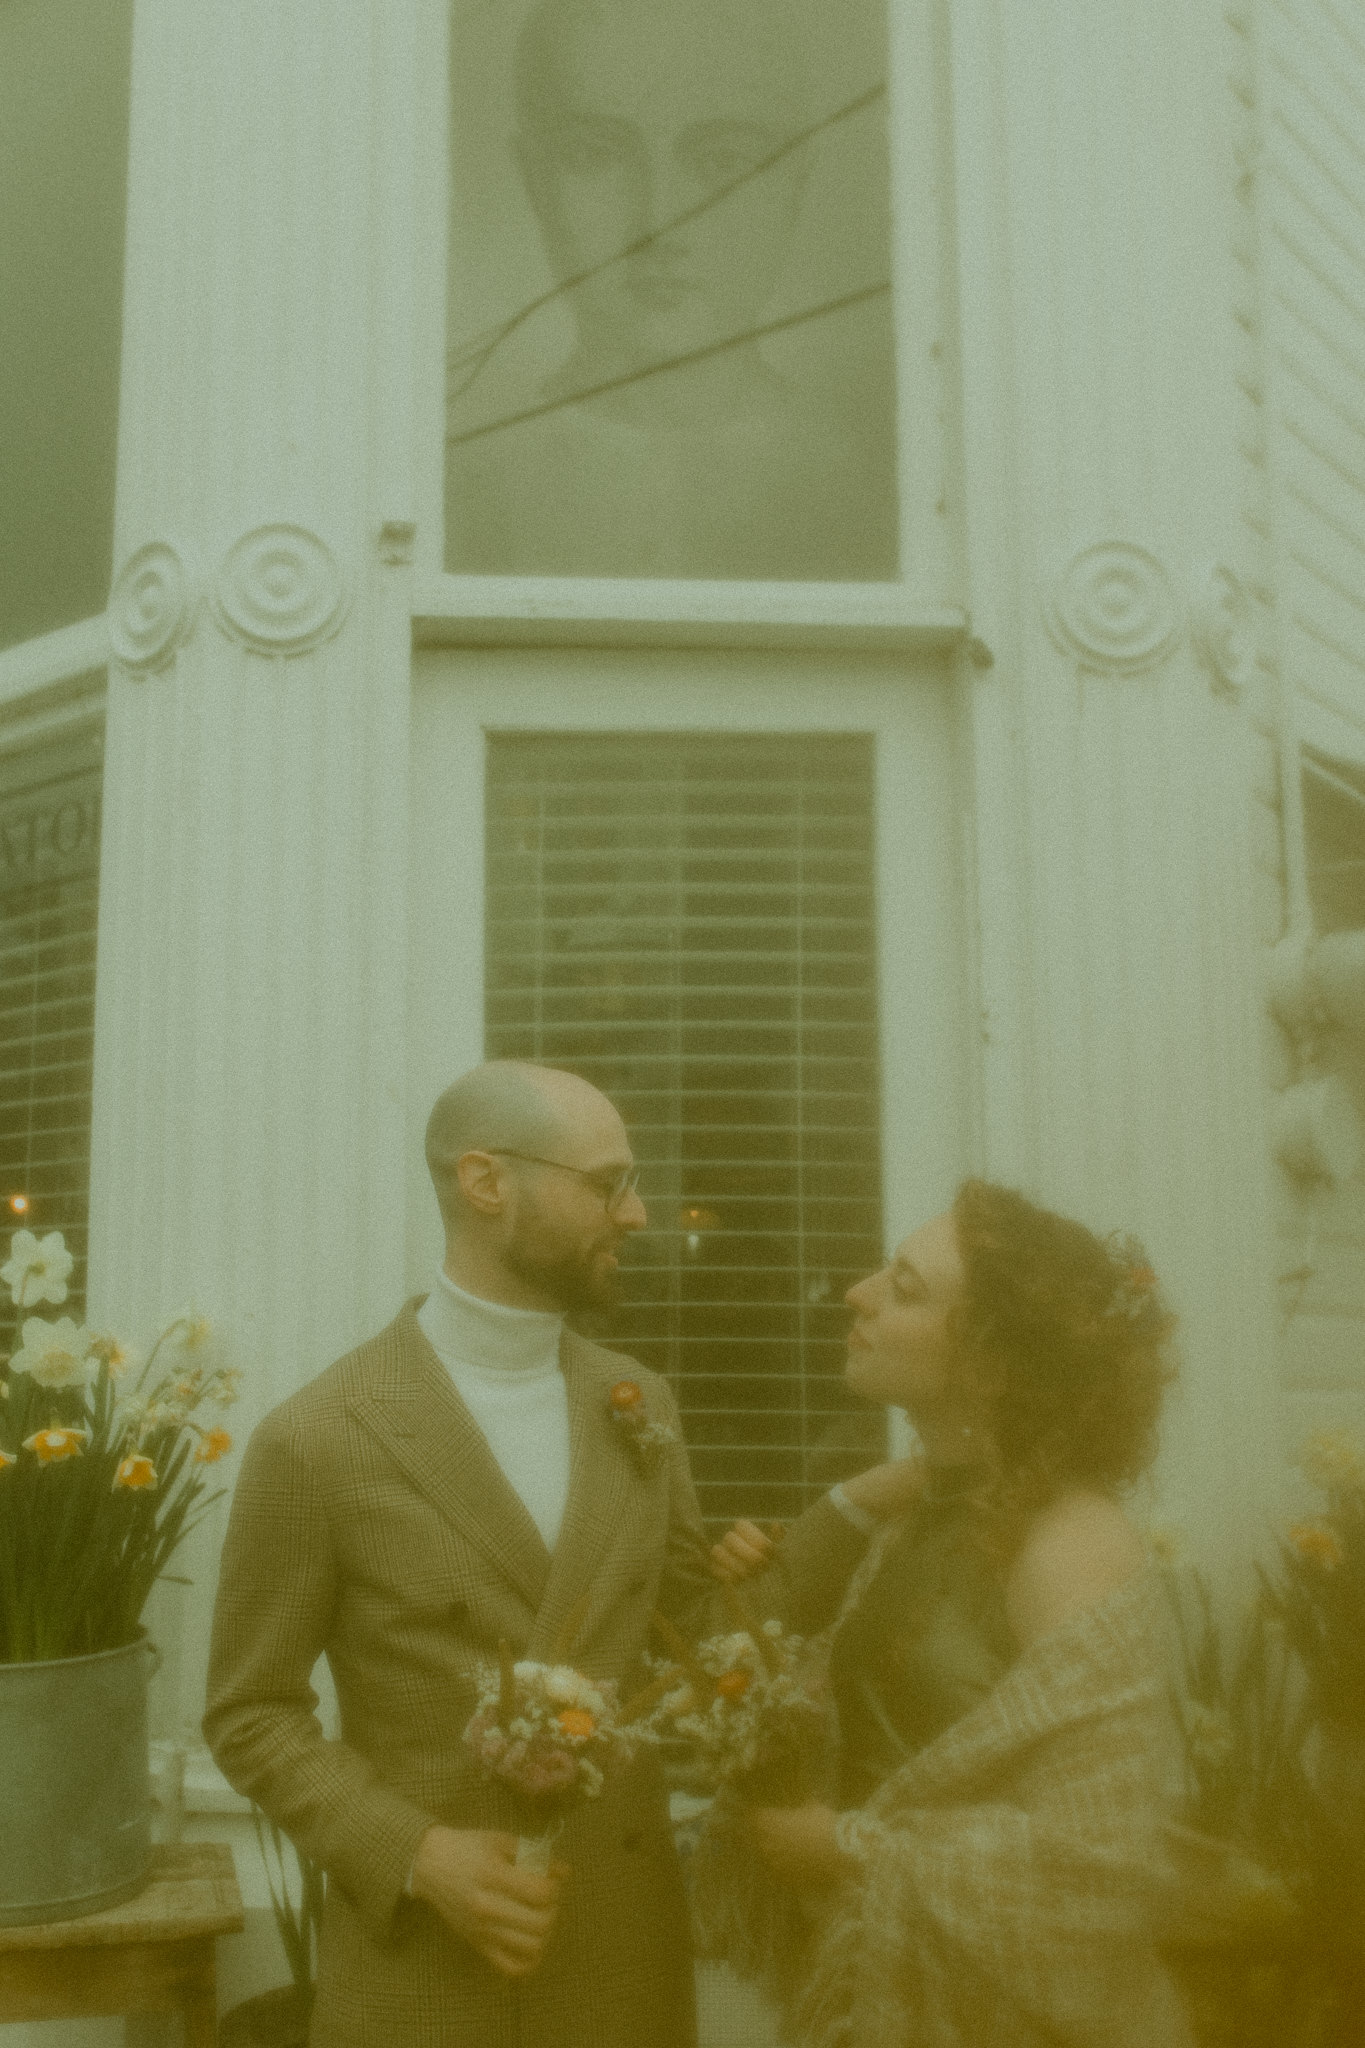
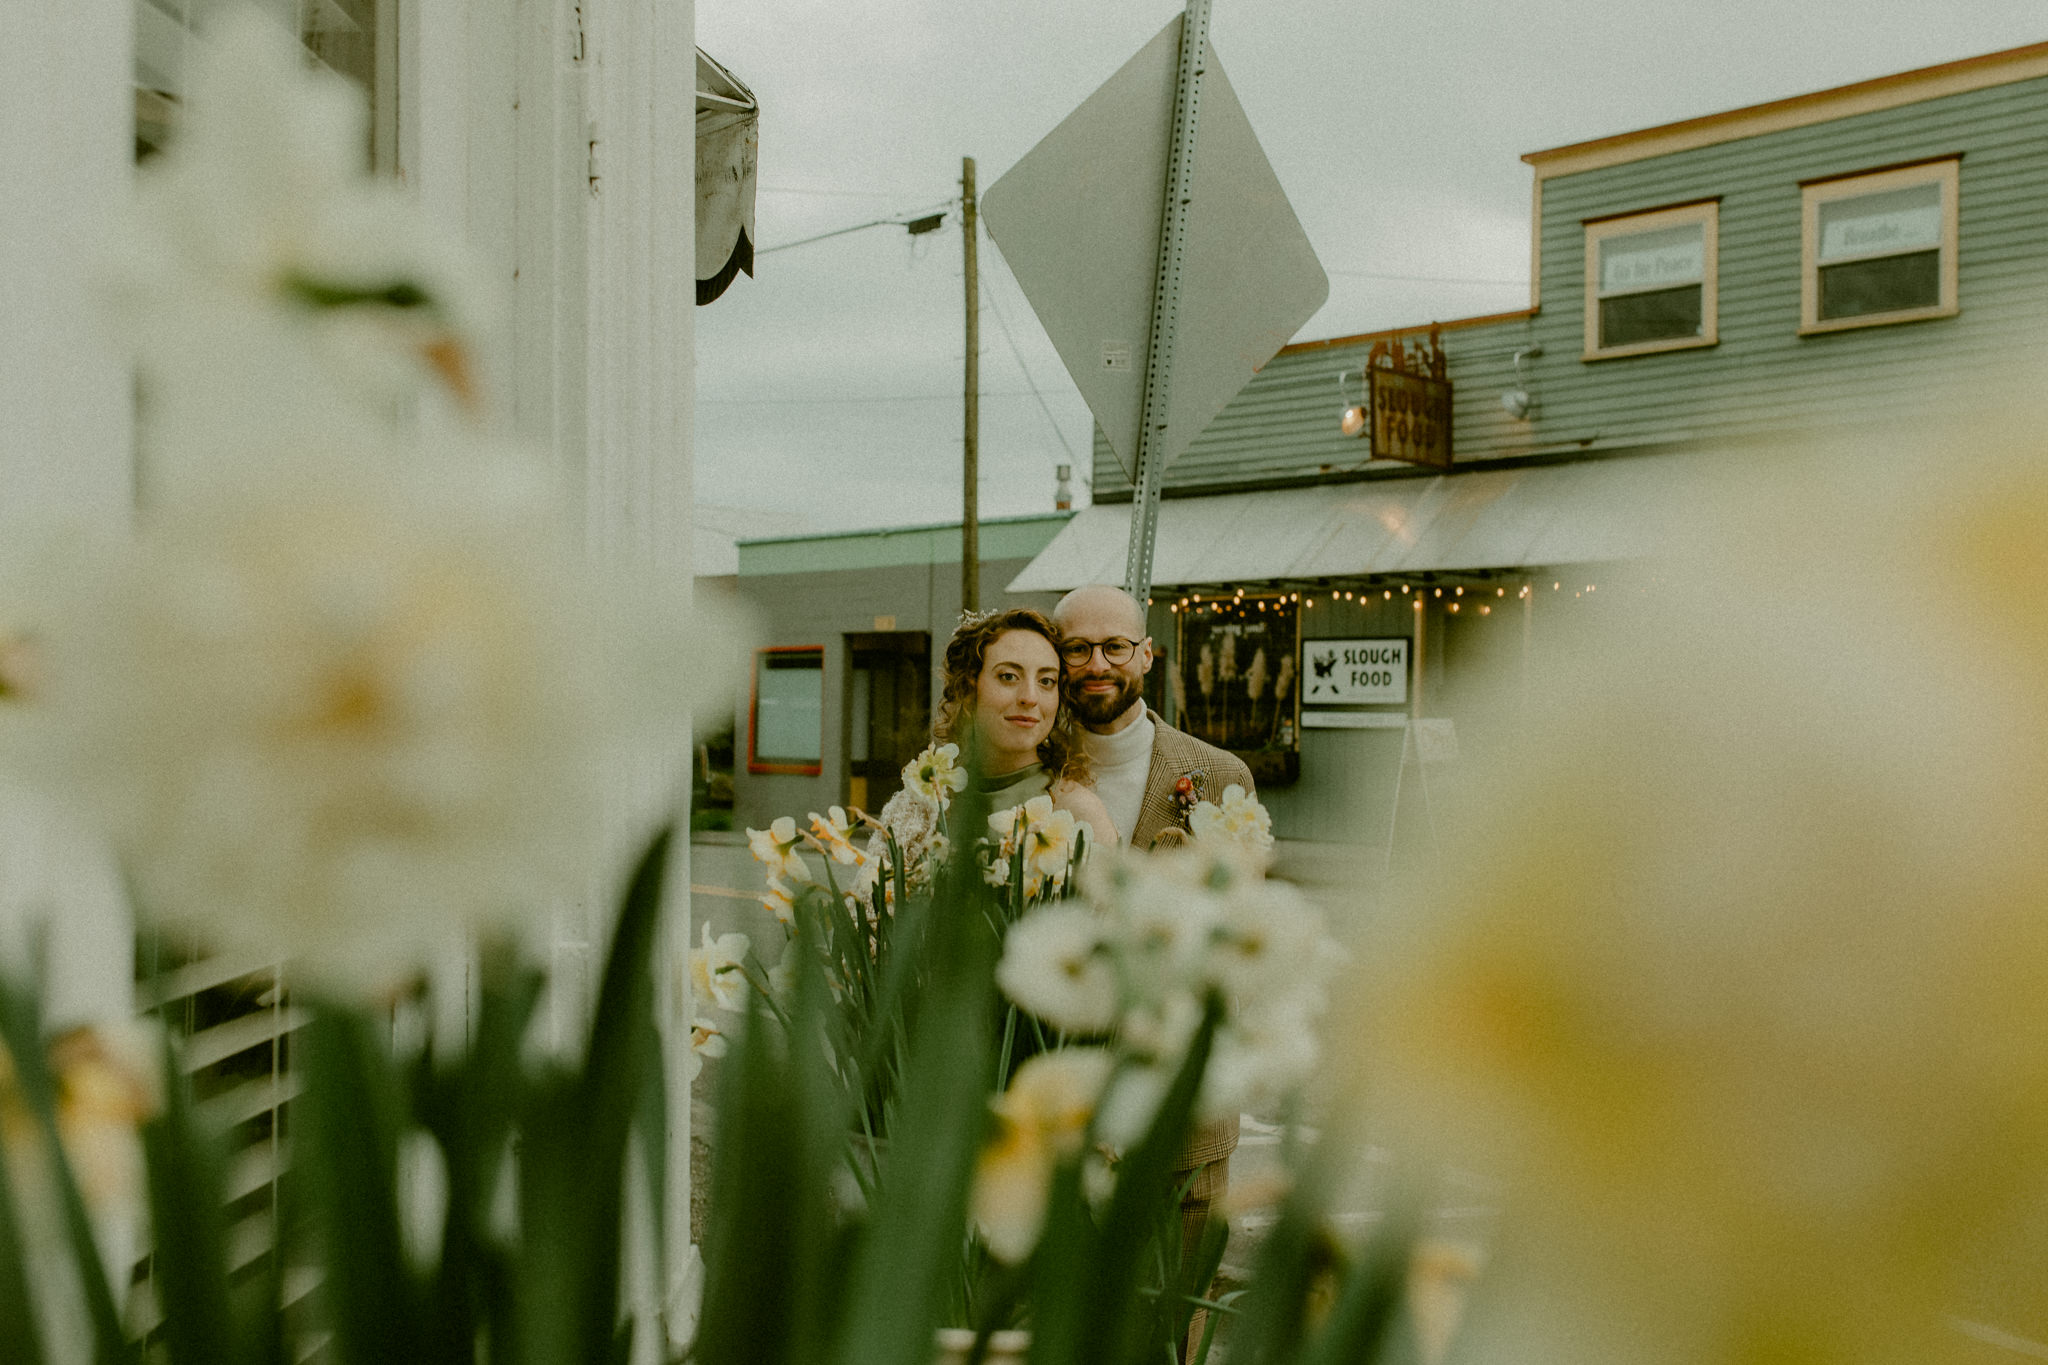
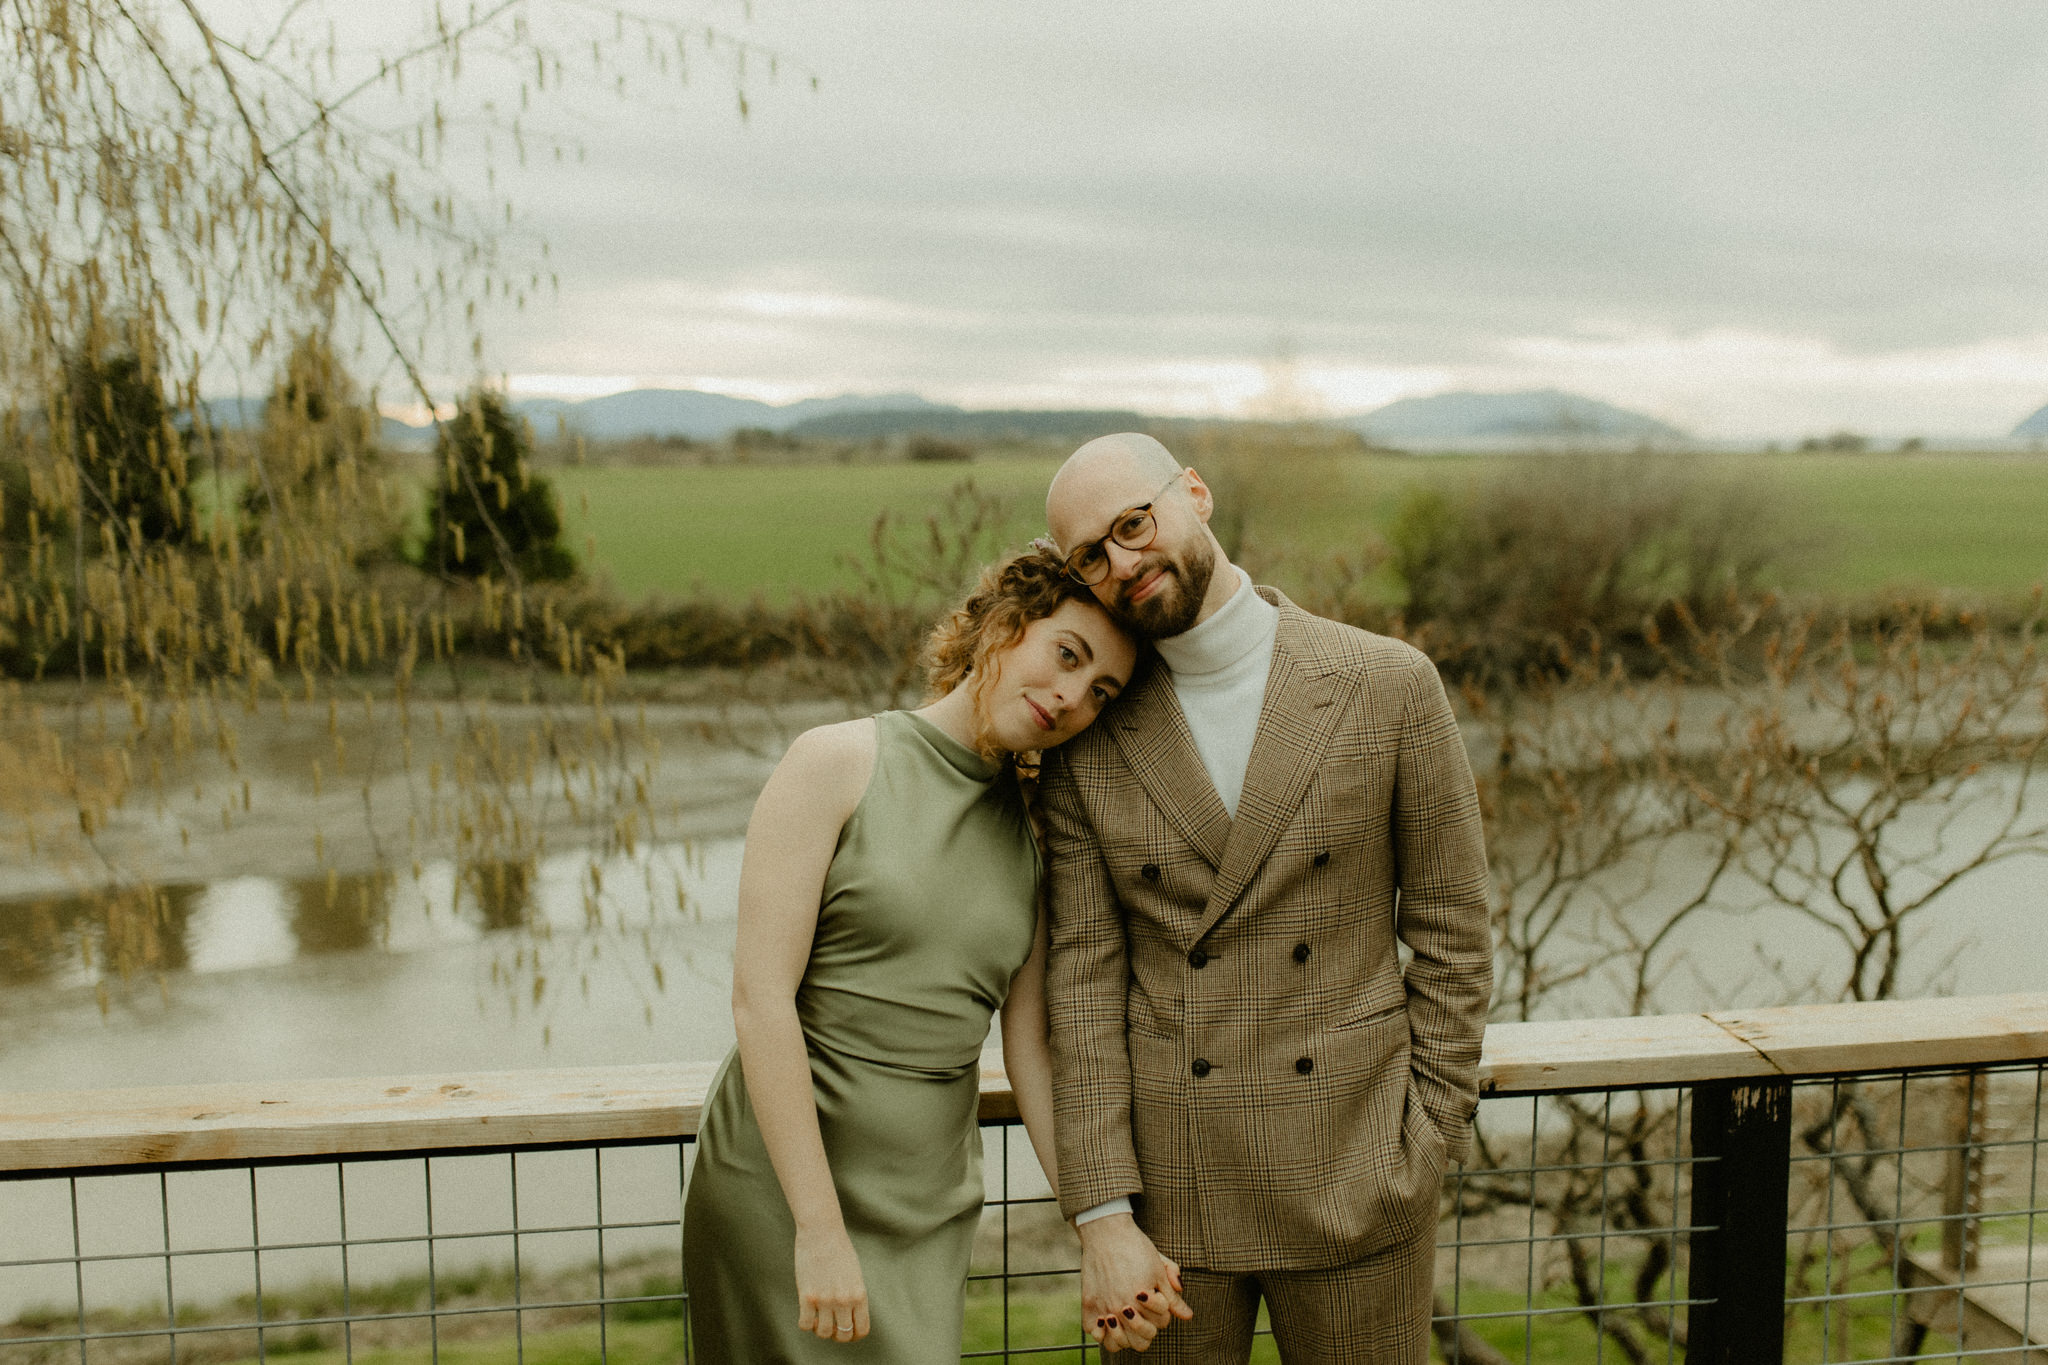
They wanted to say their vows in a way that was truly meaningful to them, which meant no frilly white dresses, stiff processionals or tight timelines that felt more like a production. Instead, they kept things close to their hearts in a funky art-centric town in the Skagit Valley, surrounded only by their parents. Having visited Bow-Edison before and fallen in love with its small-town charm and artistic soul, it made total sense to solidify their intentions to one another right here.
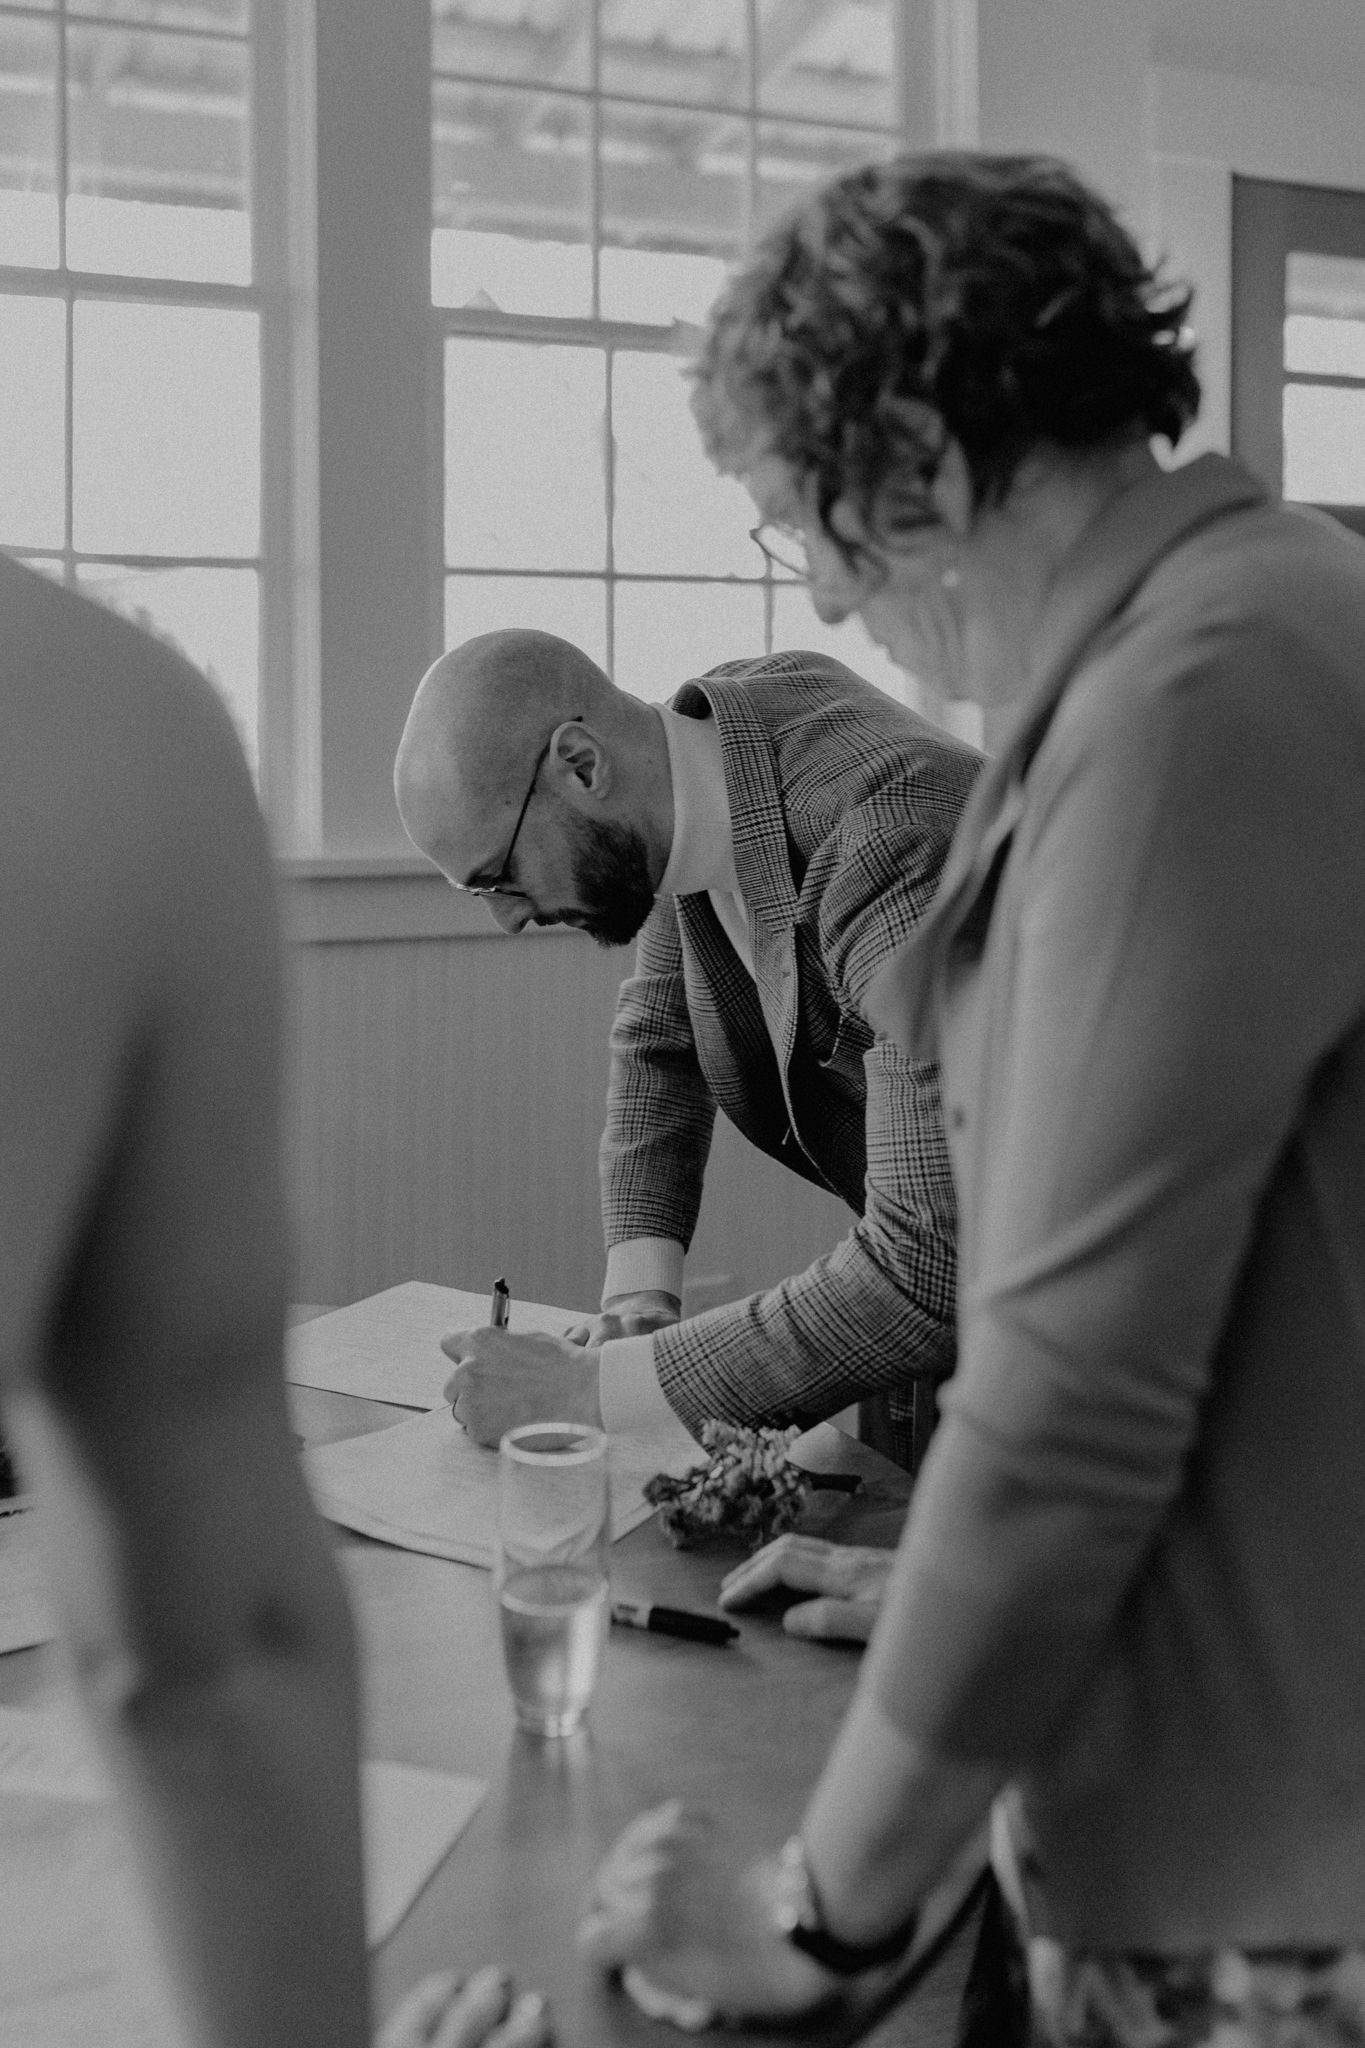
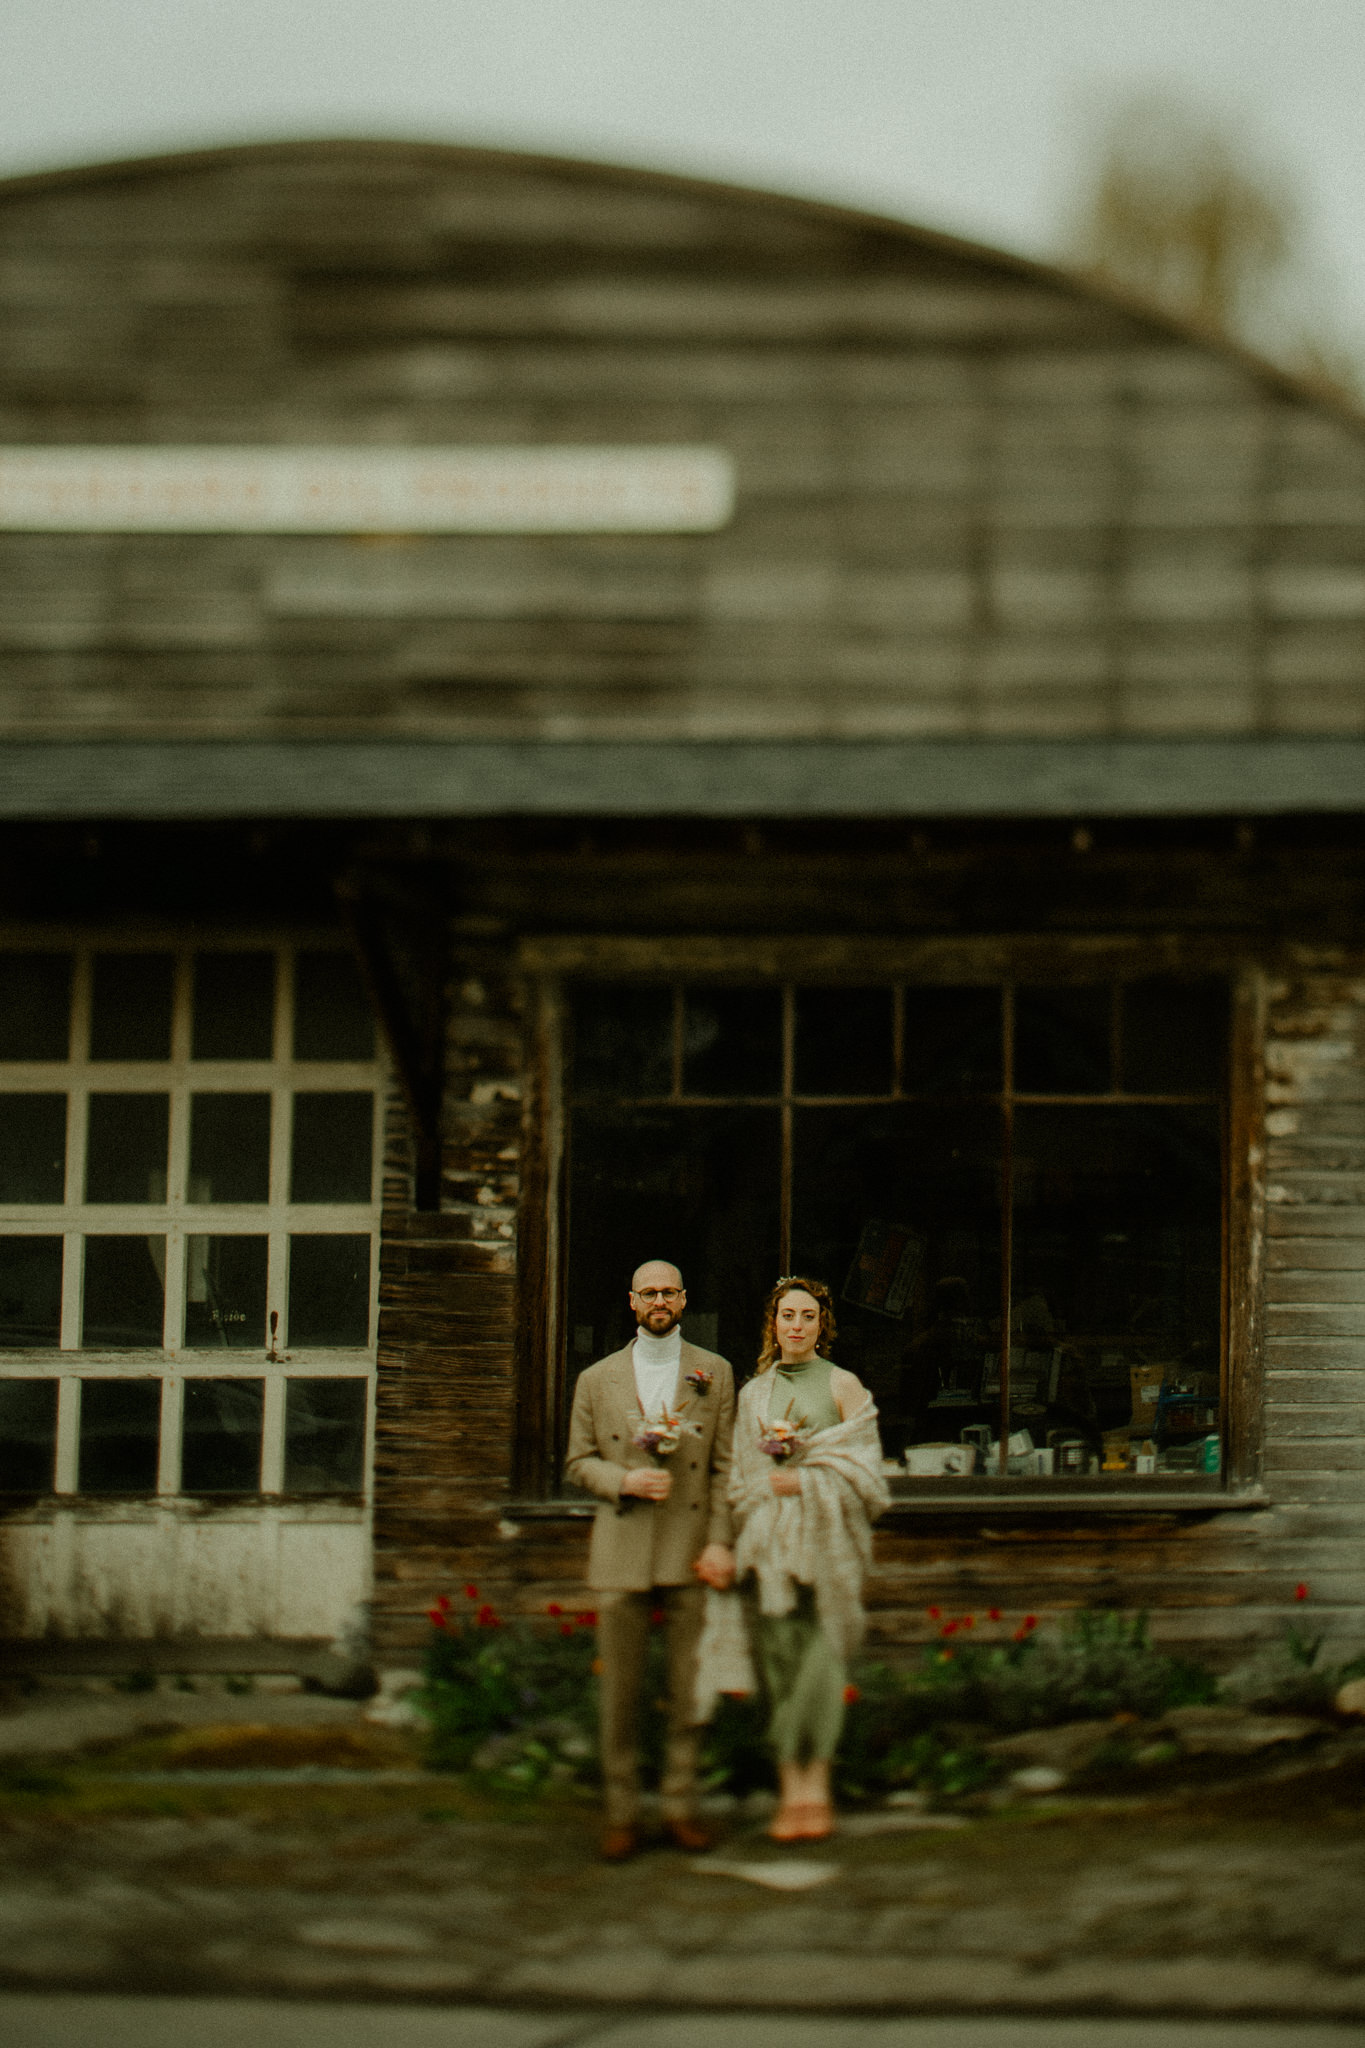
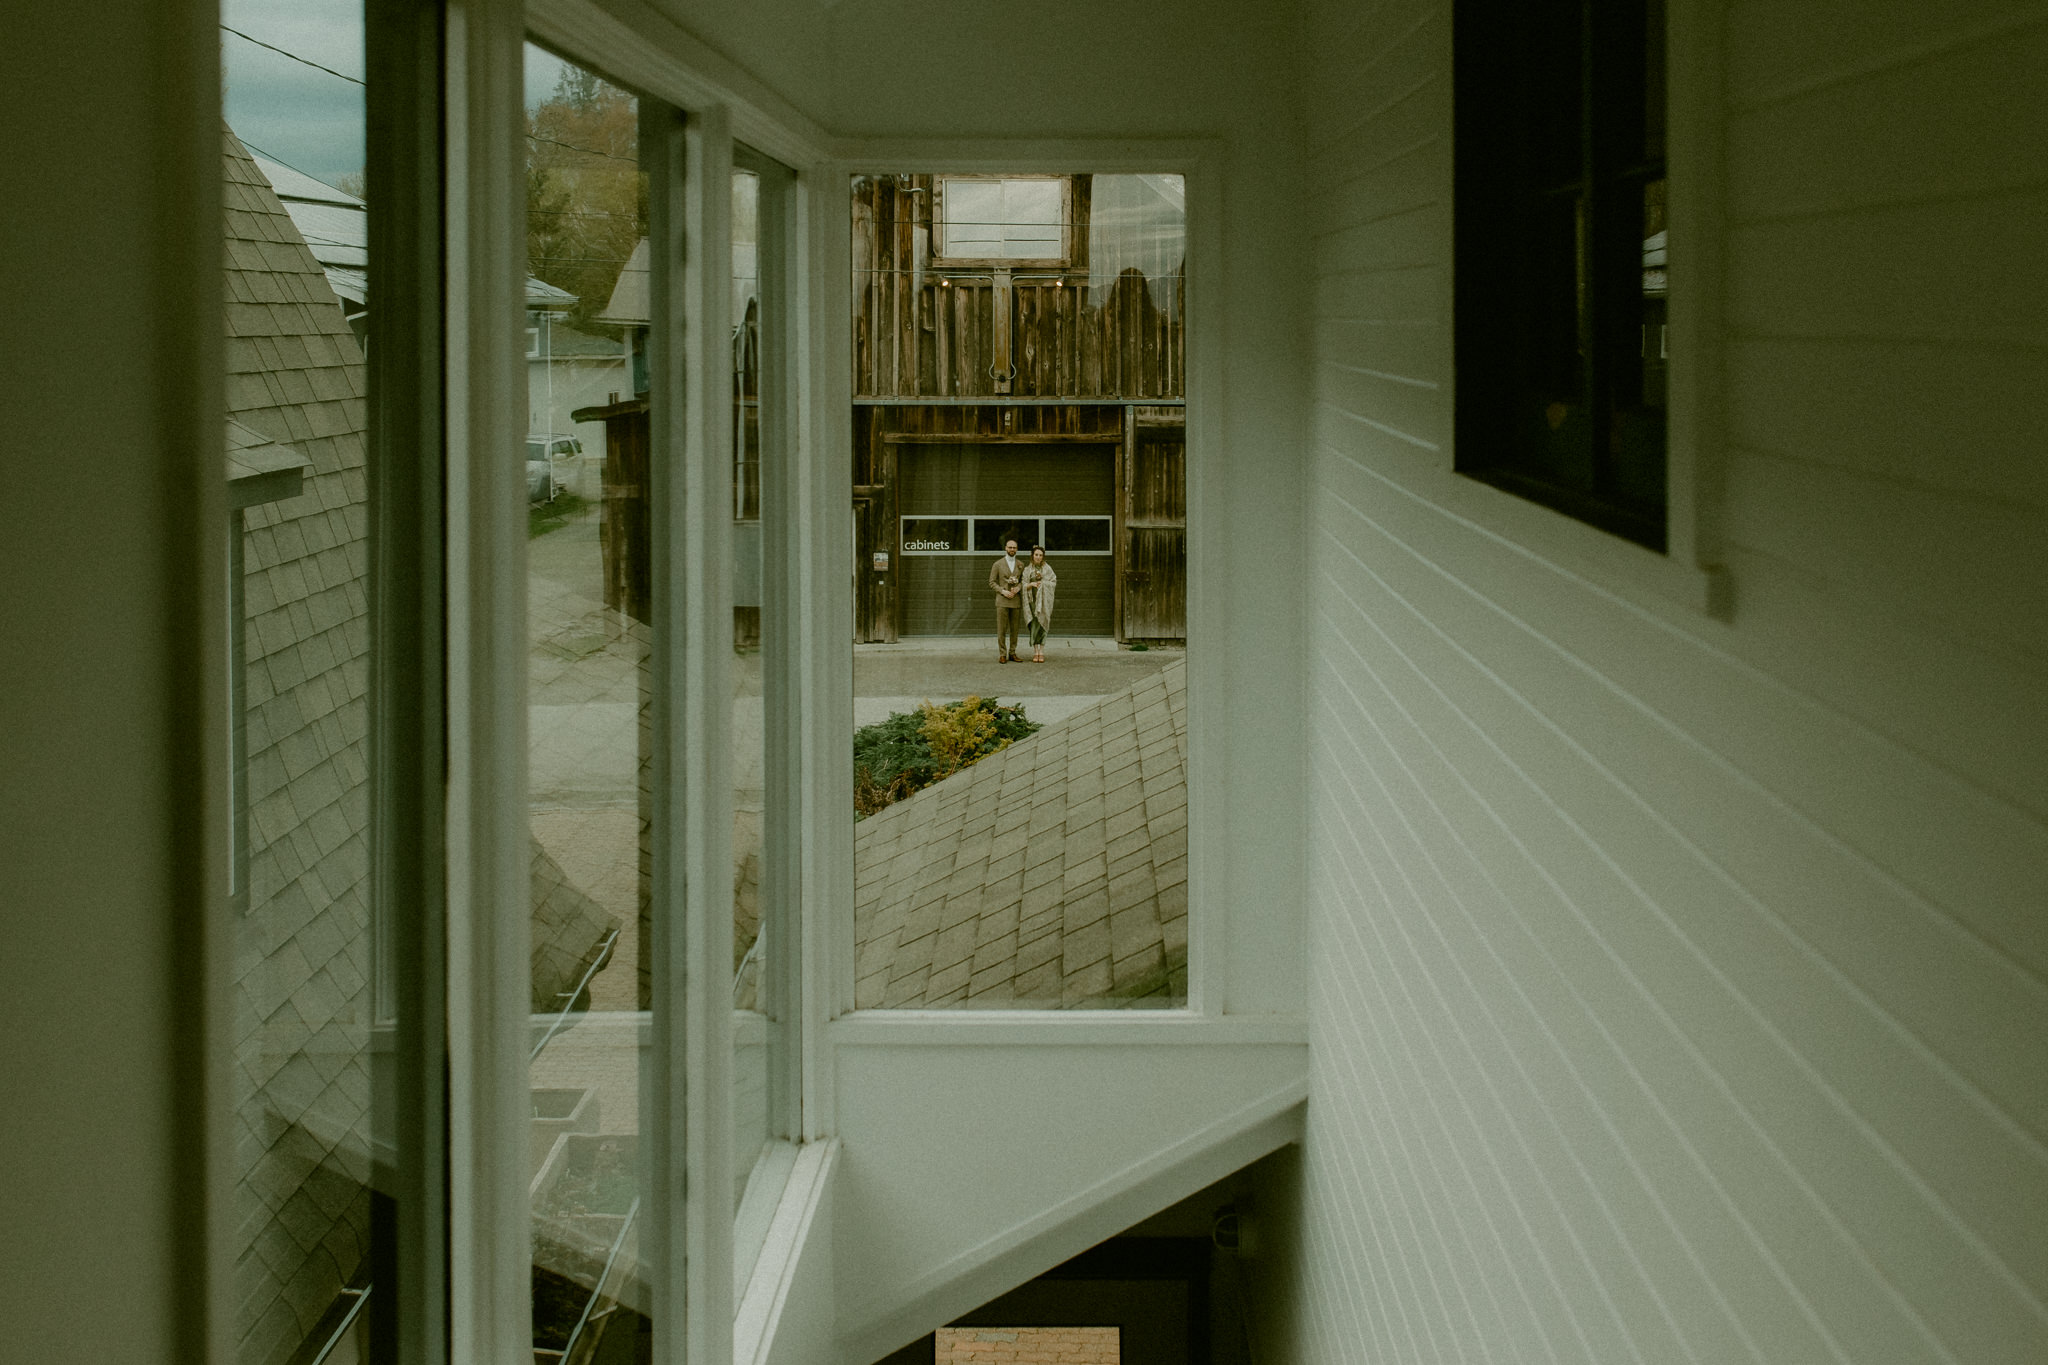
Renting out the historic Edison Schoolhouse alongside the Smith & Gallee Boat House next door, their day was laid-back, creative, and completely custom.
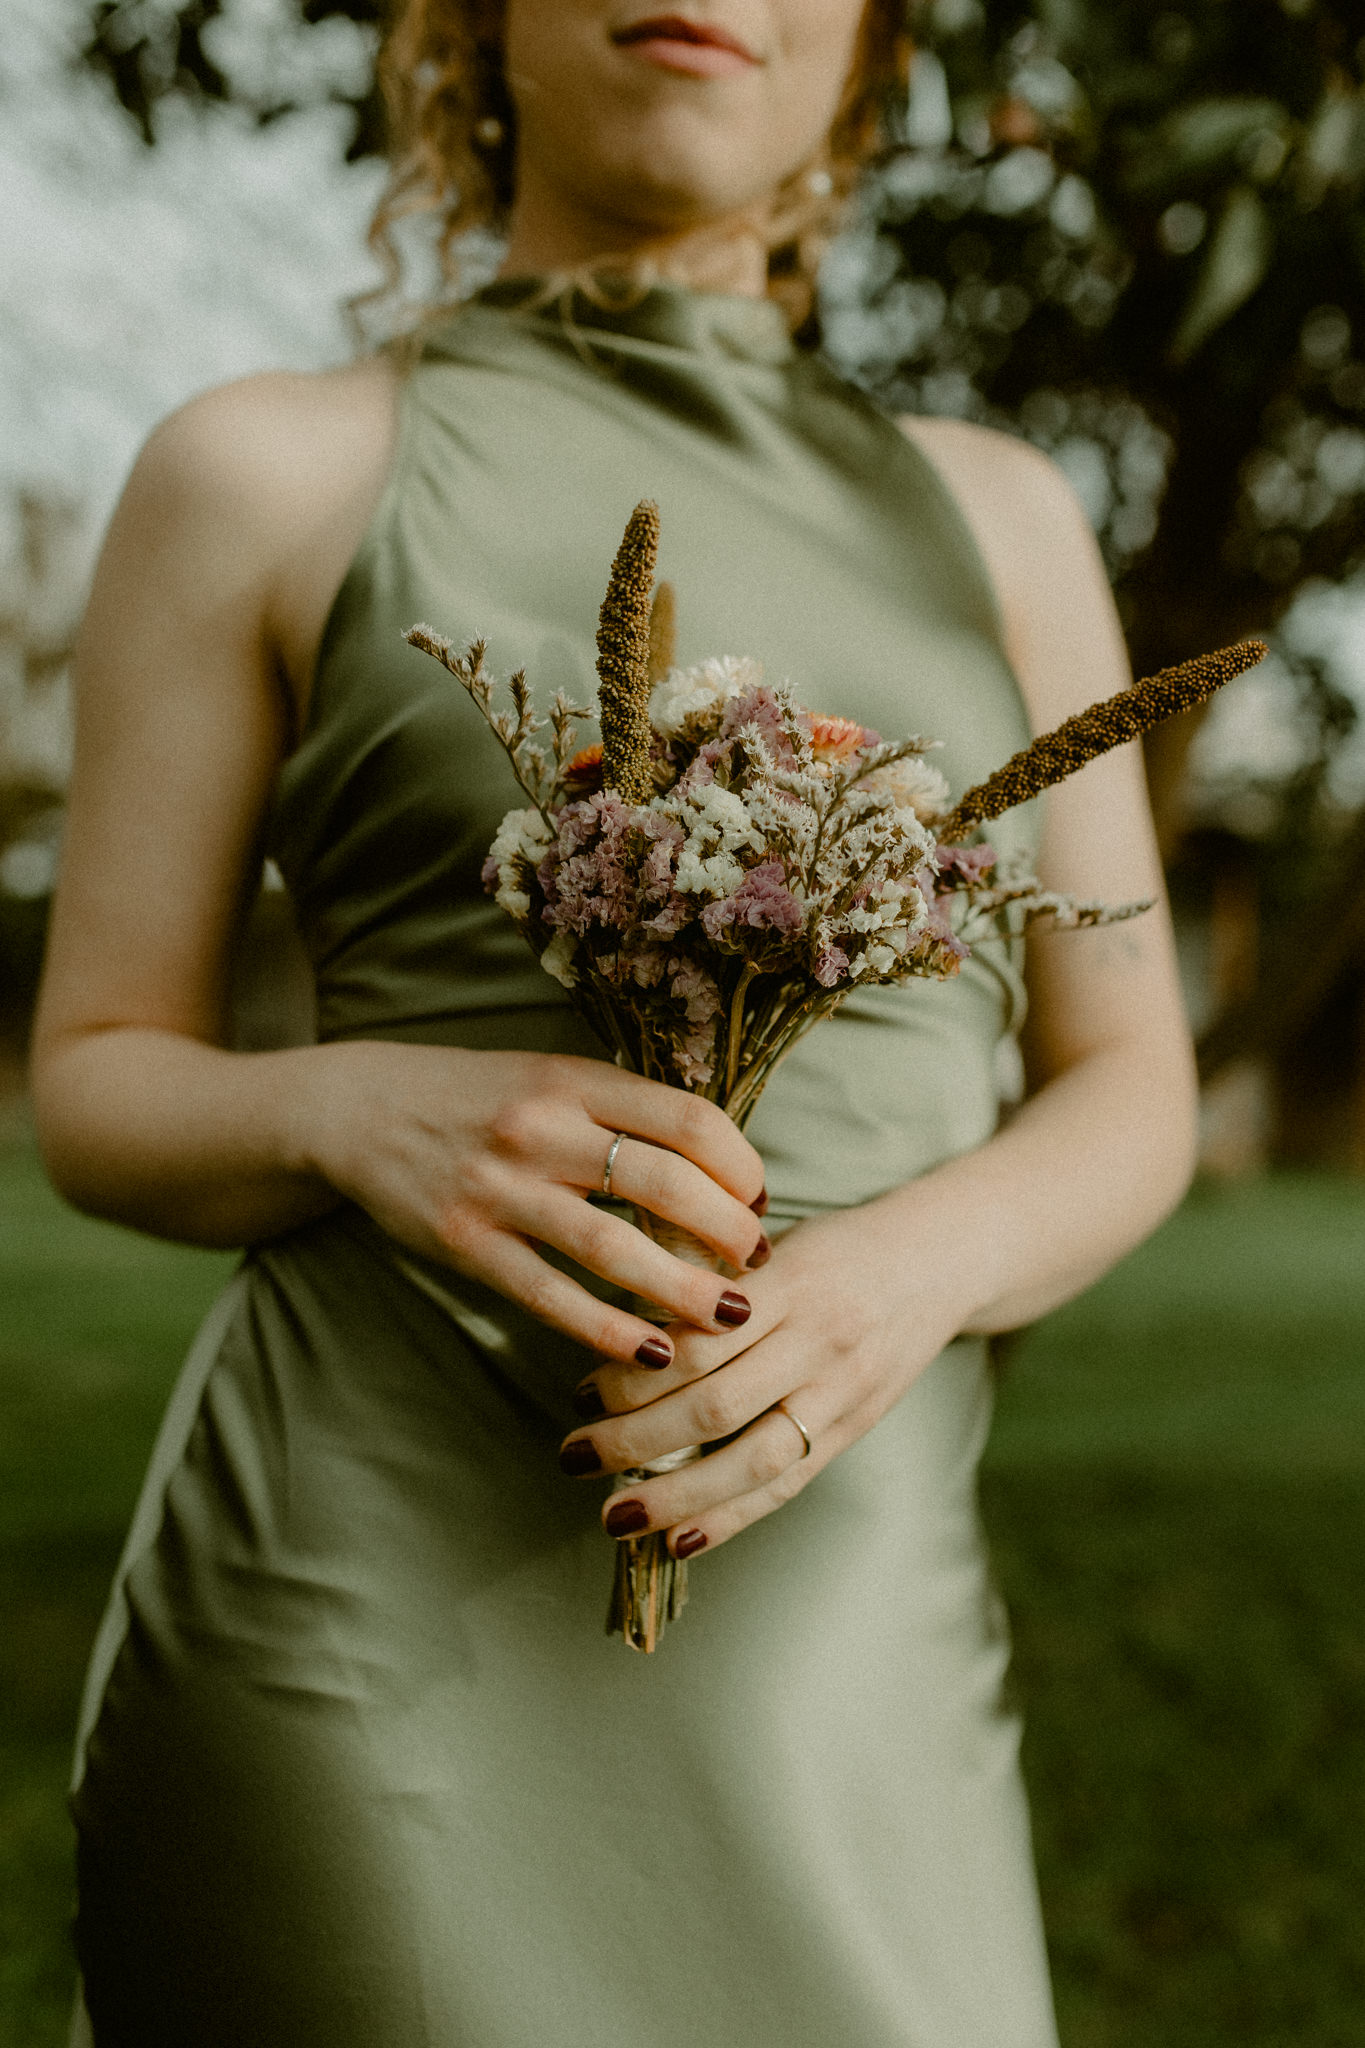
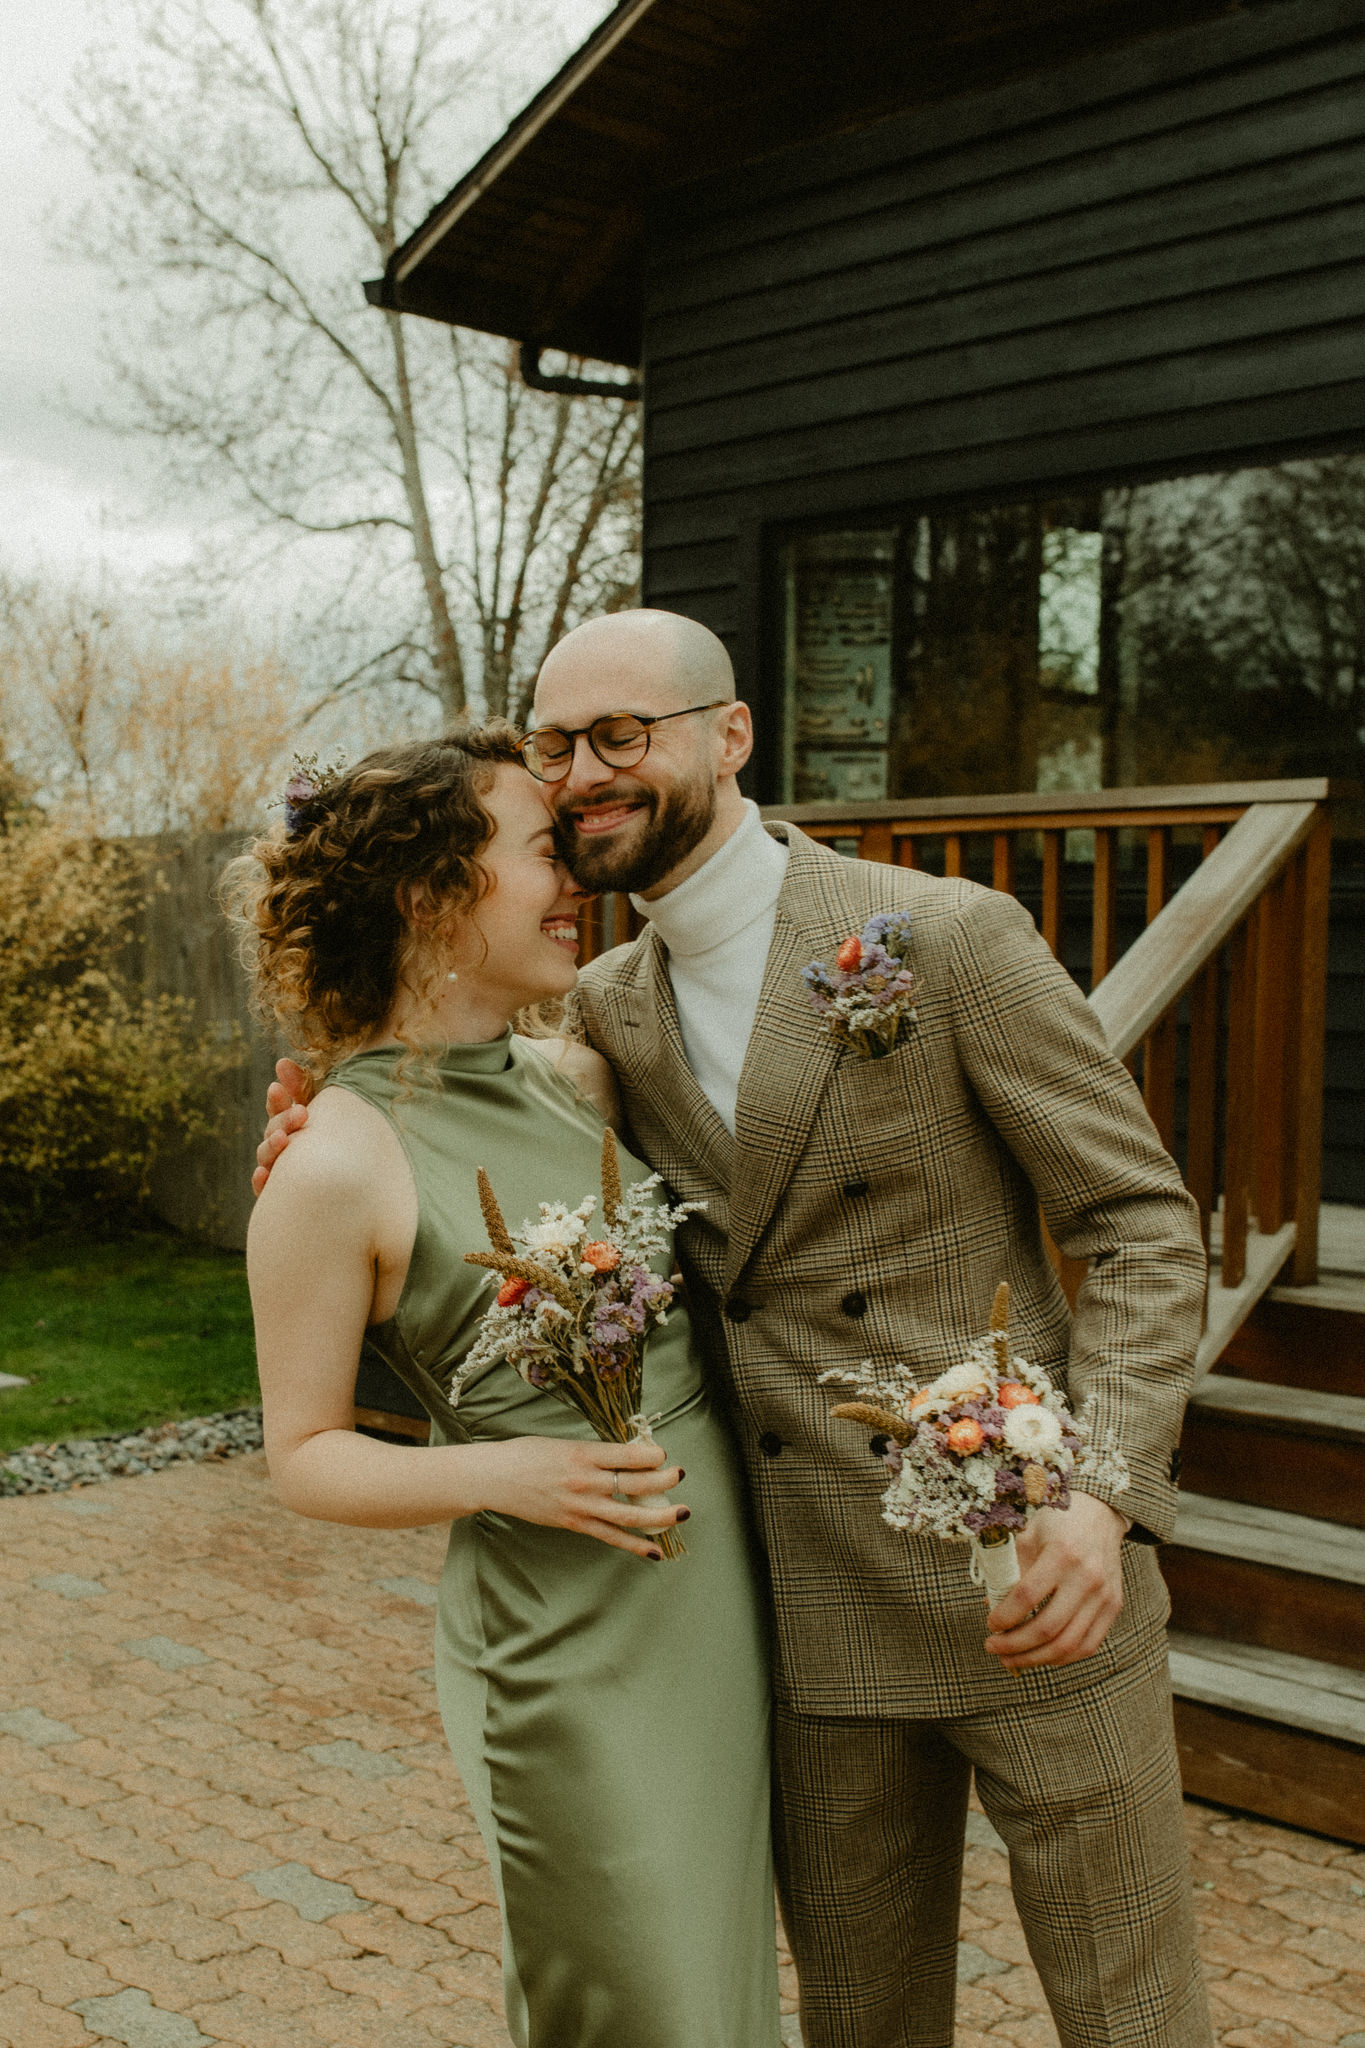
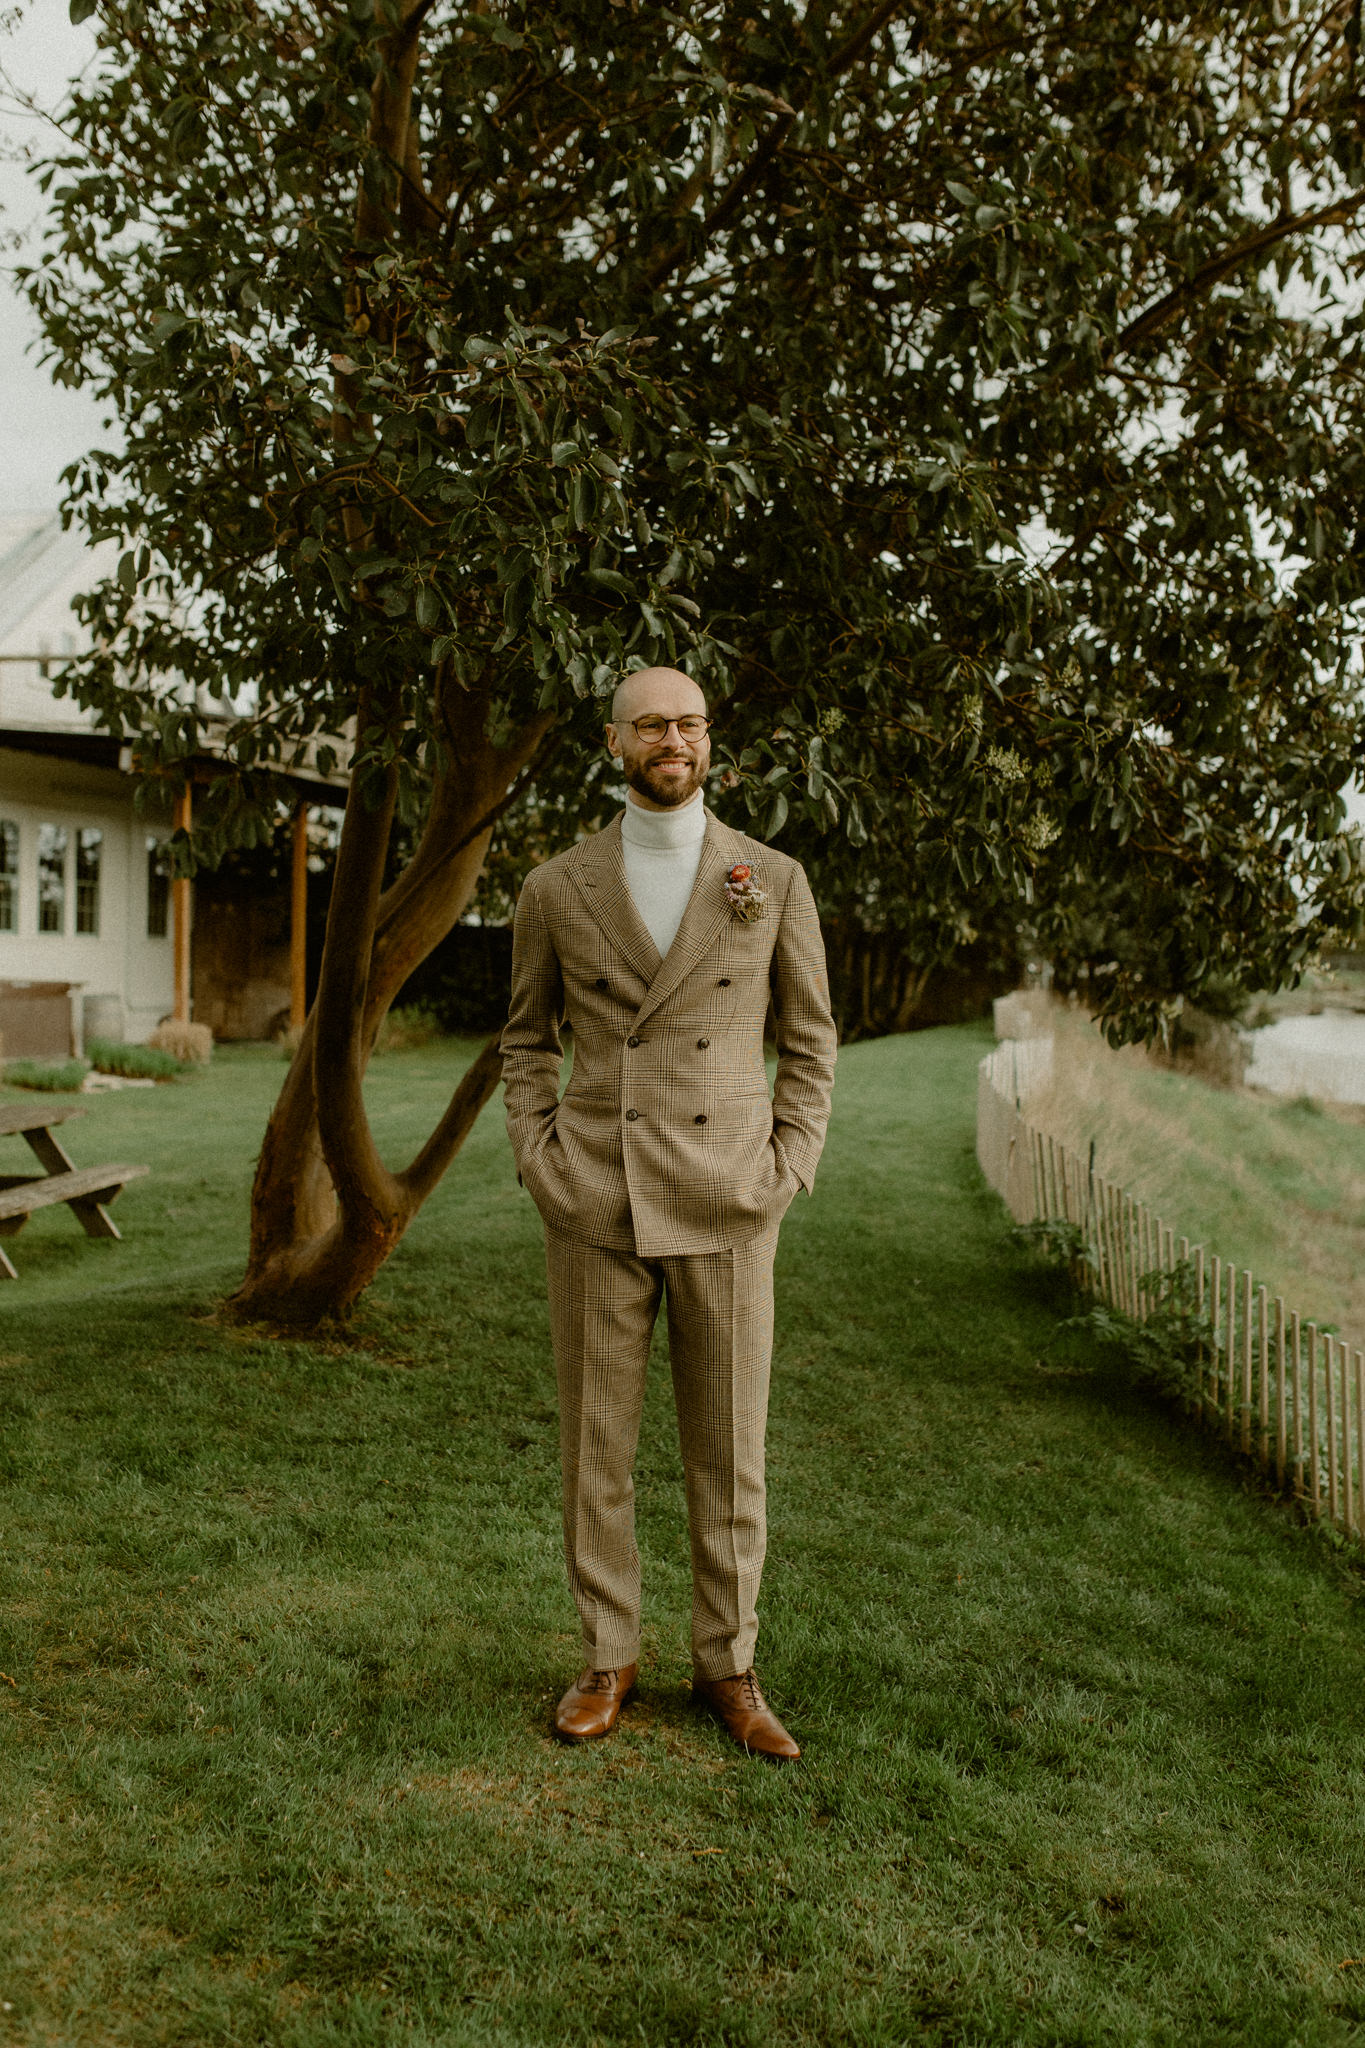
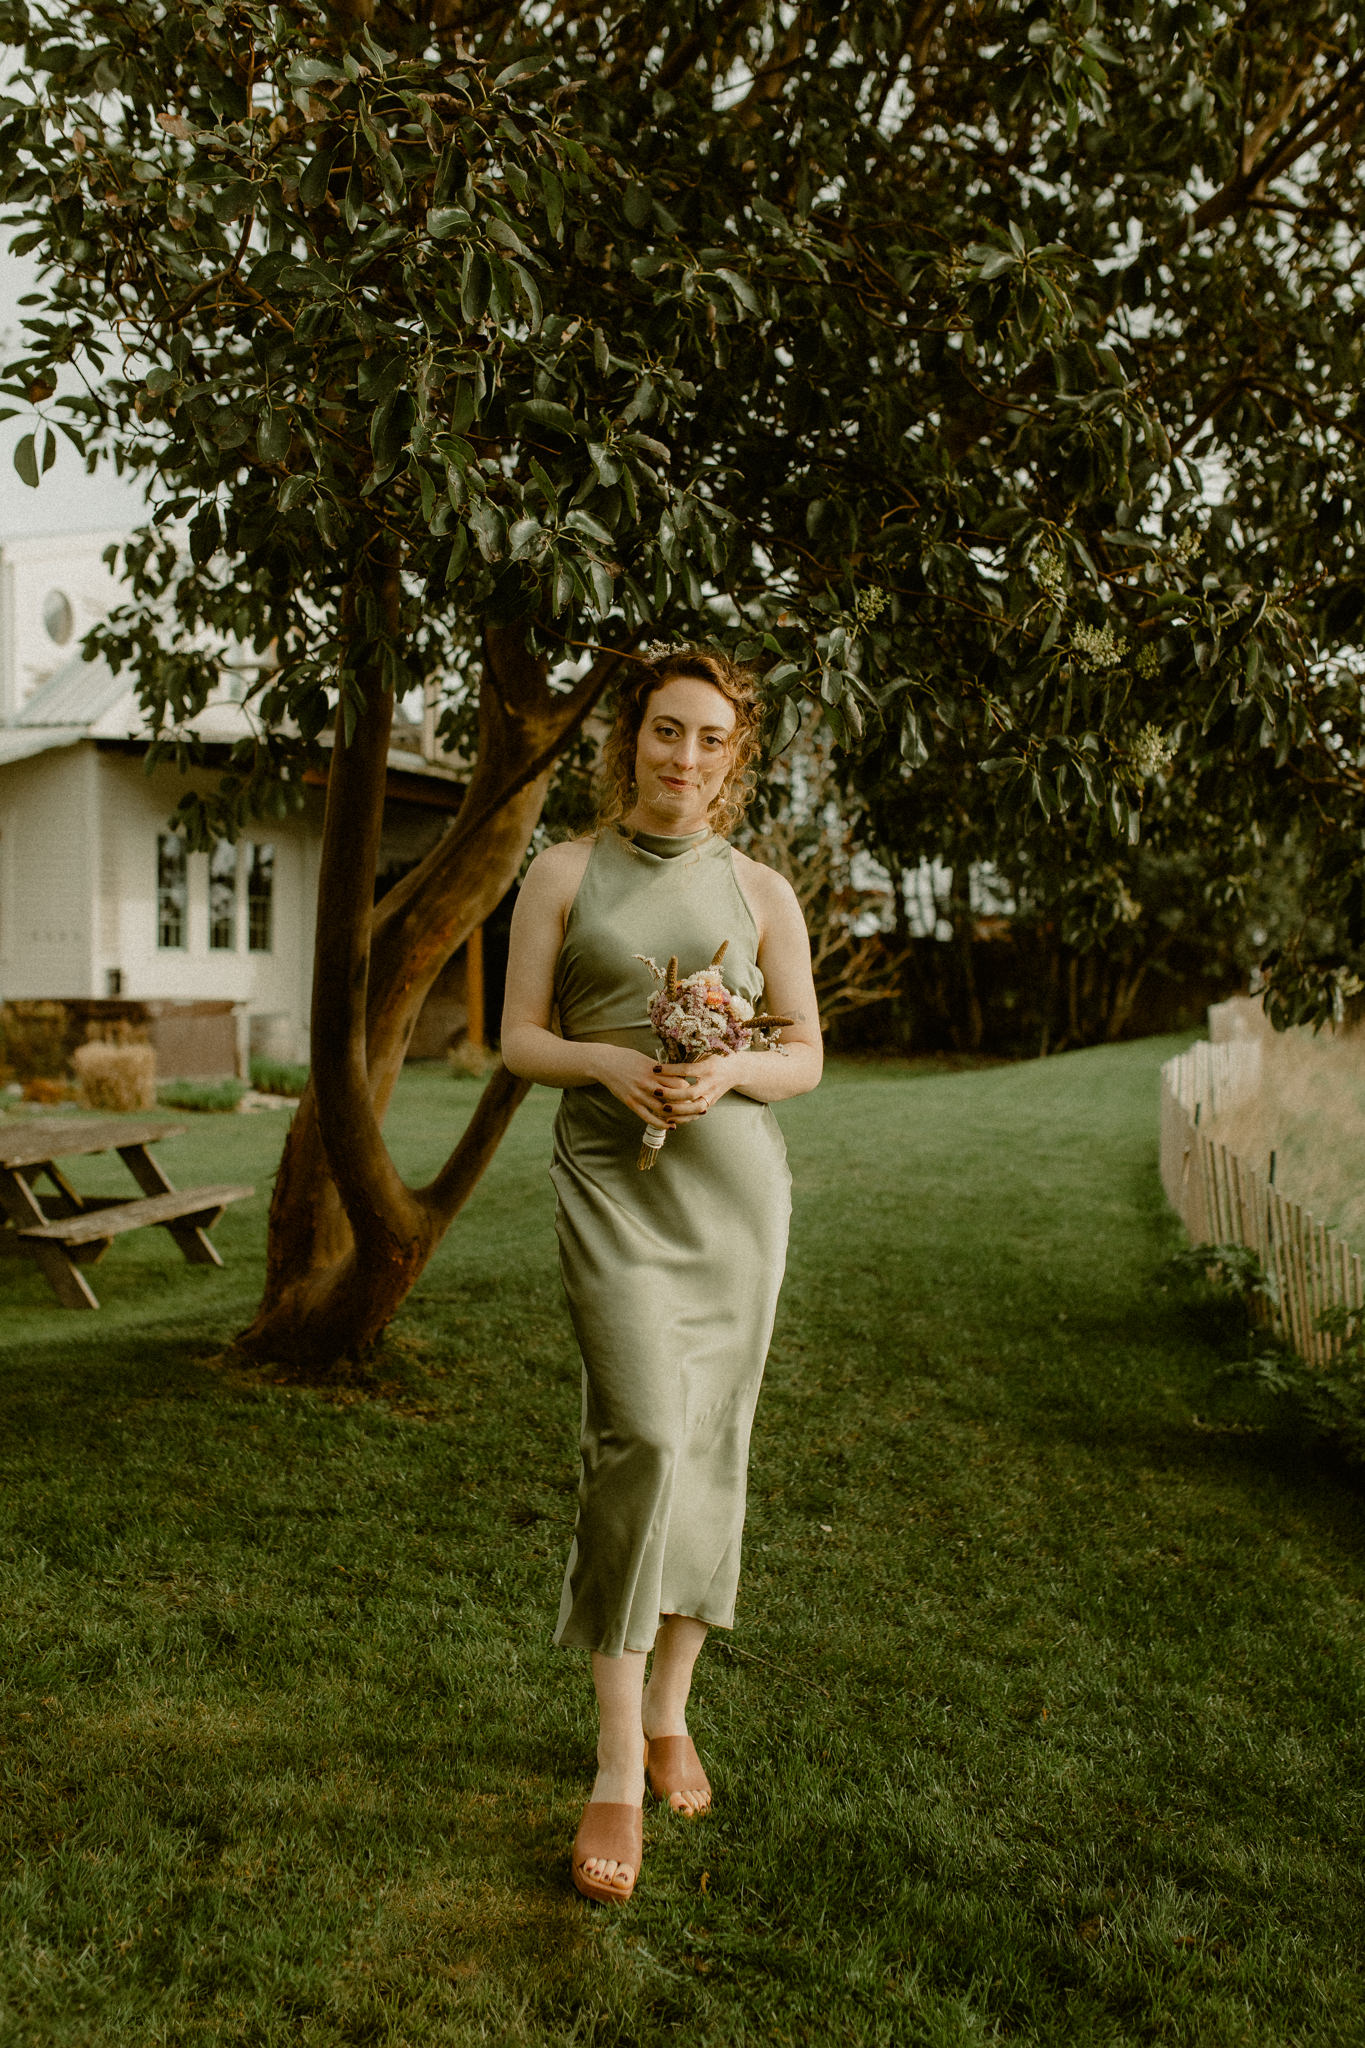
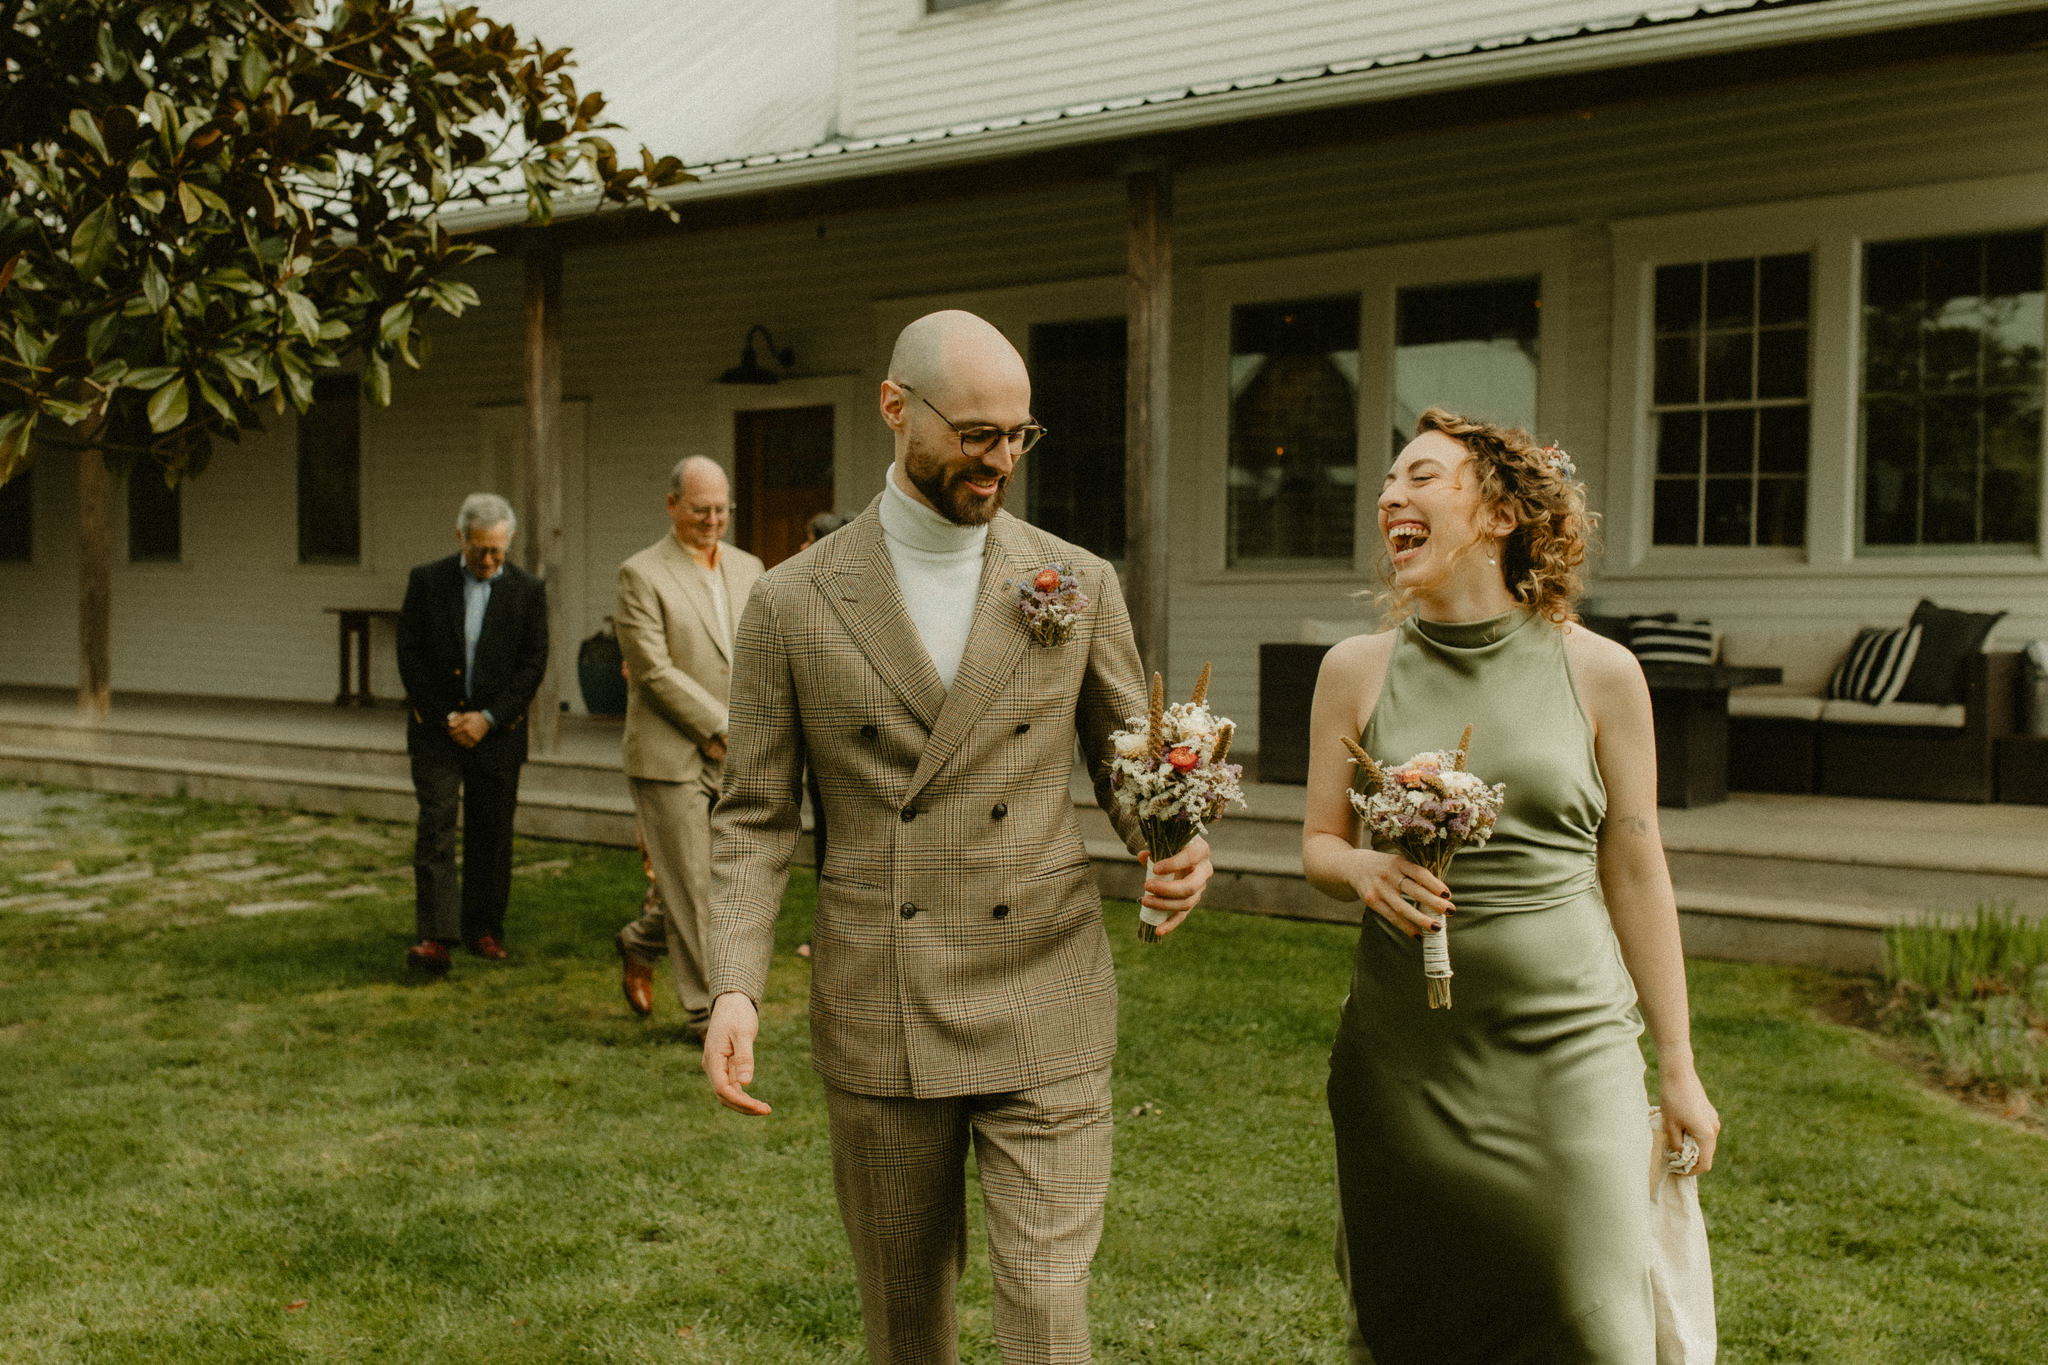
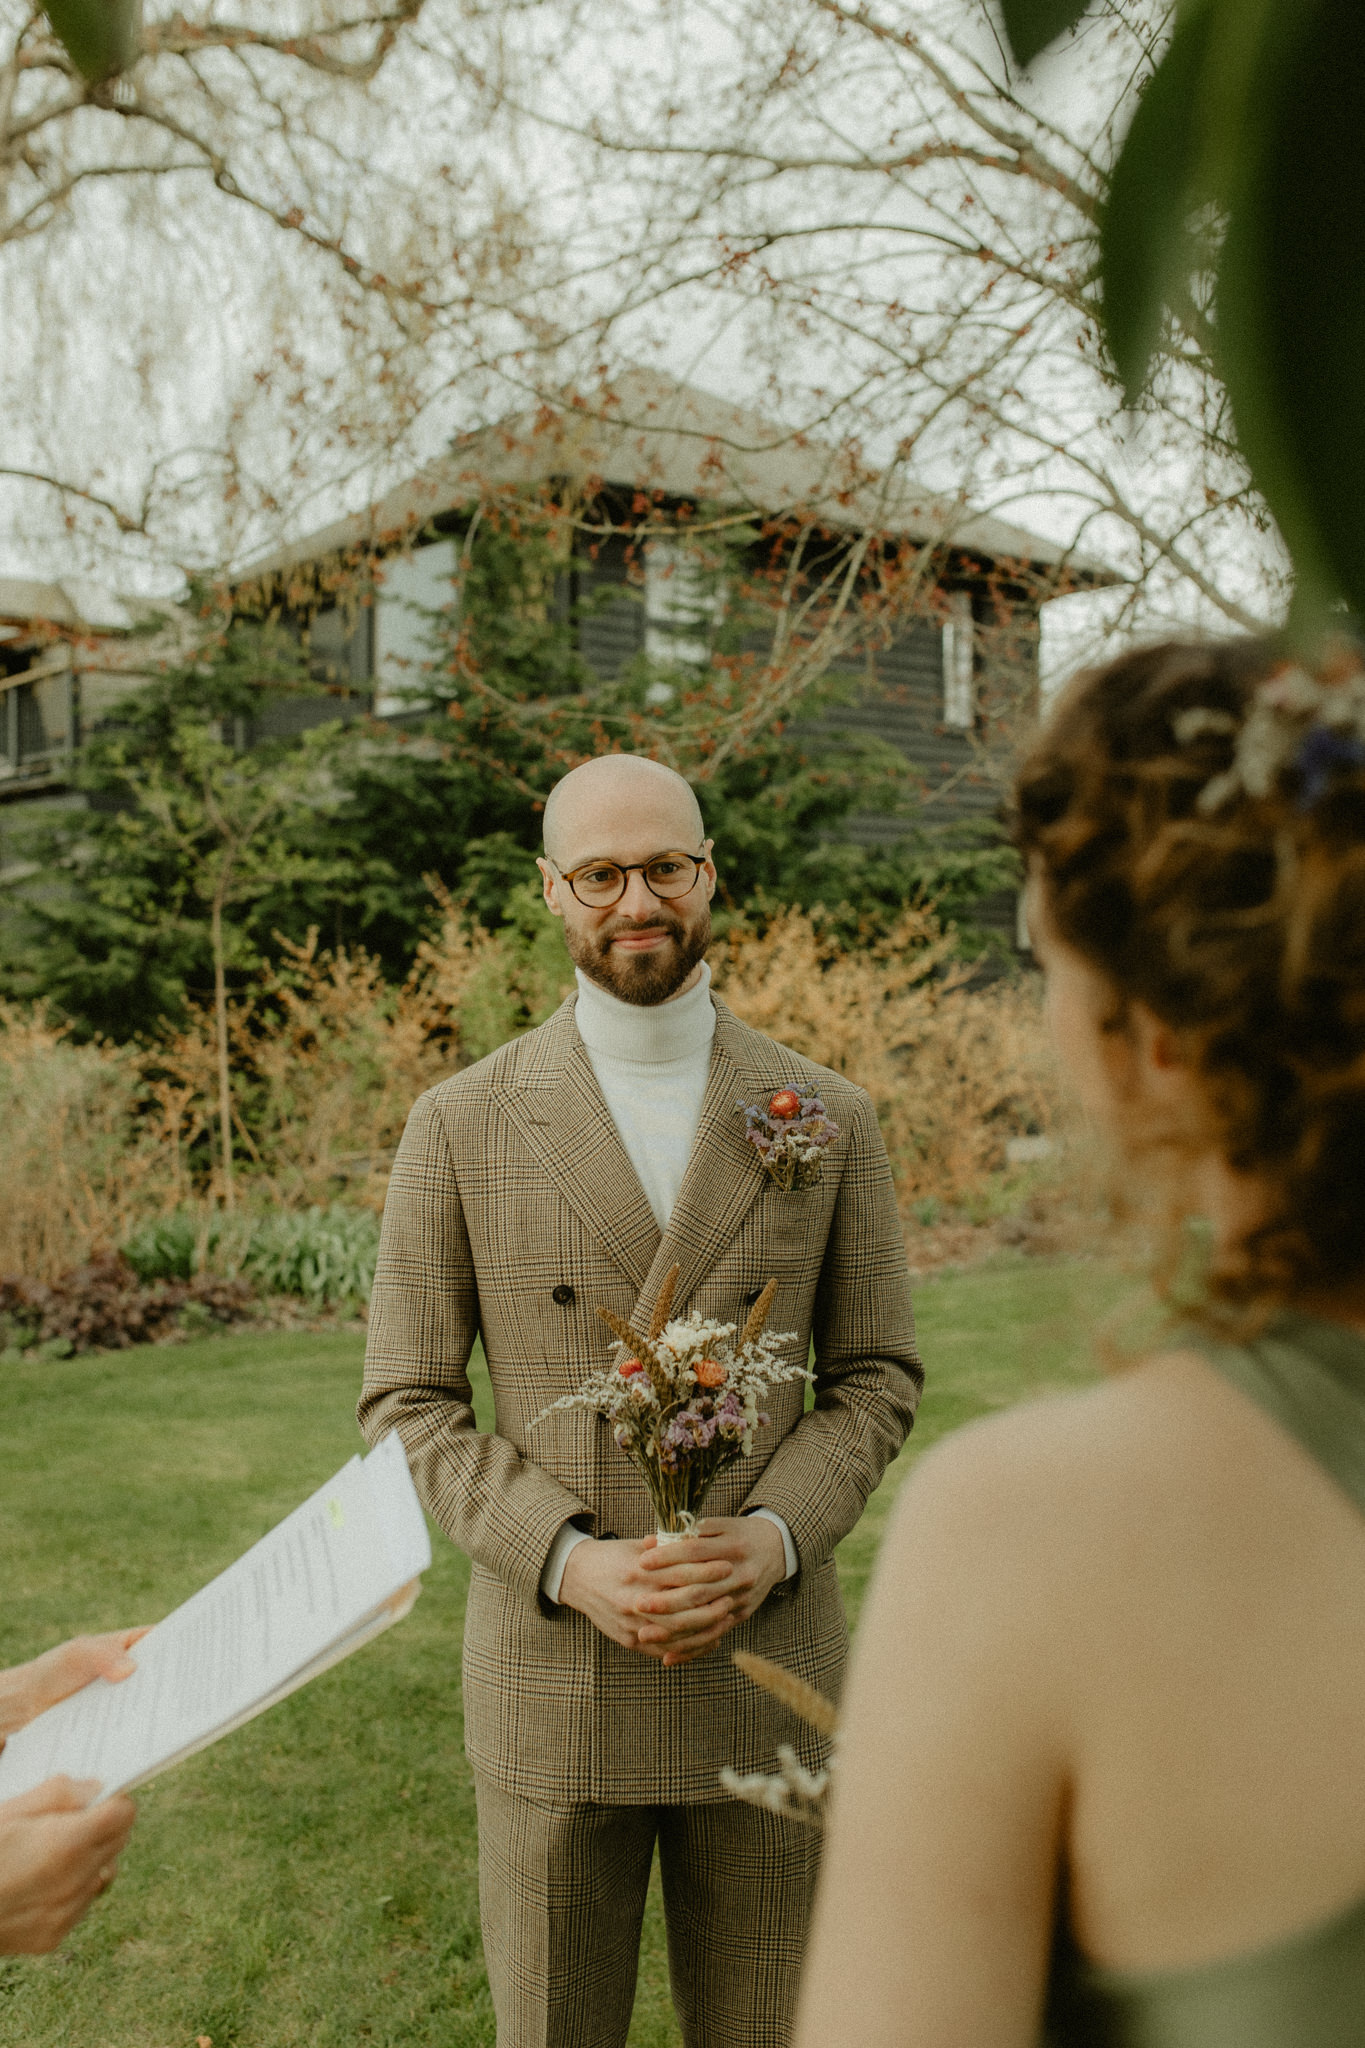
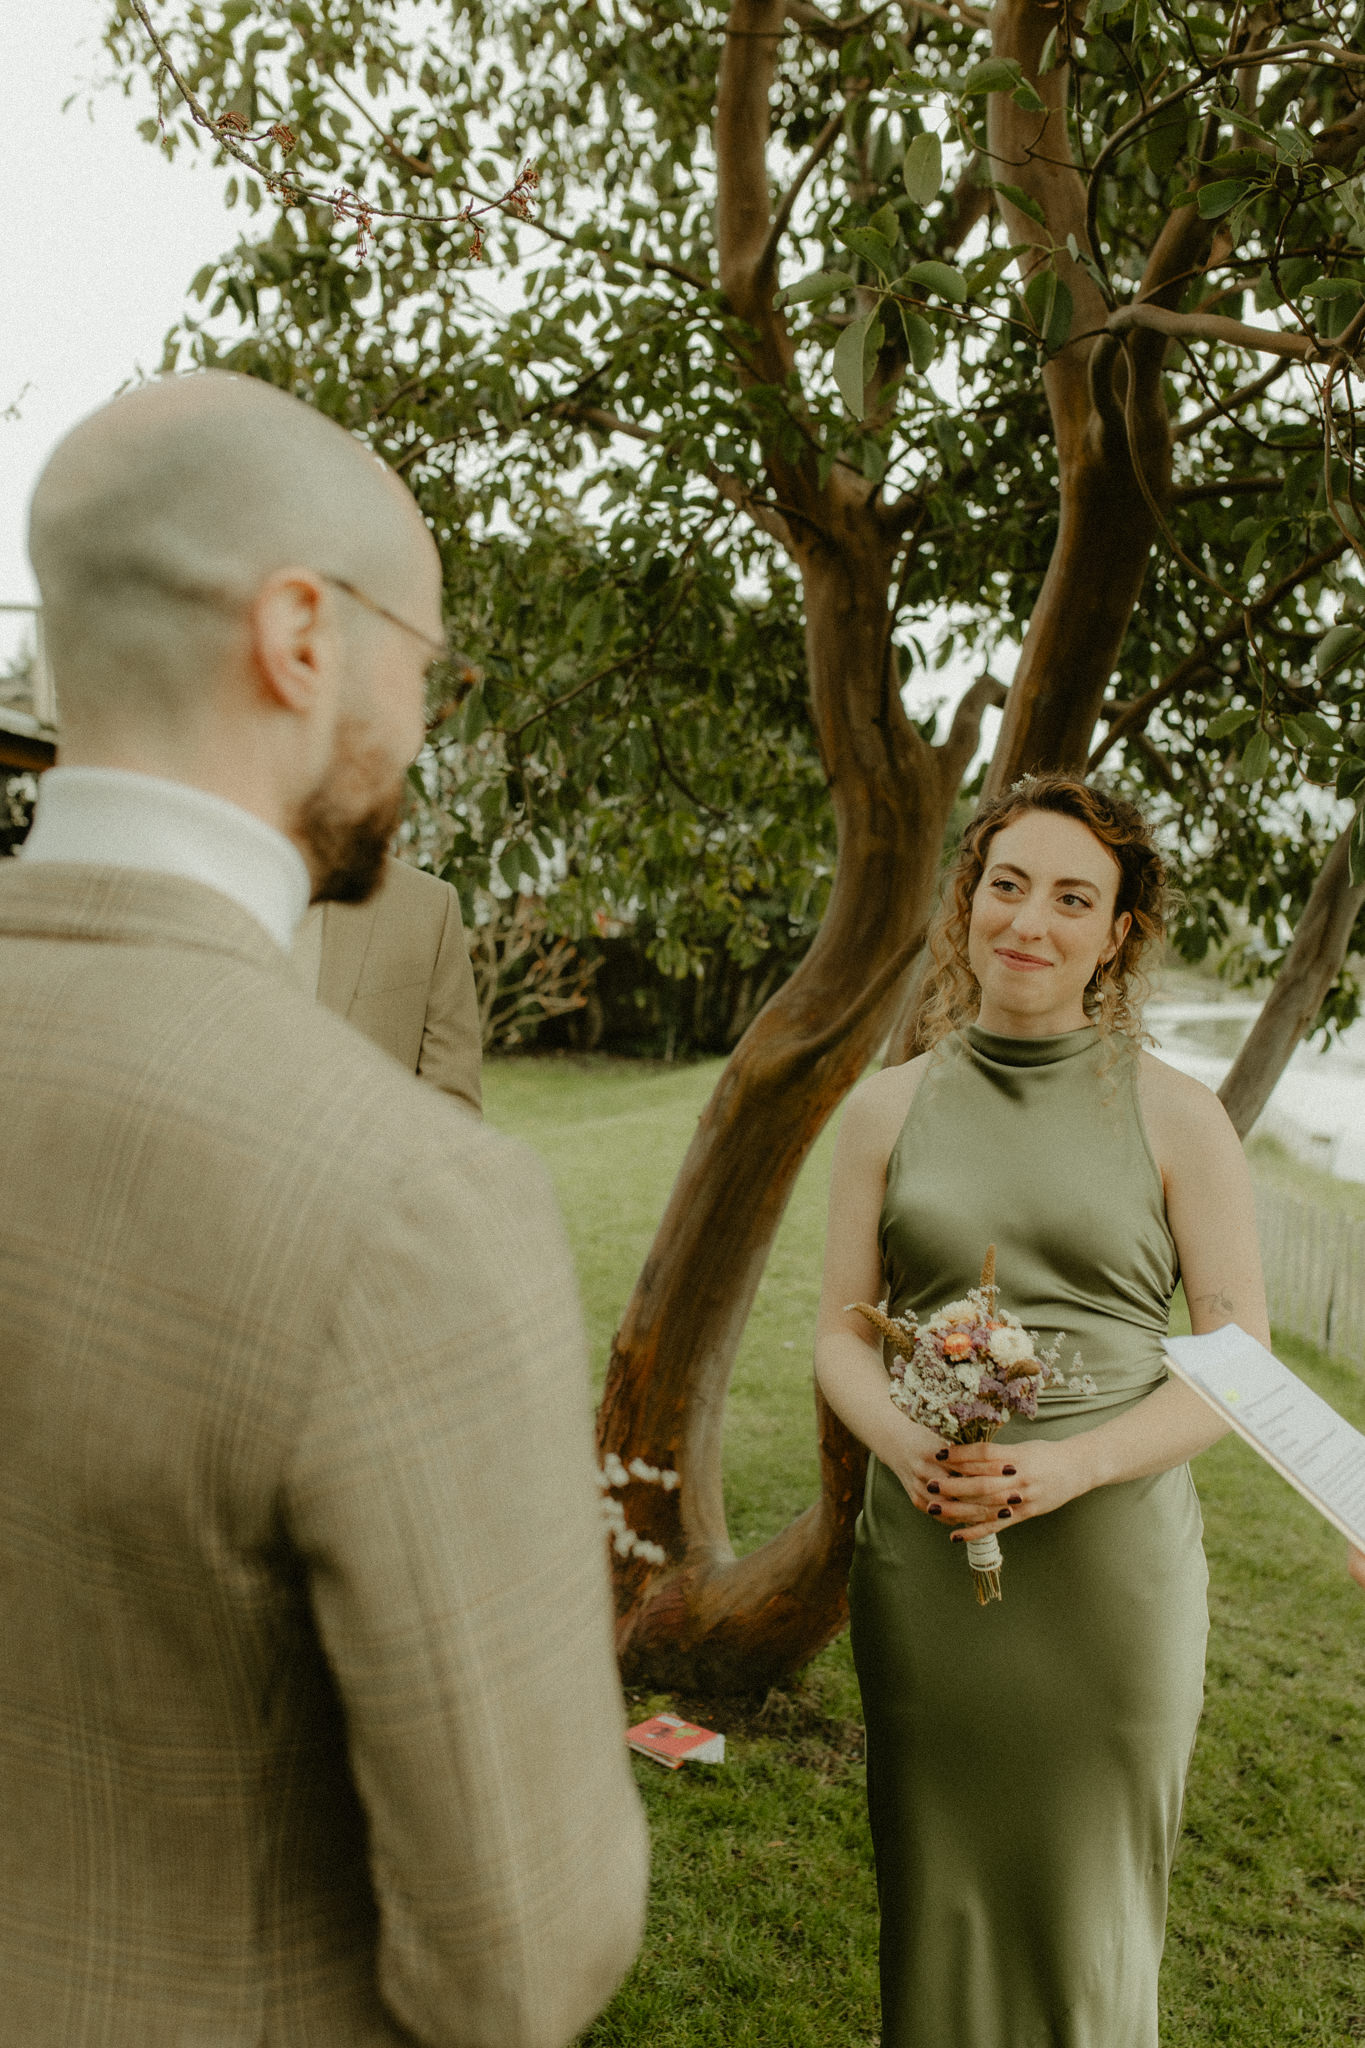
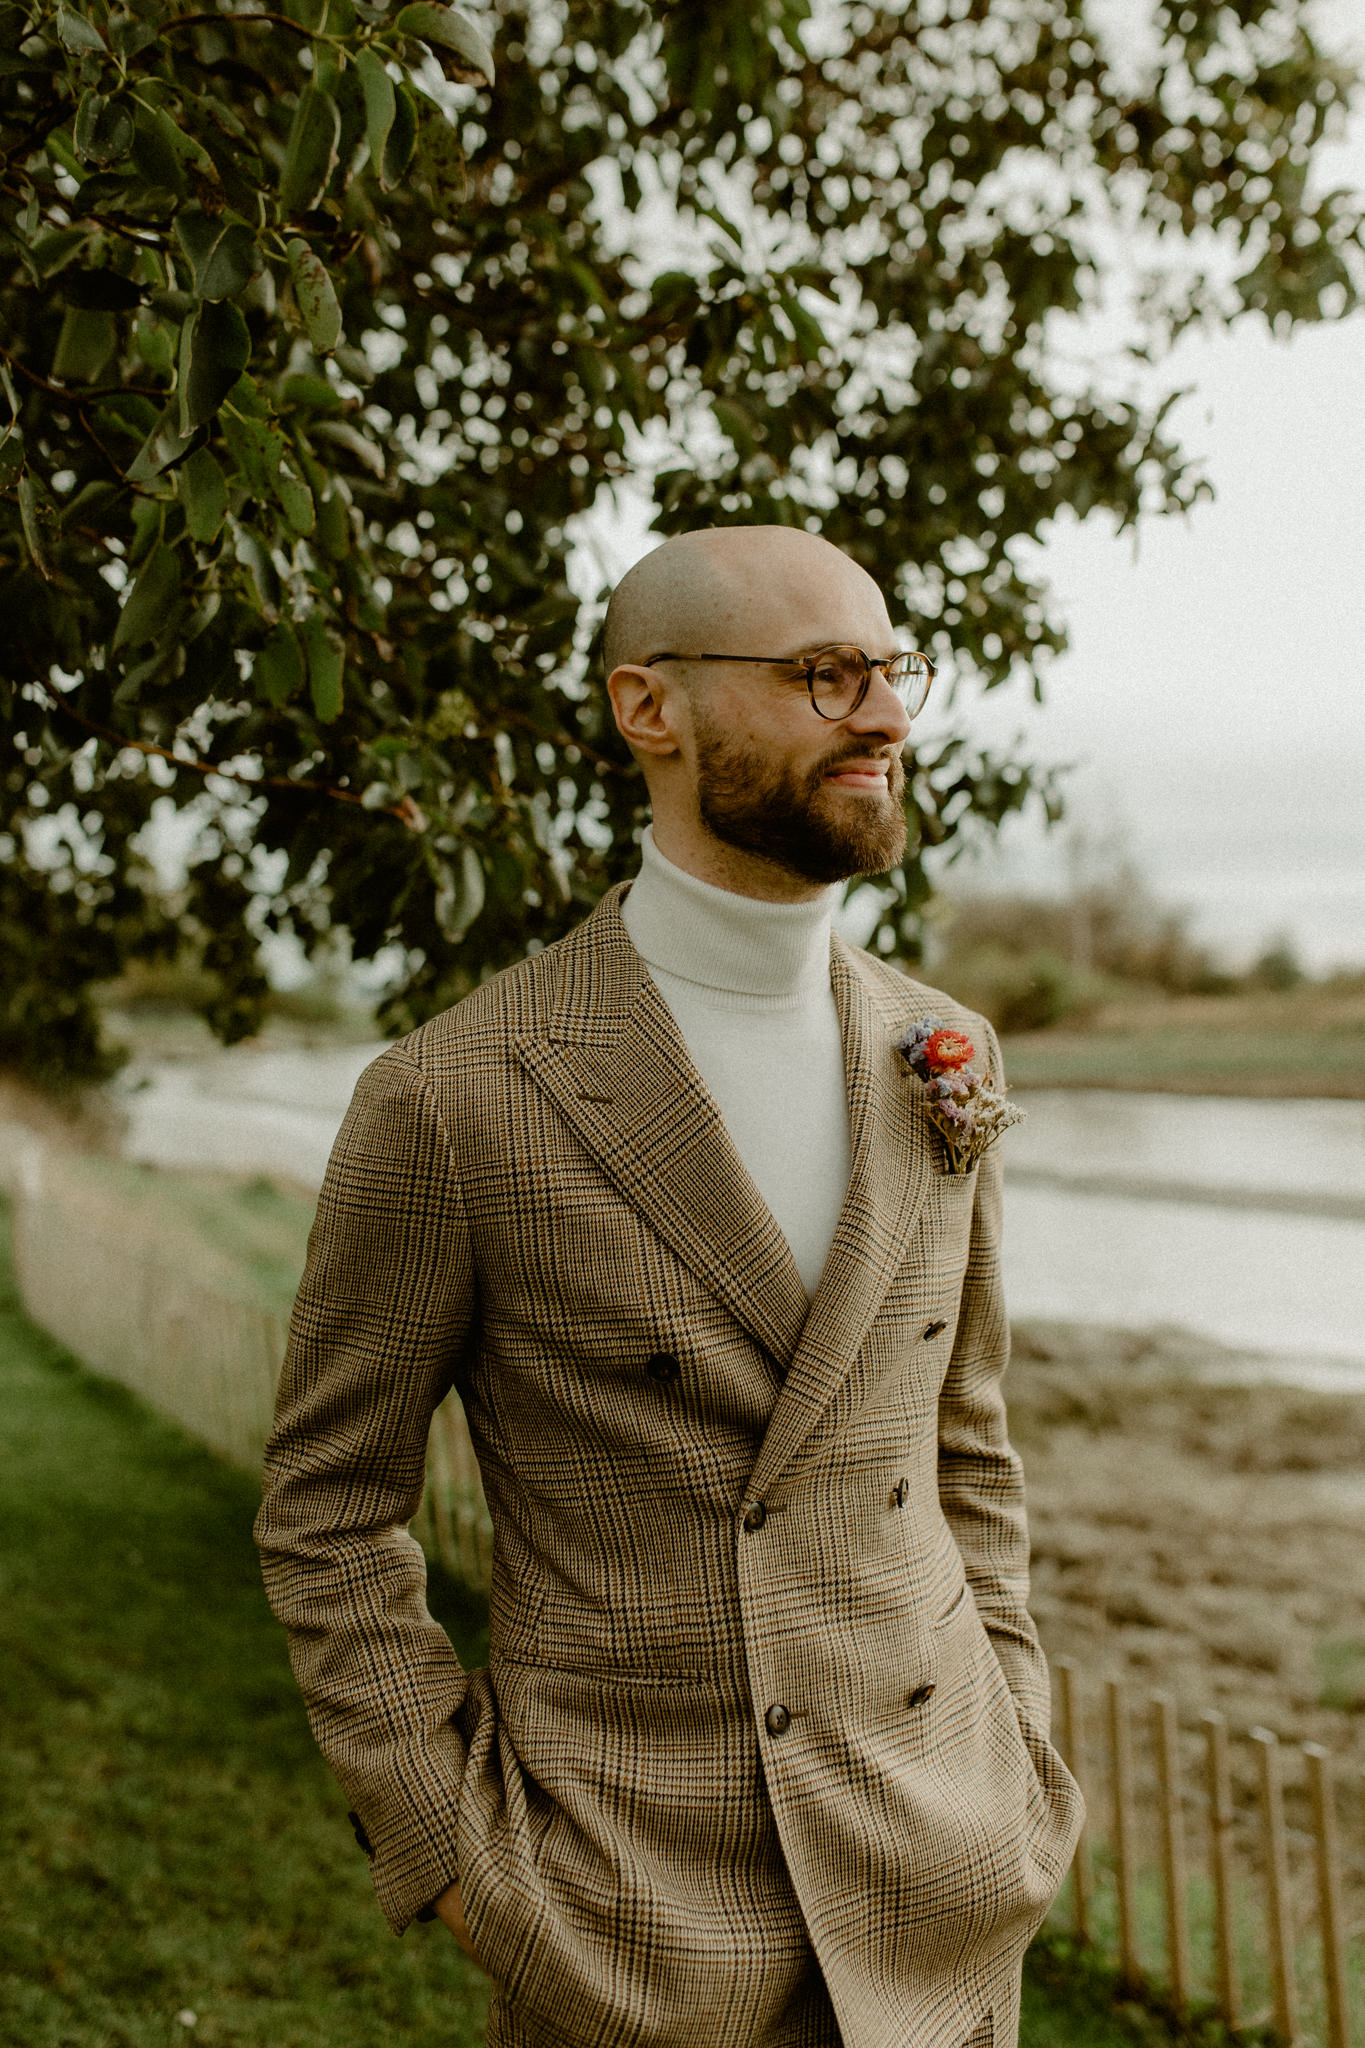
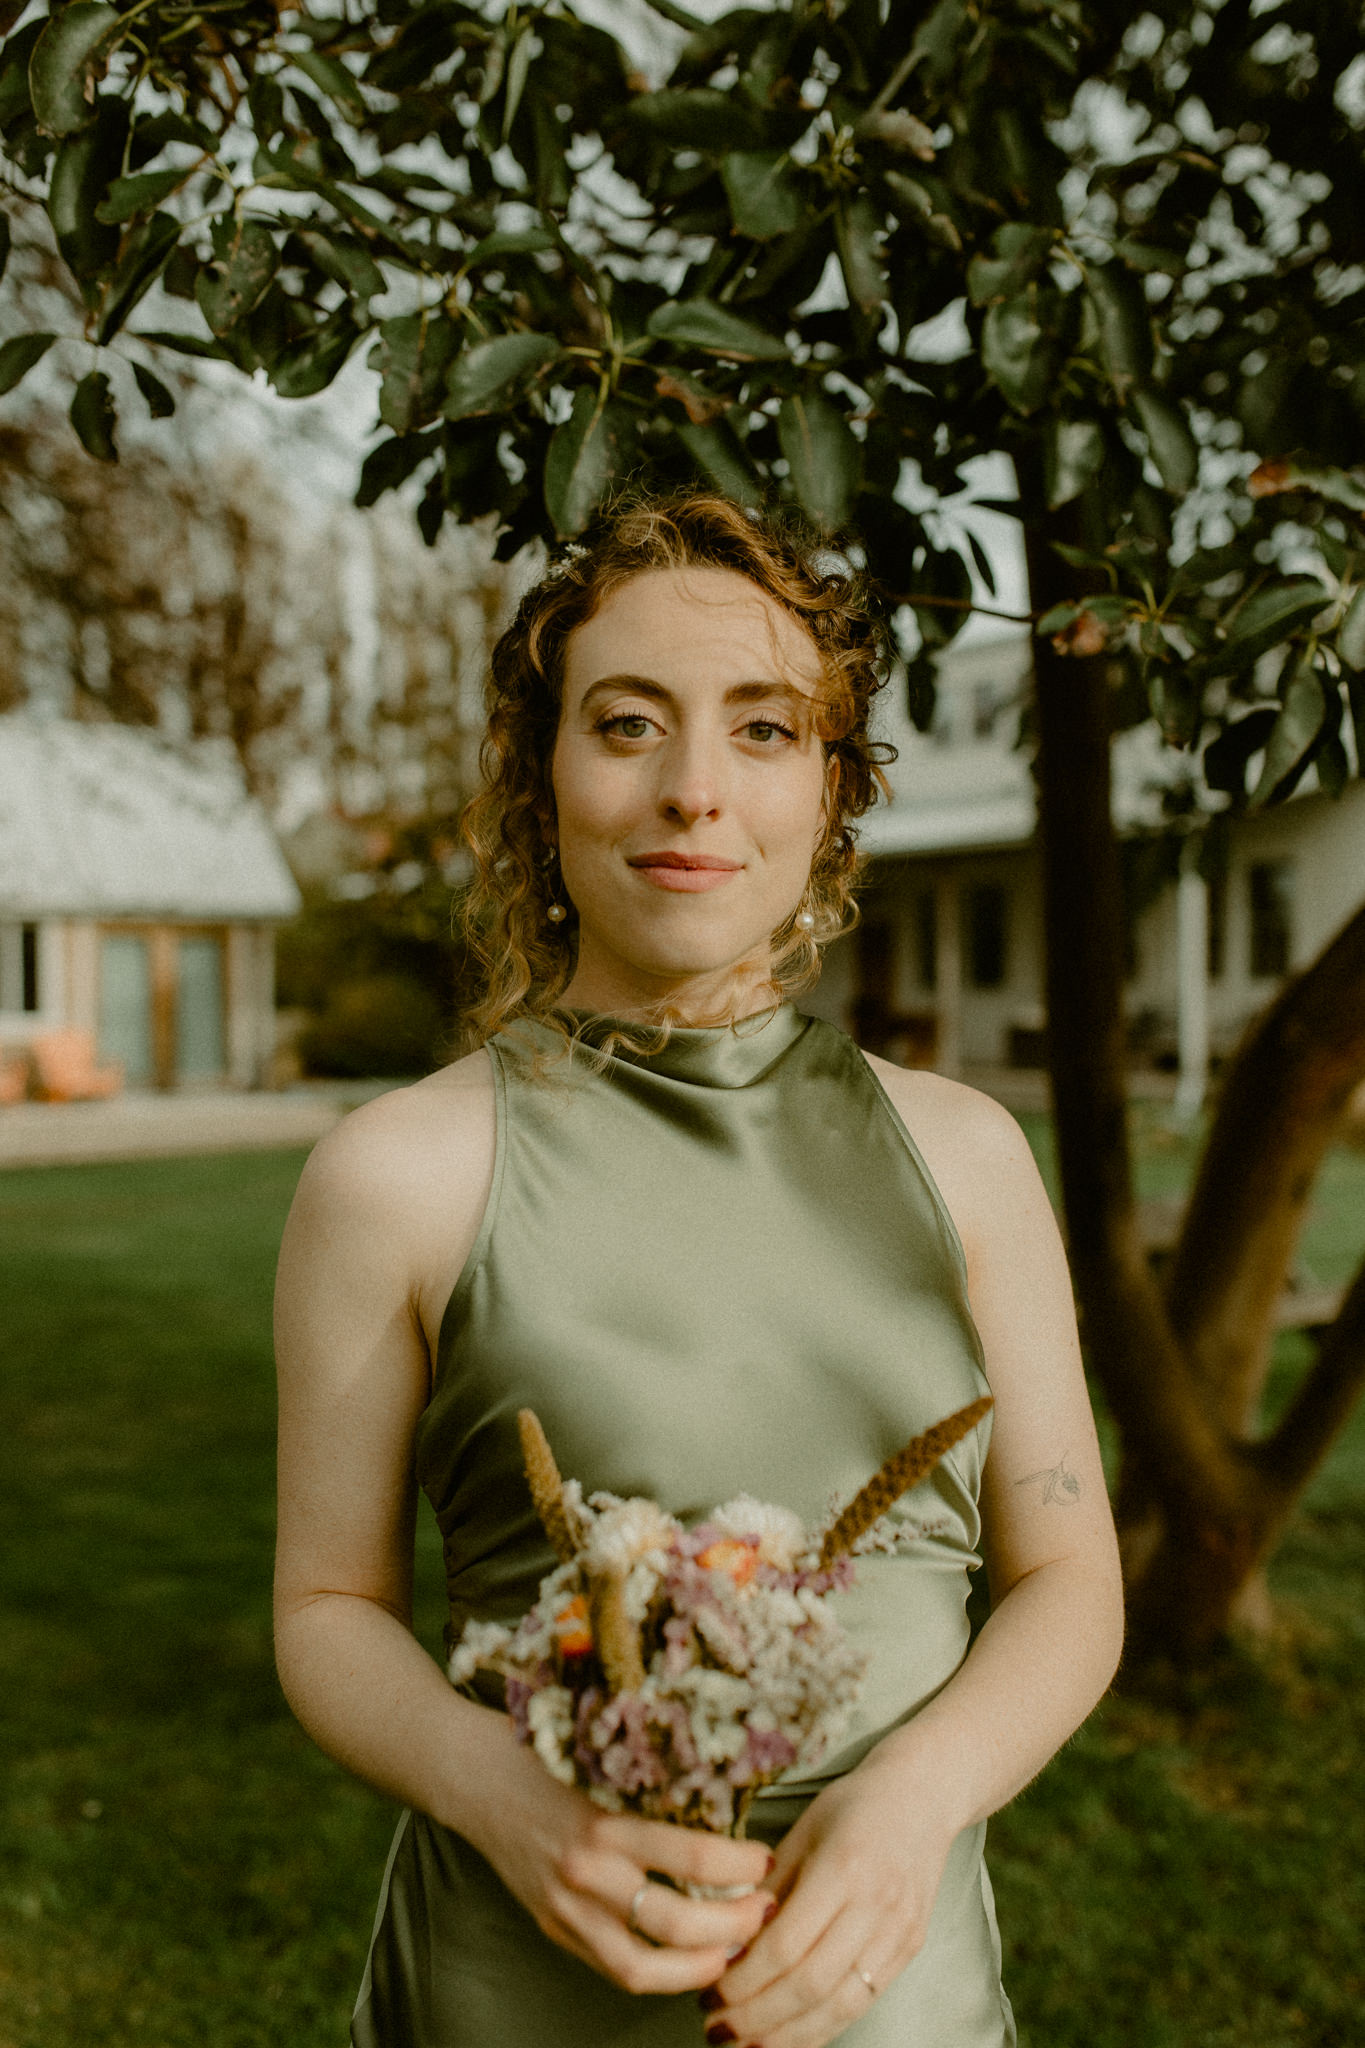
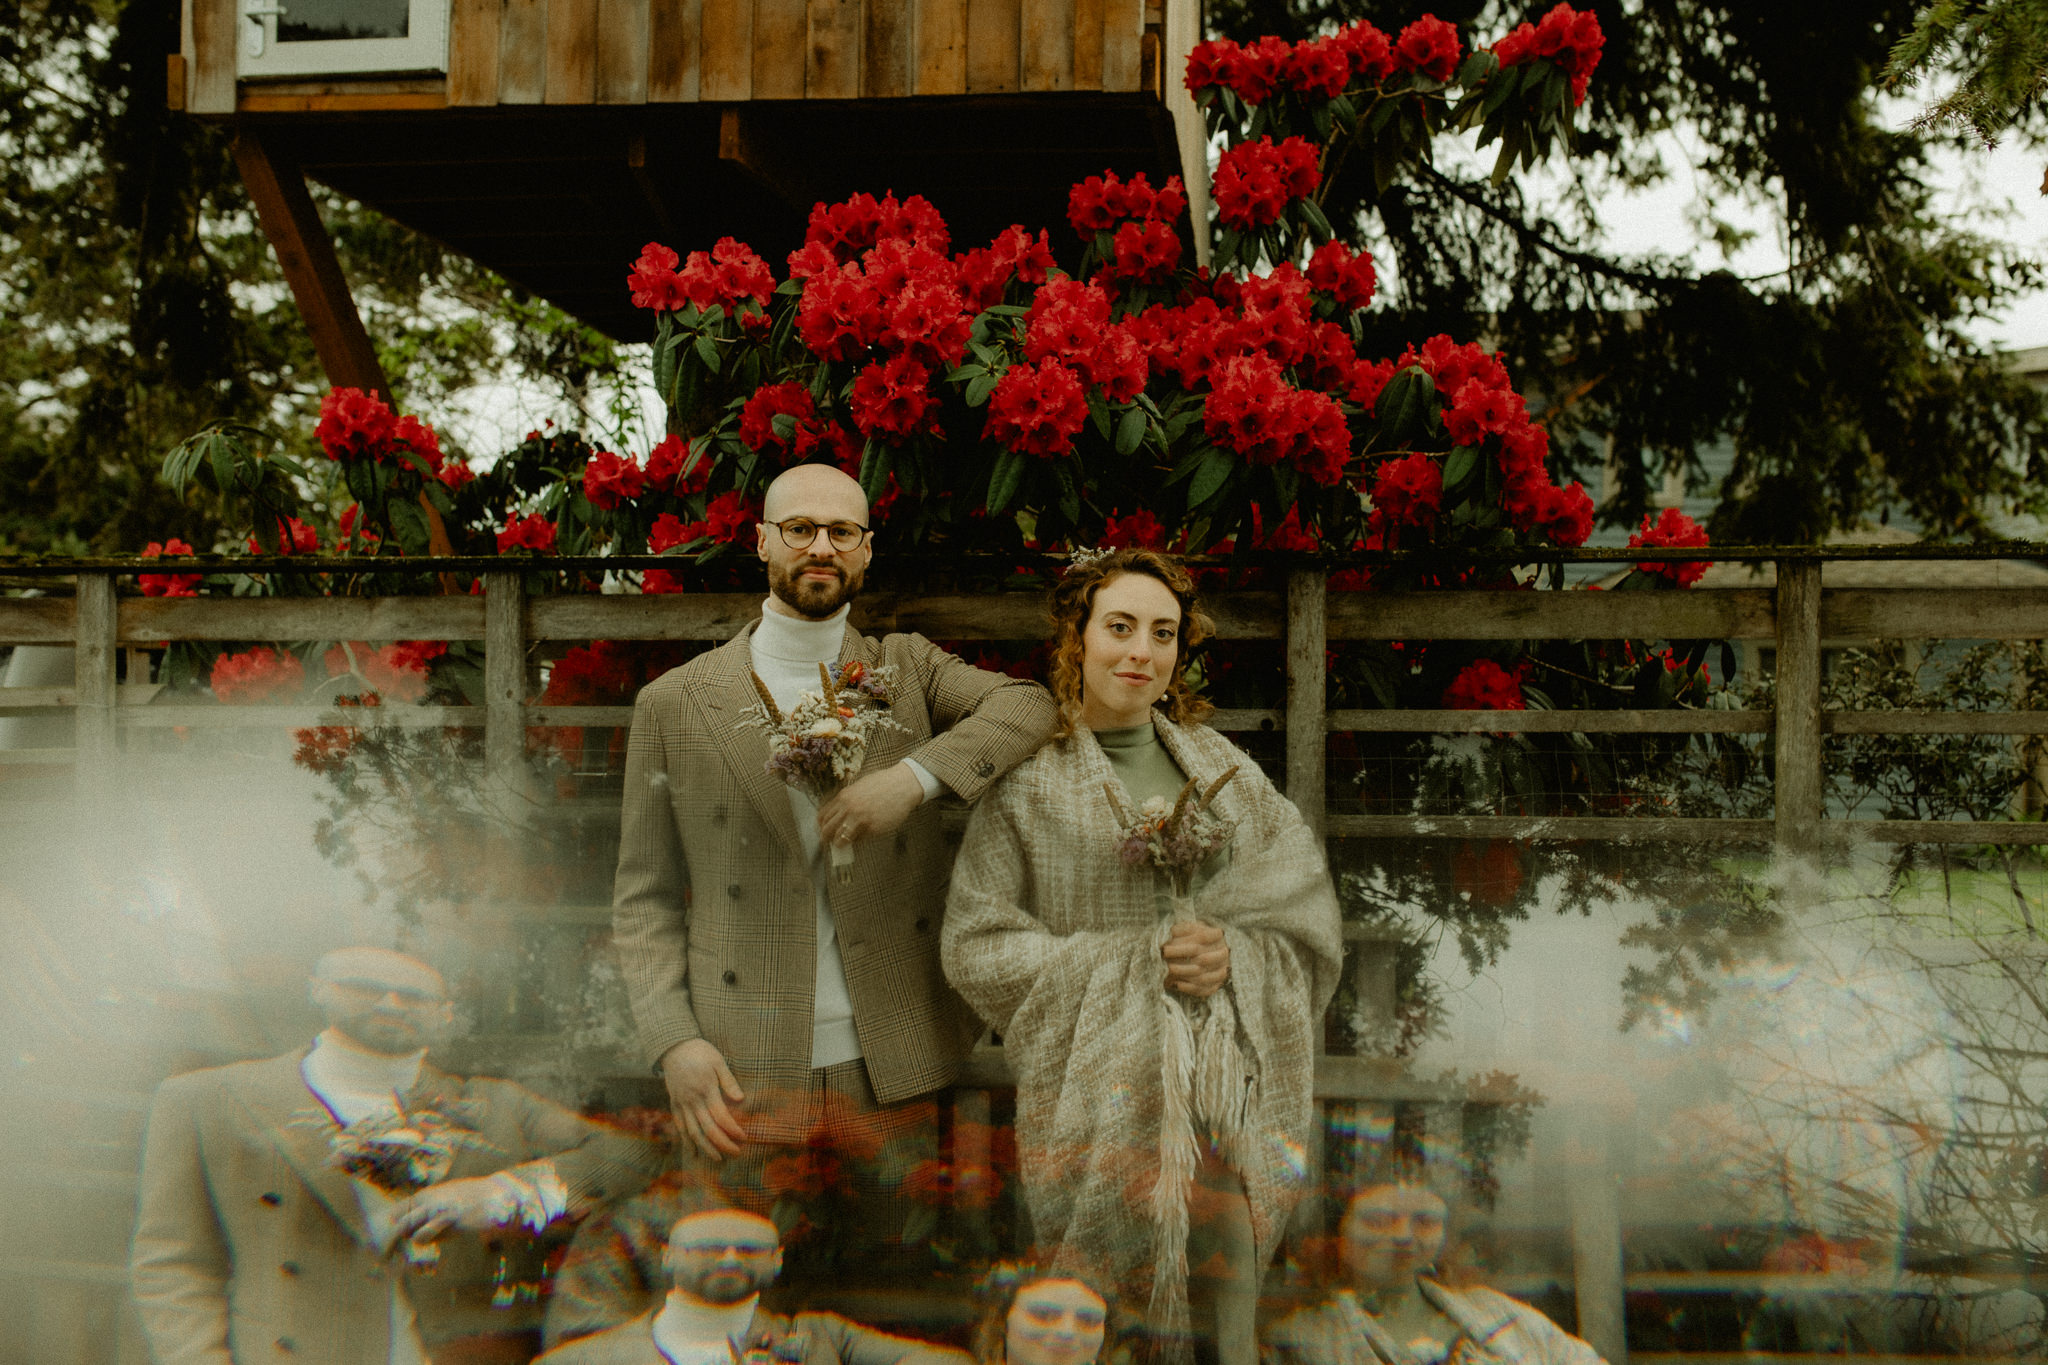
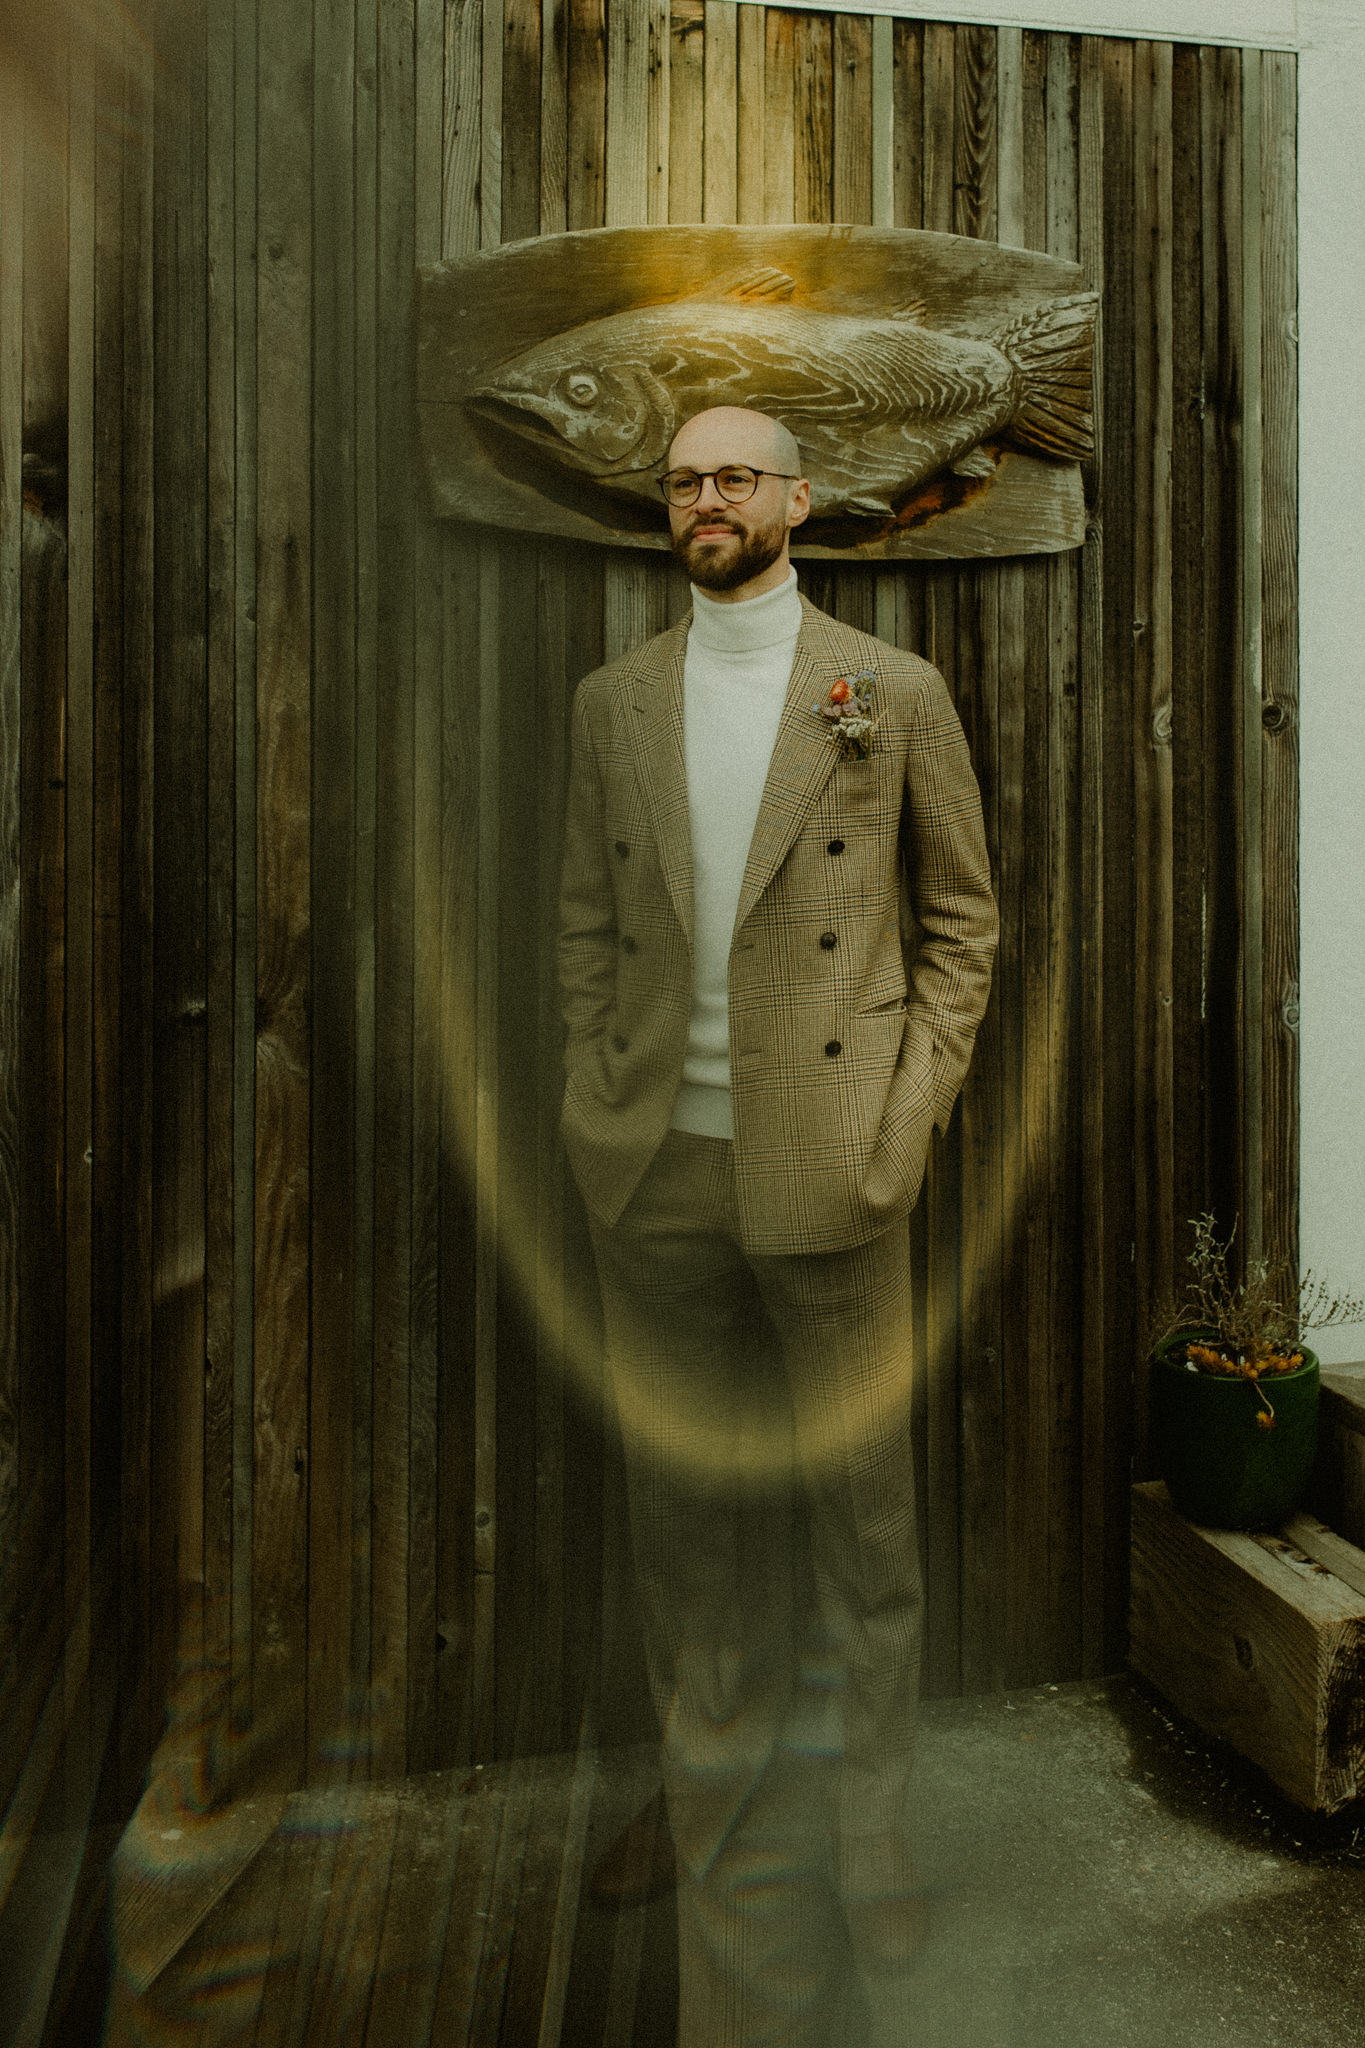
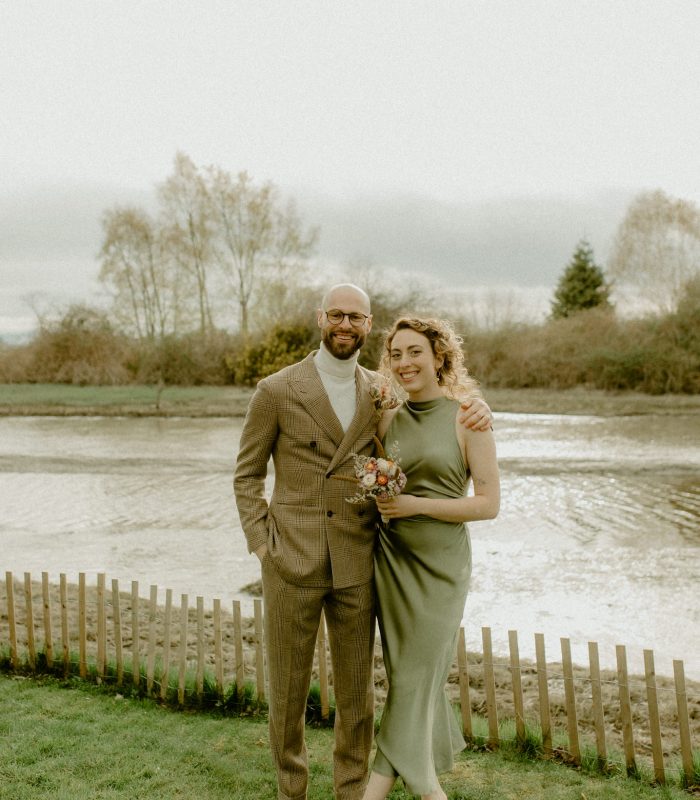
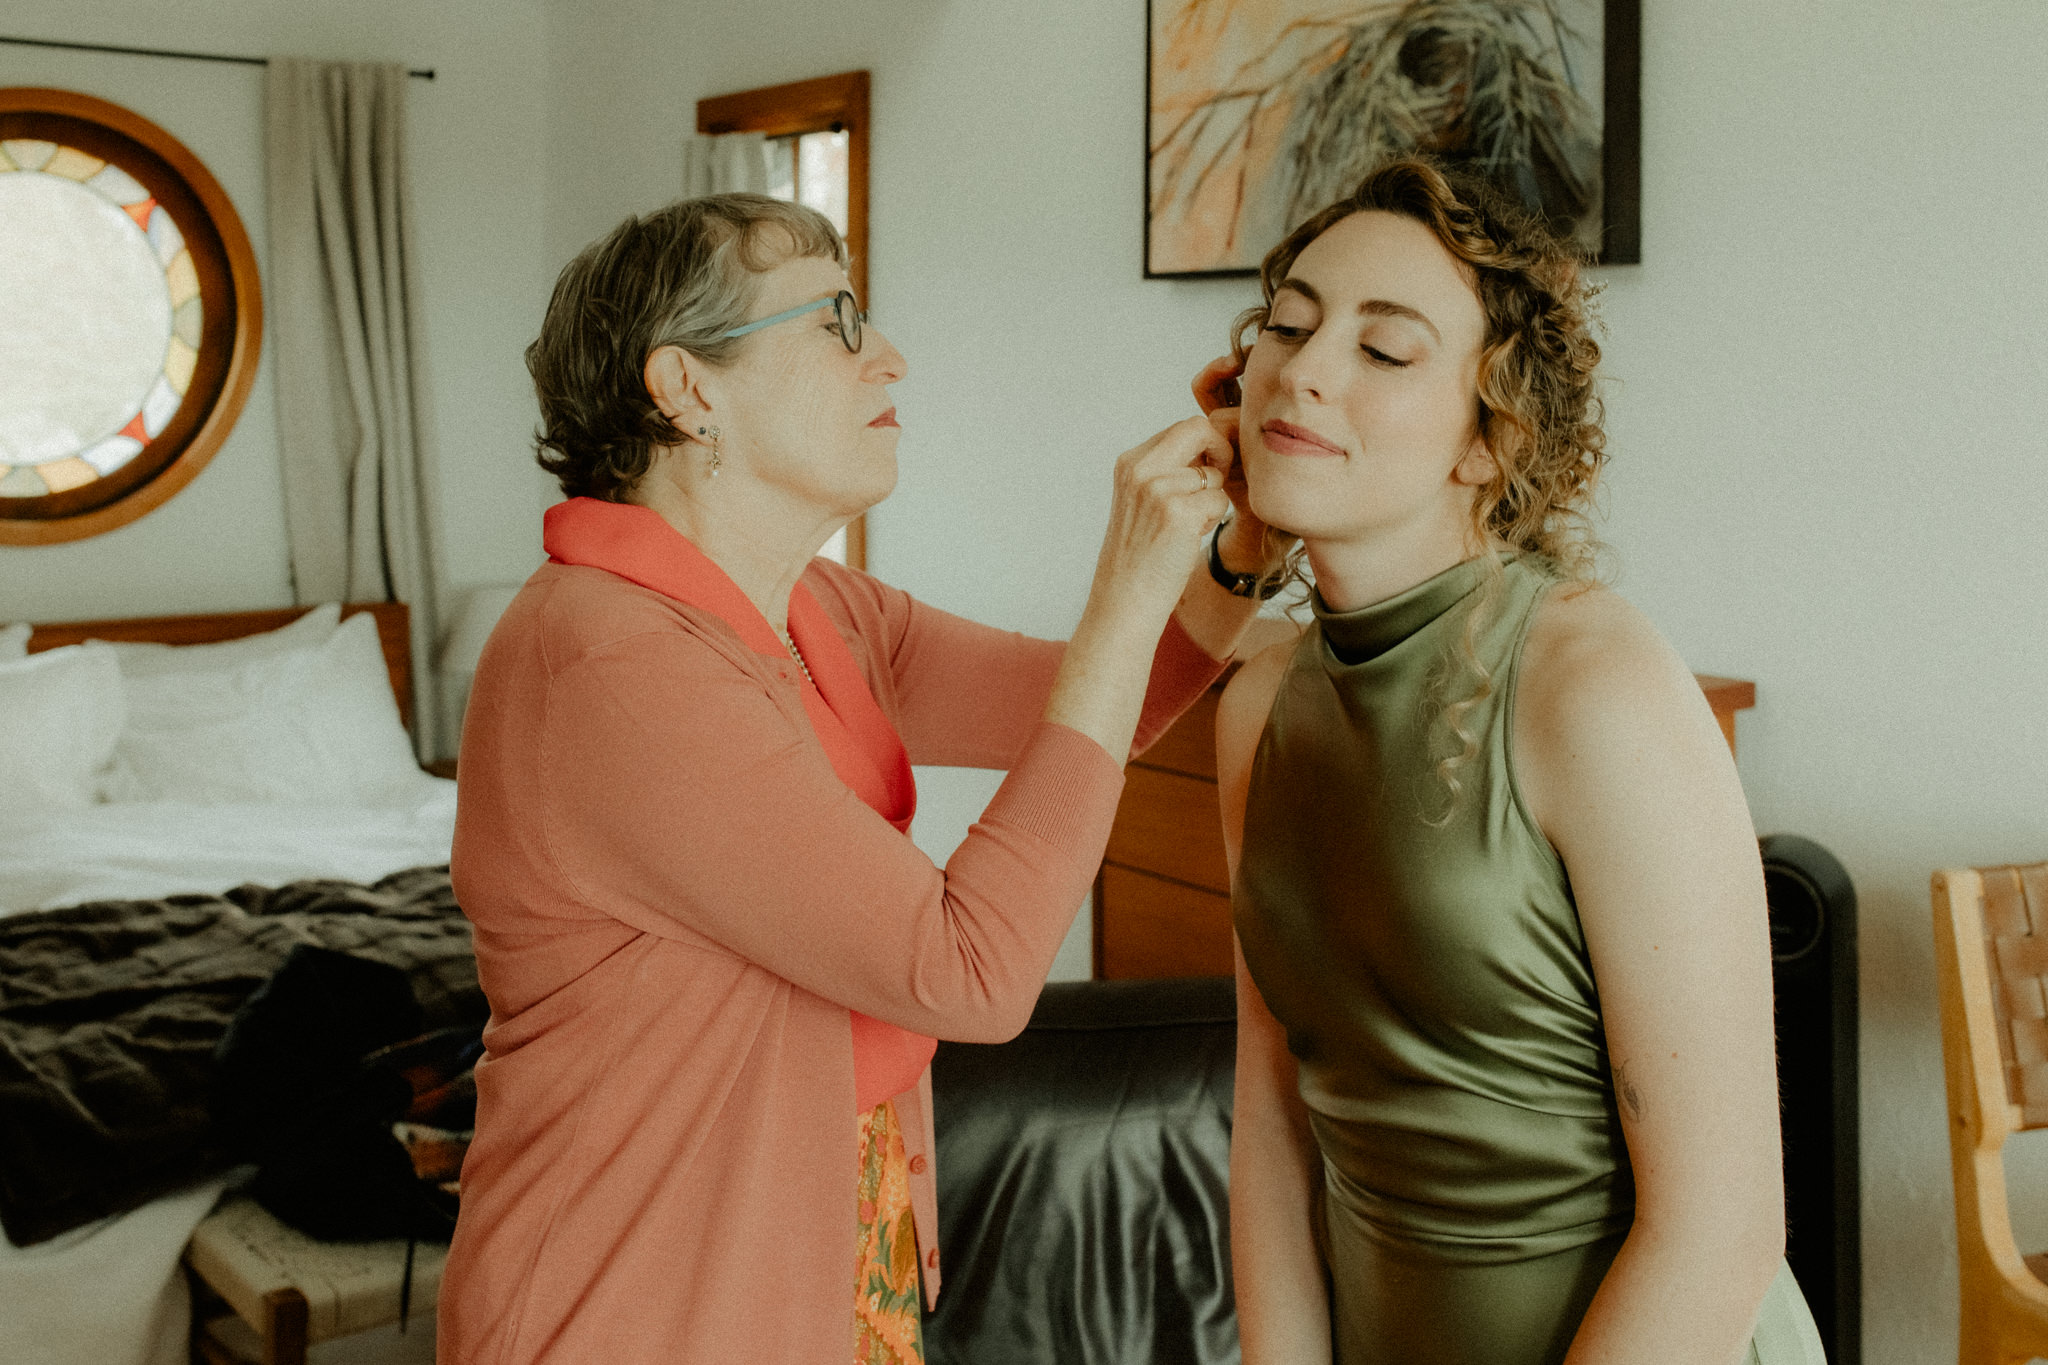
When it came to their style, they completely threw out the traditional wedding playbook in favor of a look that felt effortlessly cool and deeply personal. She wore a stunning tea-length satin green dress with a high neck and sleeveless silhouette, while he paired a crisp white turtleneck with a sweet tweed suit. Together, their aesthetic was pure retro magic – a seamless blend of mid-century artistic sophistication, mod romance, and vintage charm. Their outfits felt less about fashion and more like an authentic extension of their creative souls and the perfect expression of their location.
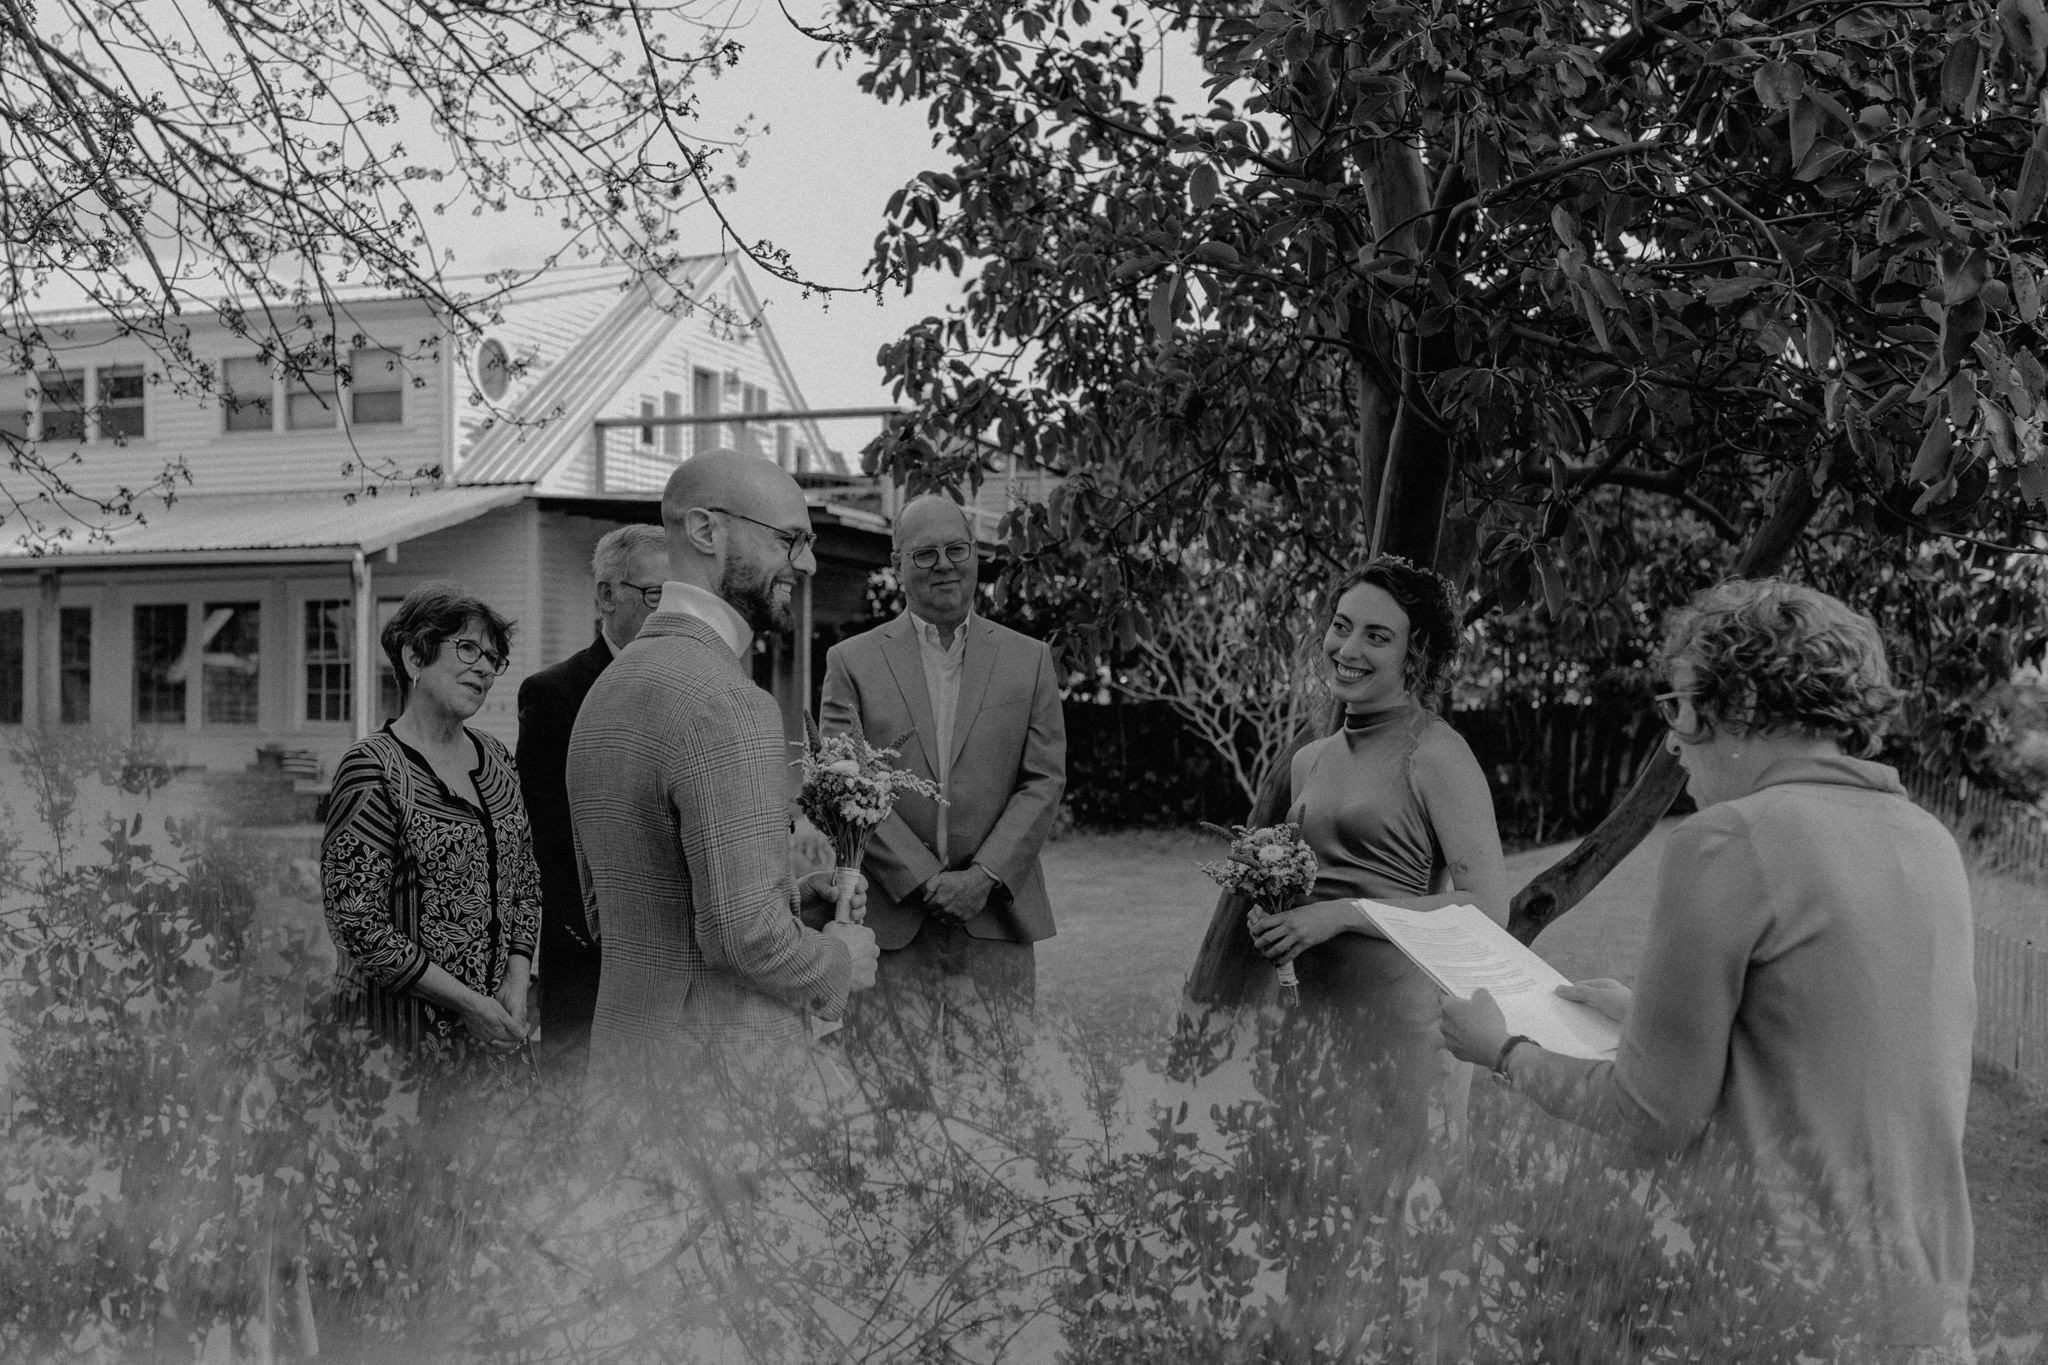
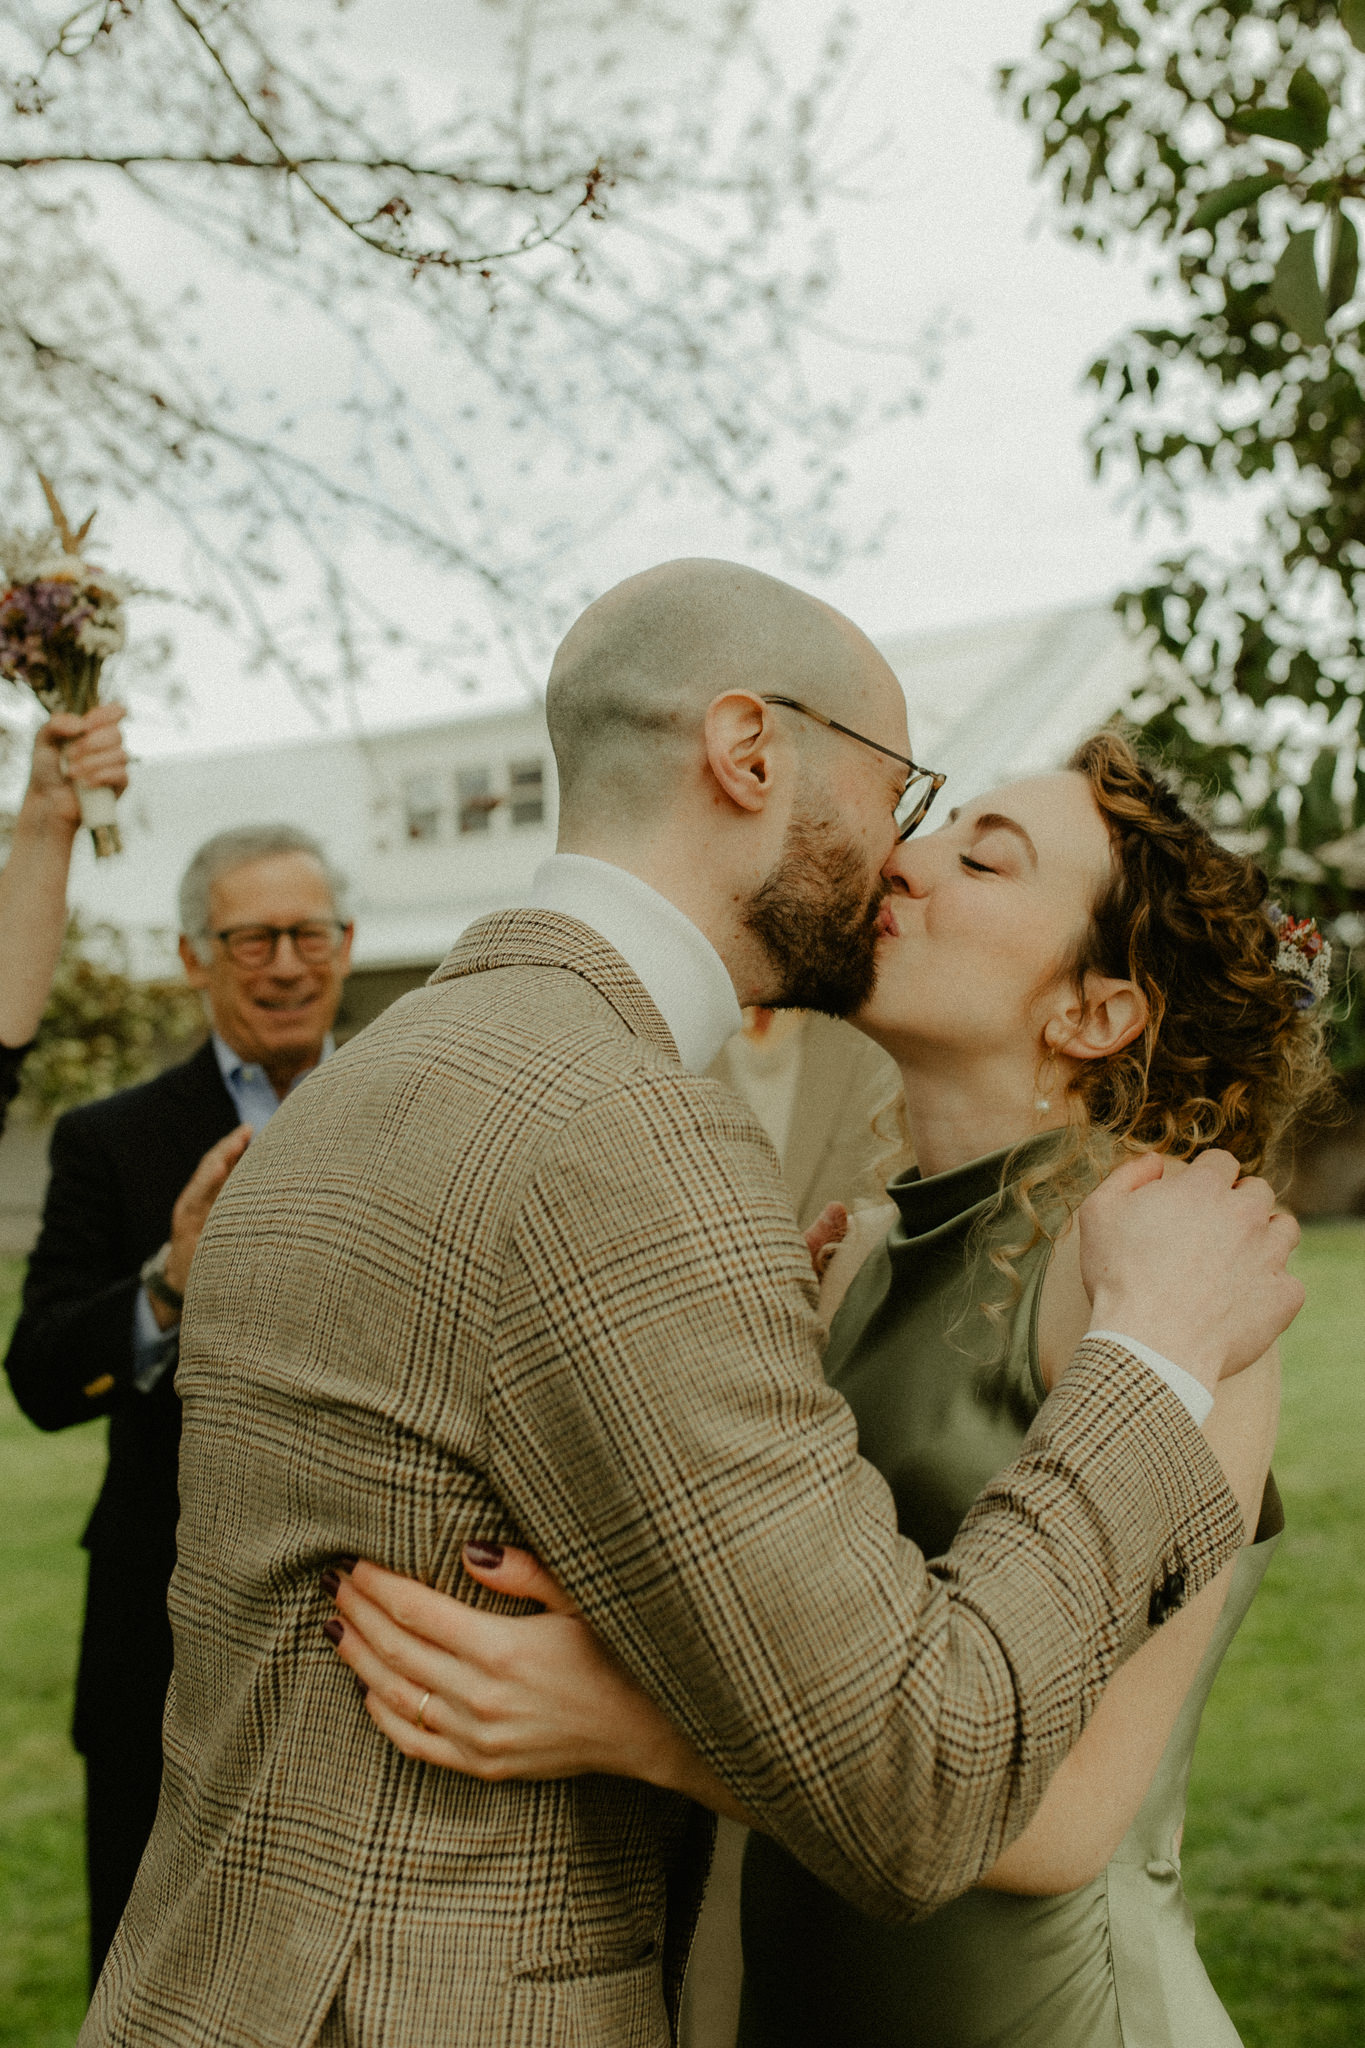
That same intentional, artful spirit meshed right into their vows. Encircled by their parents under a madrone tree, the ceremony was led by her mom and held a layer of warmth and closeness that could only unfold in a small, intimate ceremony. There was no shortage of belly laughs and thoughtful, quiet tears. She read her vows to him from a vintage children’s book she had found, counting all the ways she loves him. It was simple, deeply sentimental, and completely true to who they are. And a reminder that when you strip away the extra noise, a wedding is really just about celebrating a quiet, monumental love in a way that feels like coming home.
Keep scrolling to see how these two crafted their own dried flower bouquet + boutonniere.
crafting your own magic: a simple DIY guide to wedding bouquets & boutonnieres
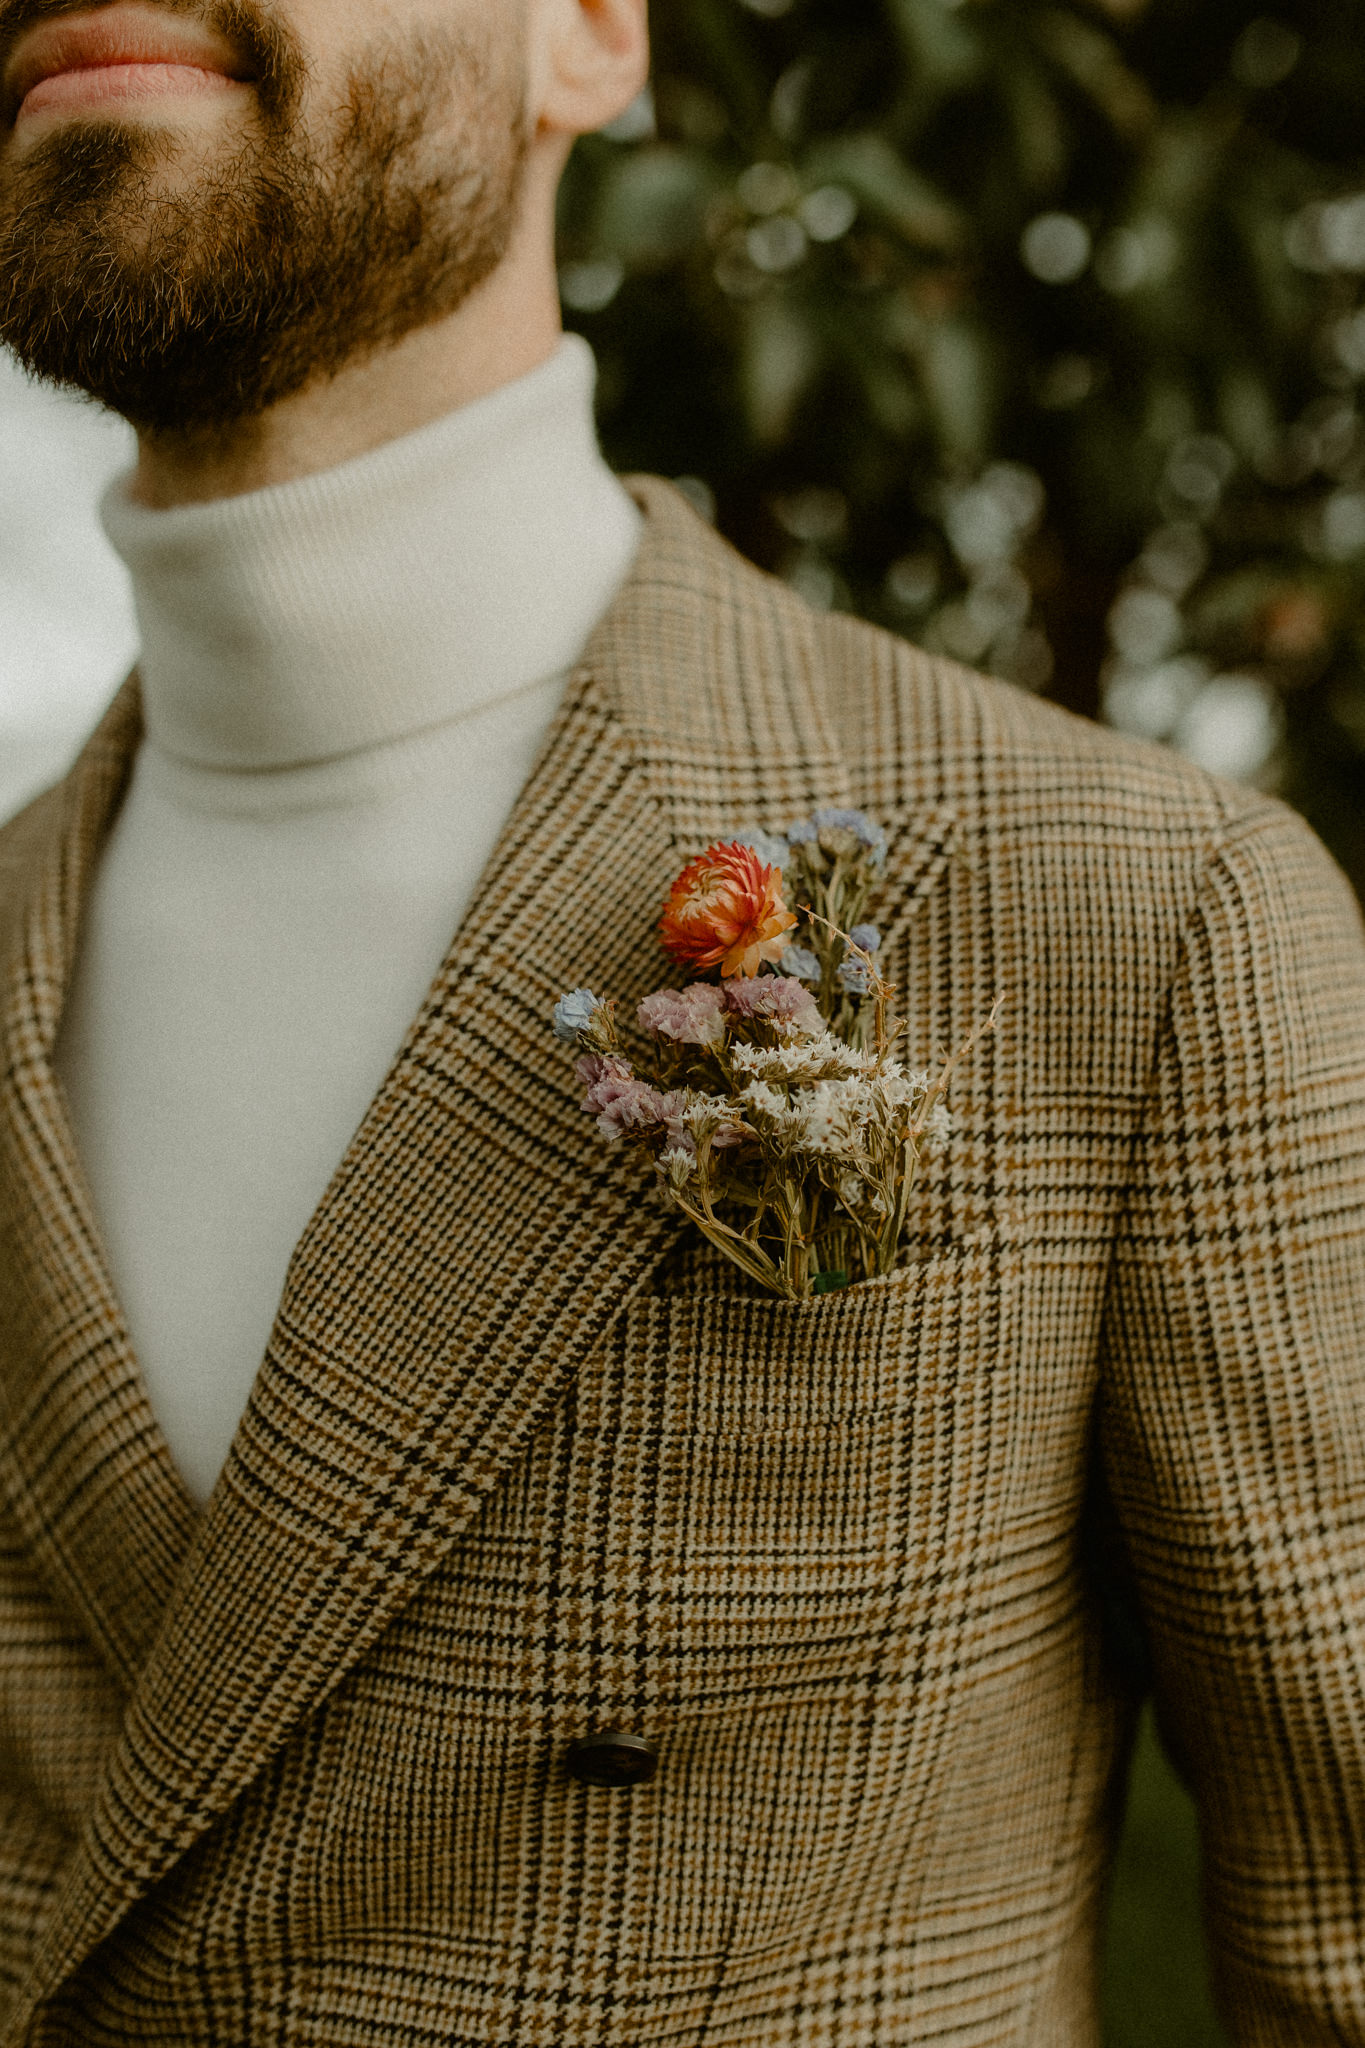
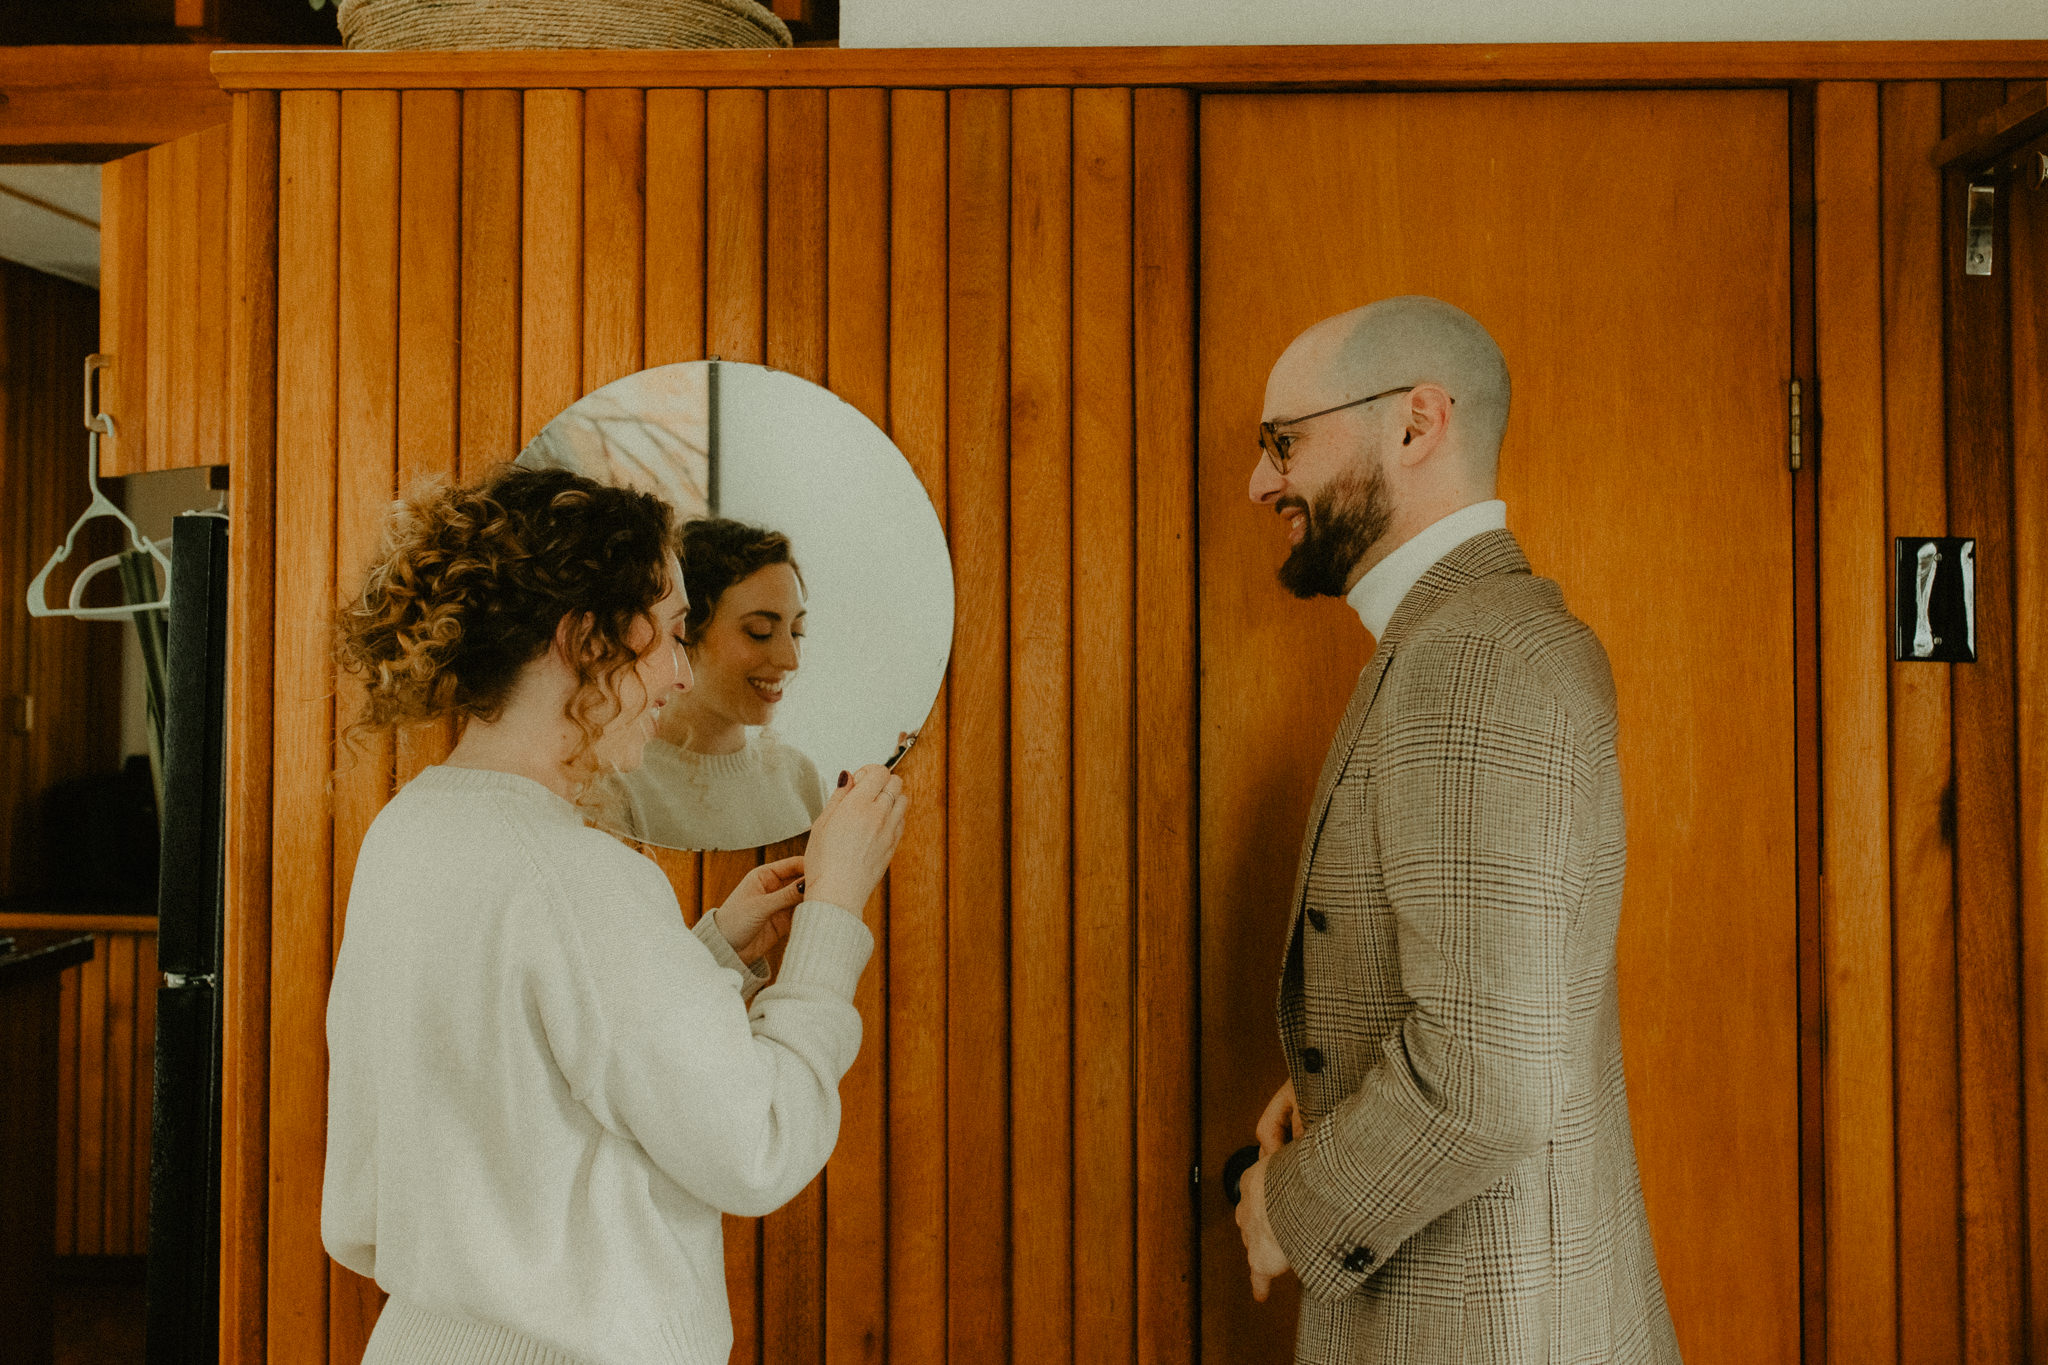
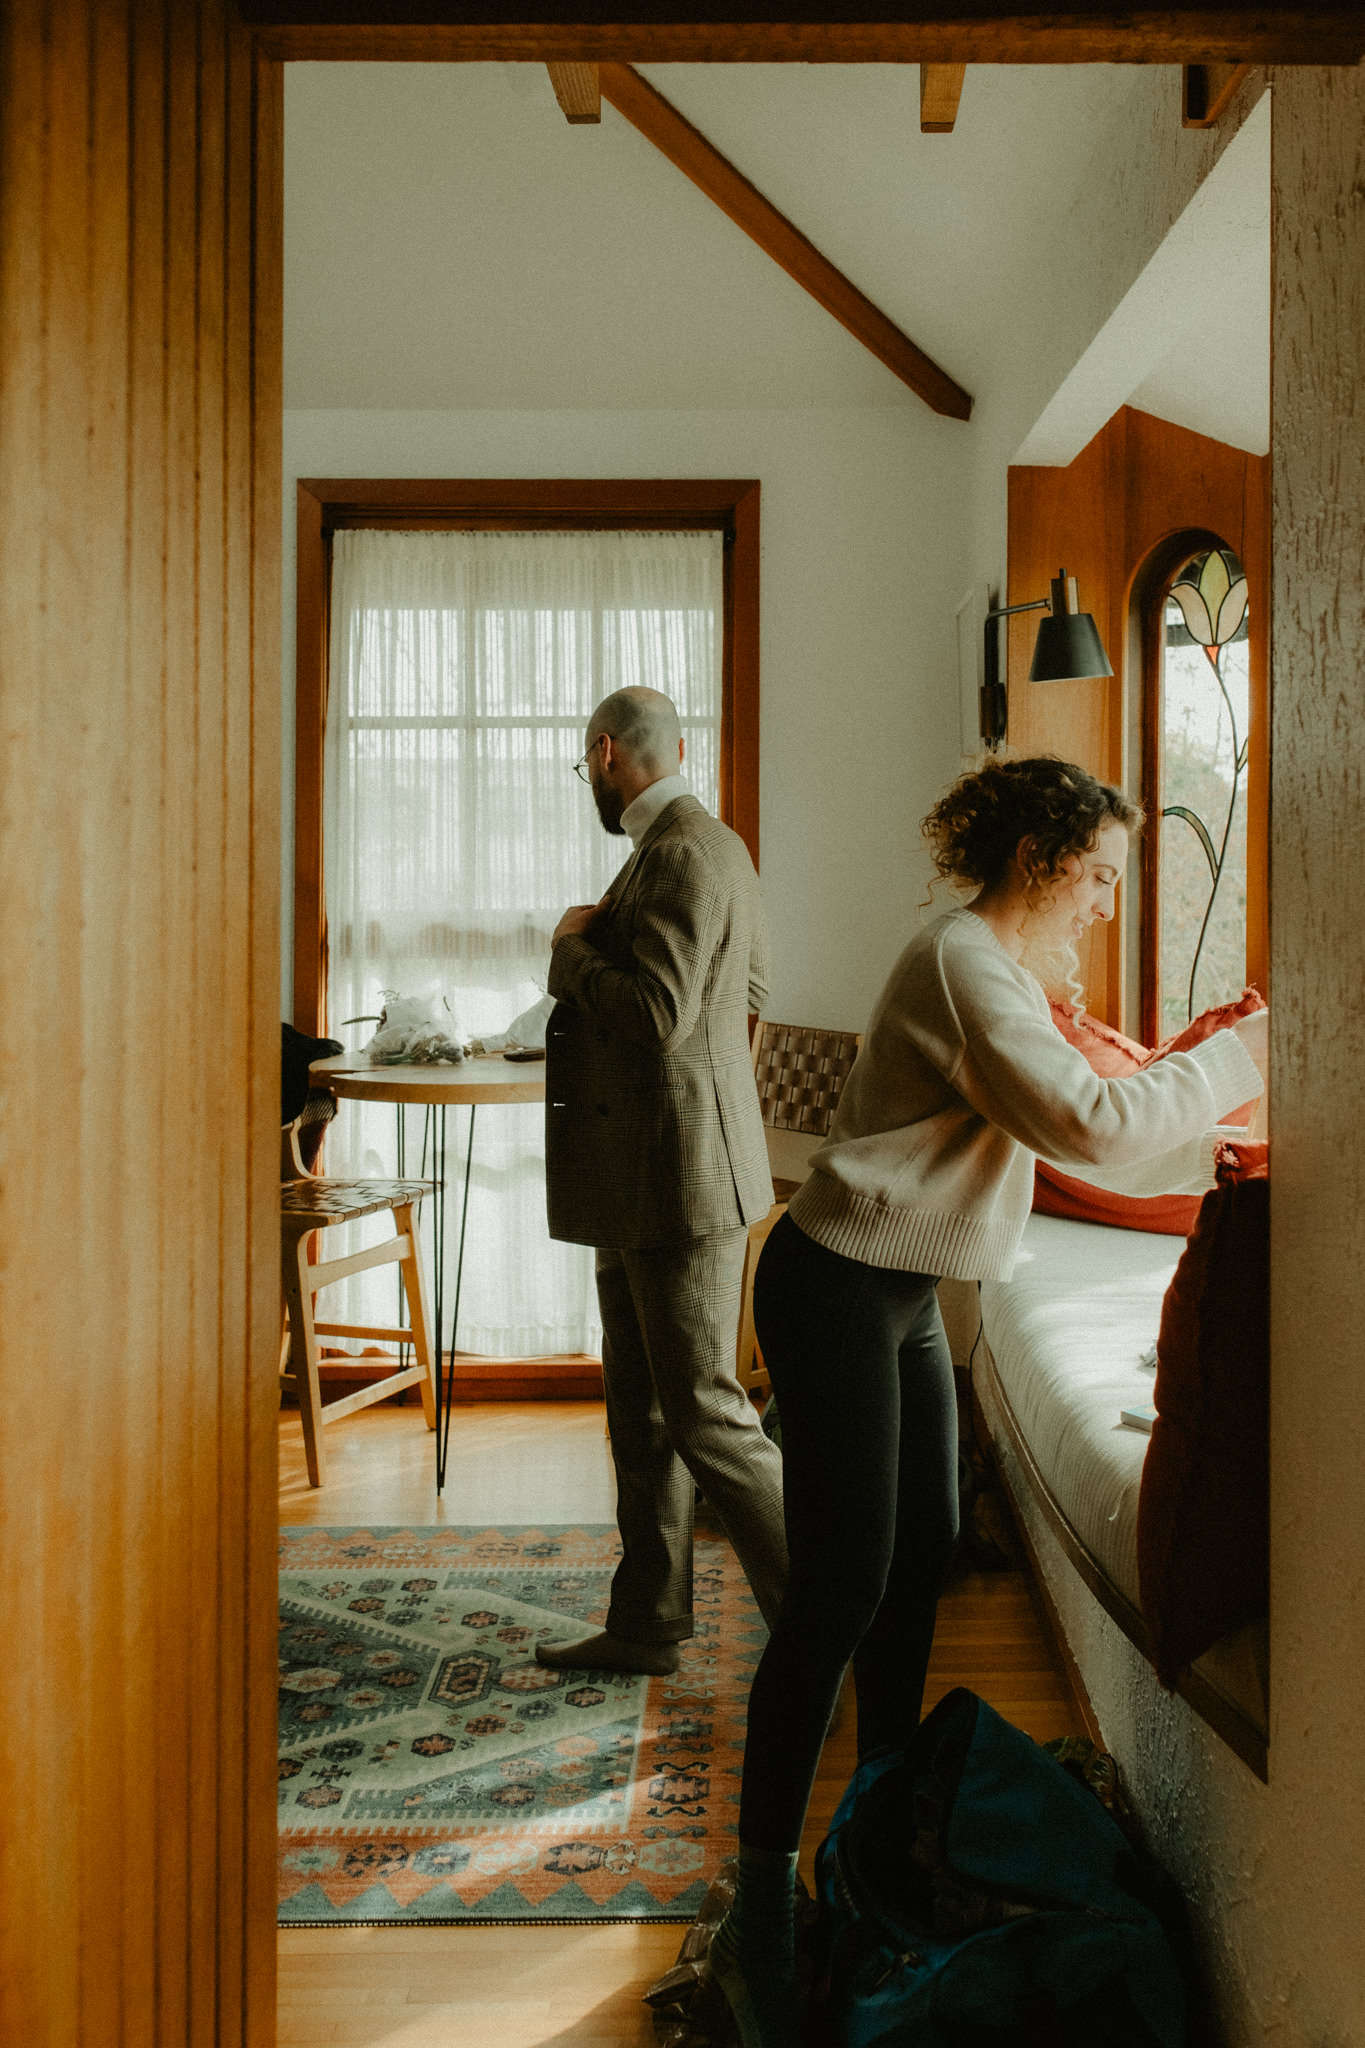
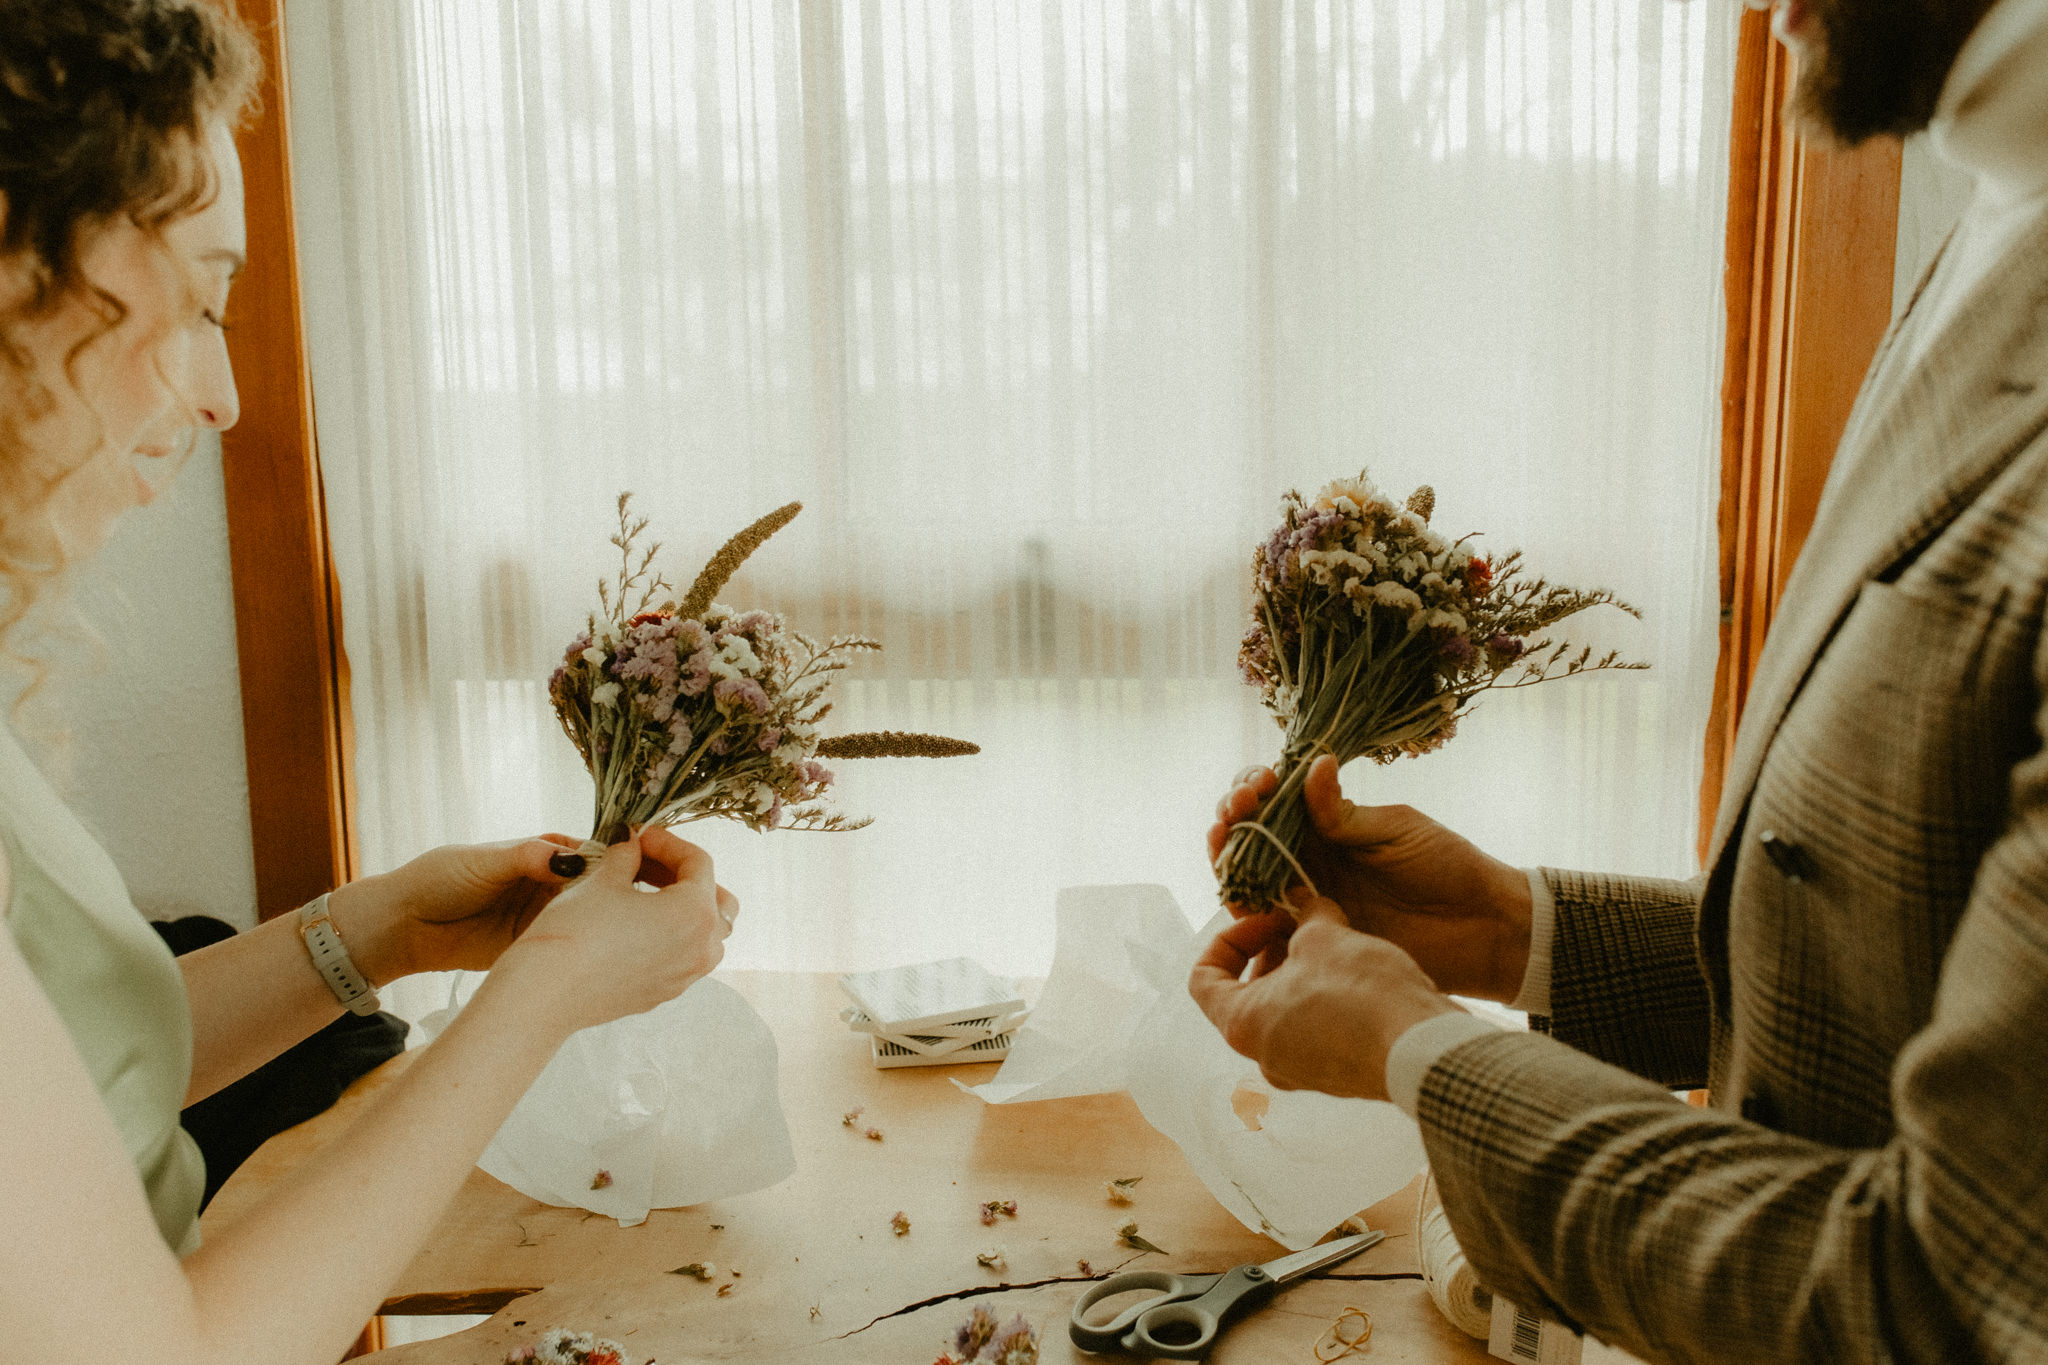
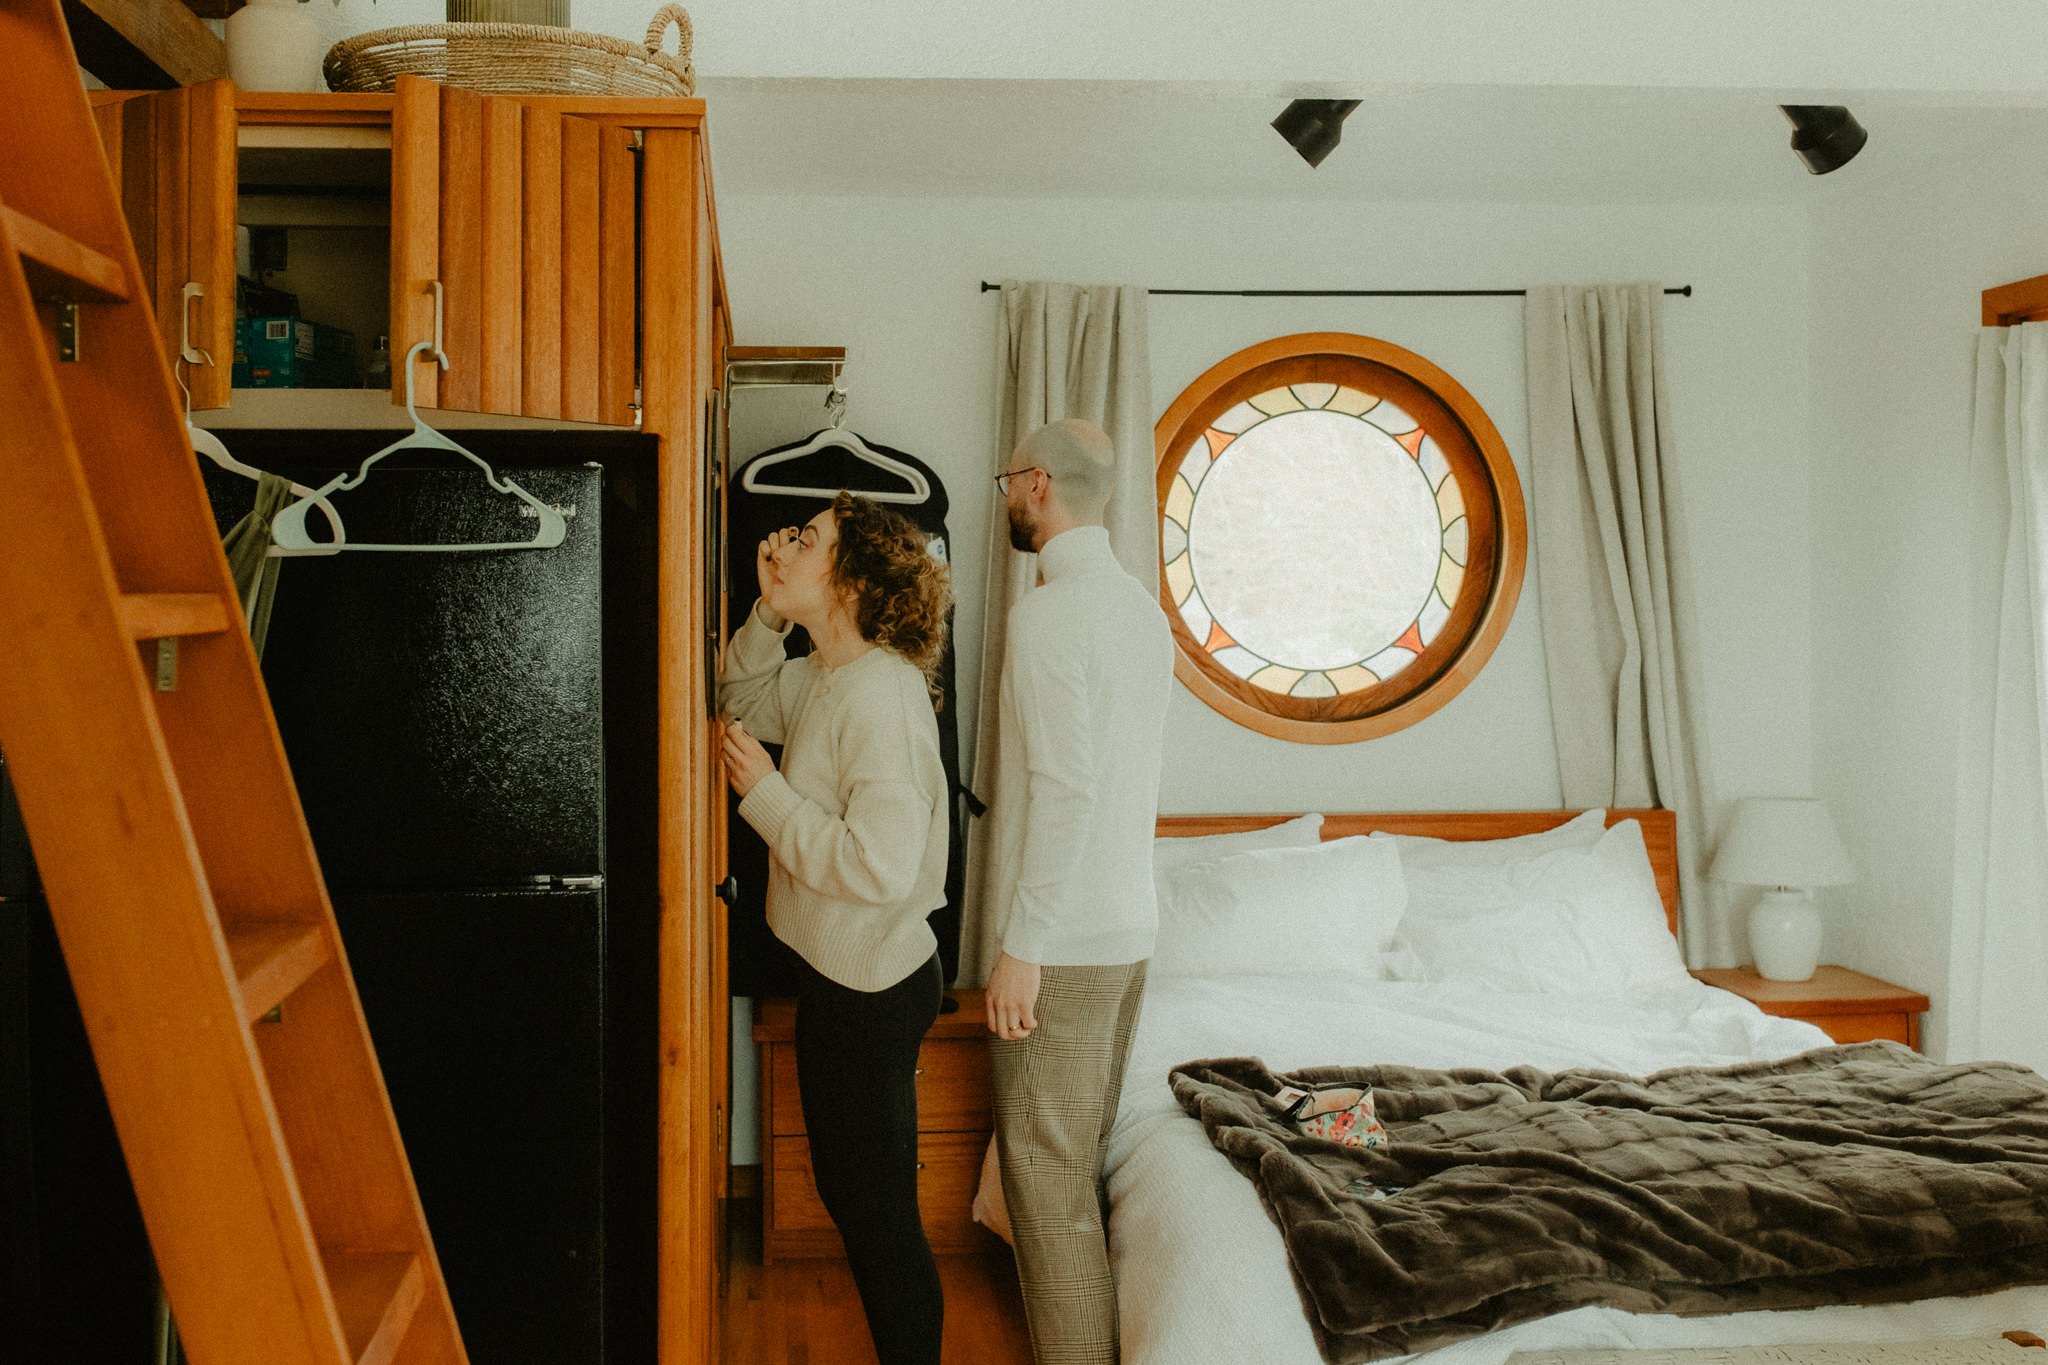
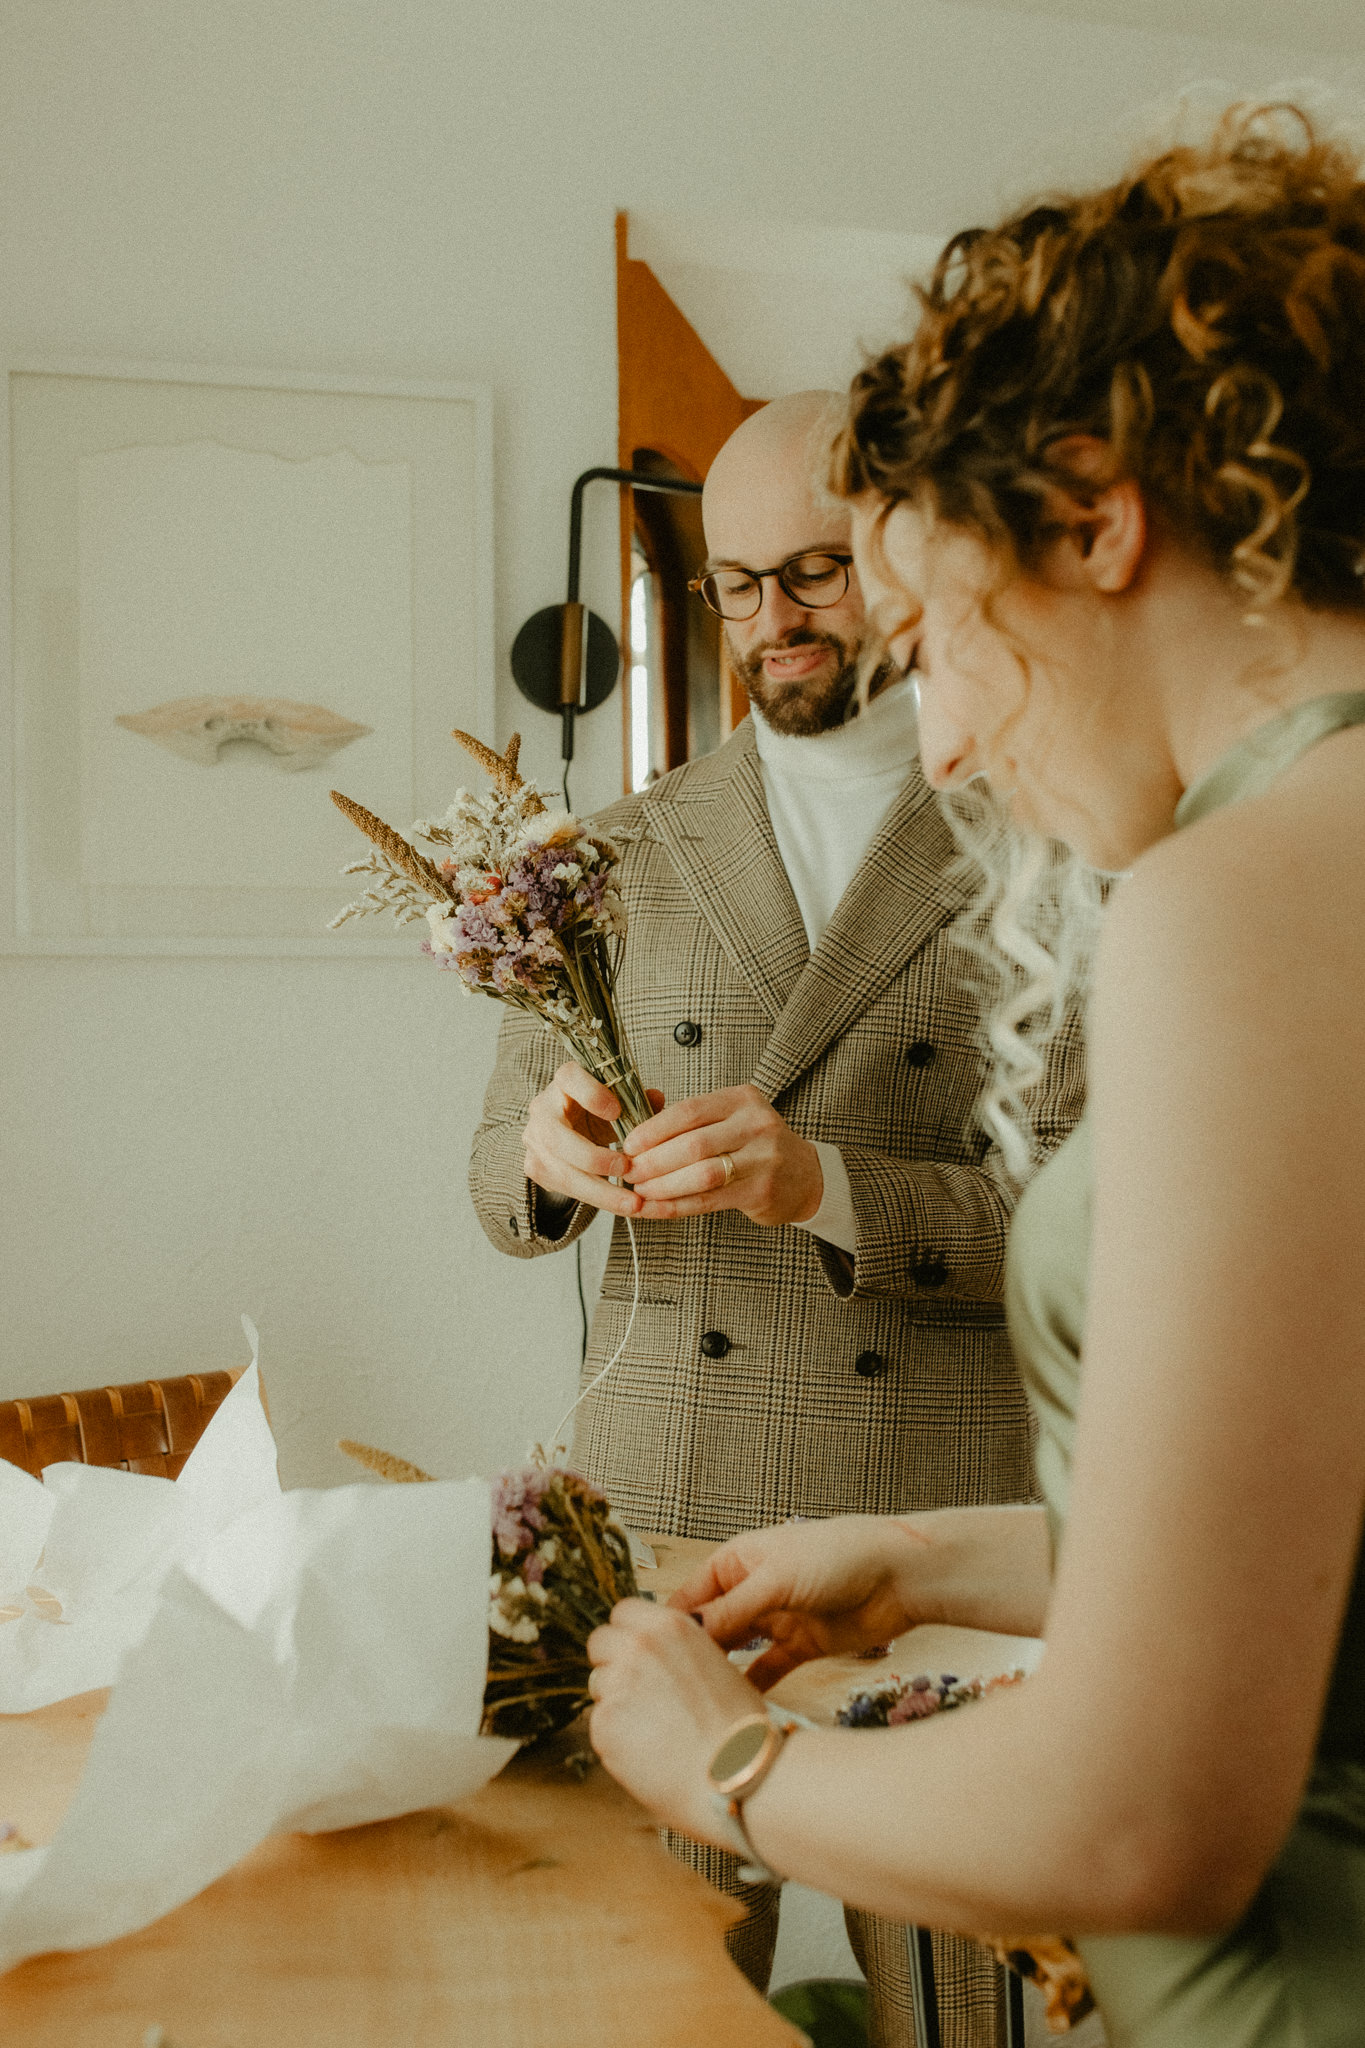
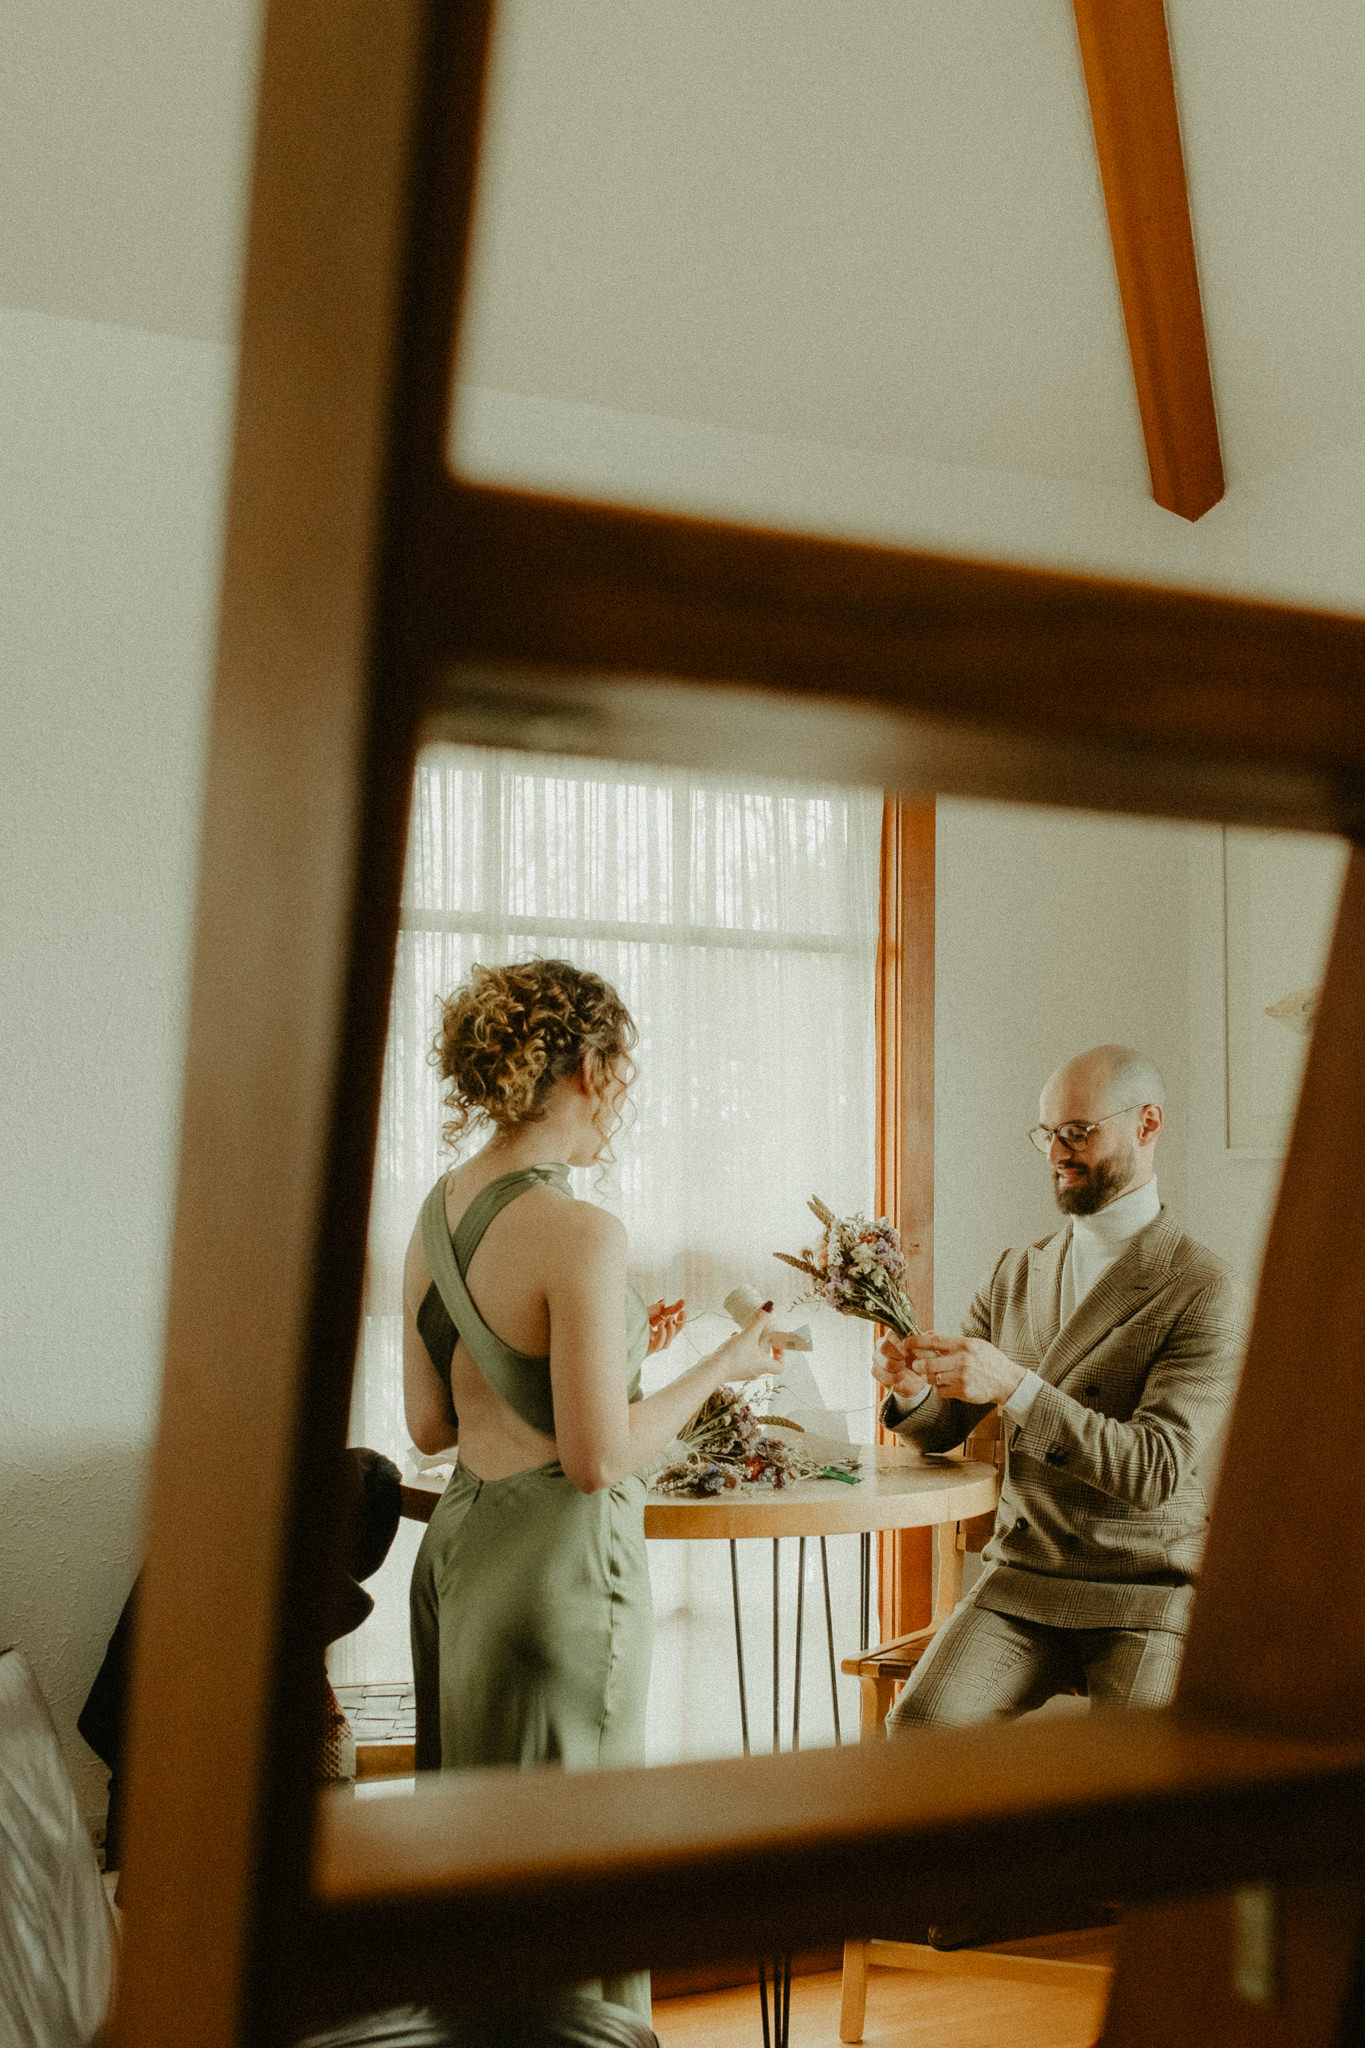
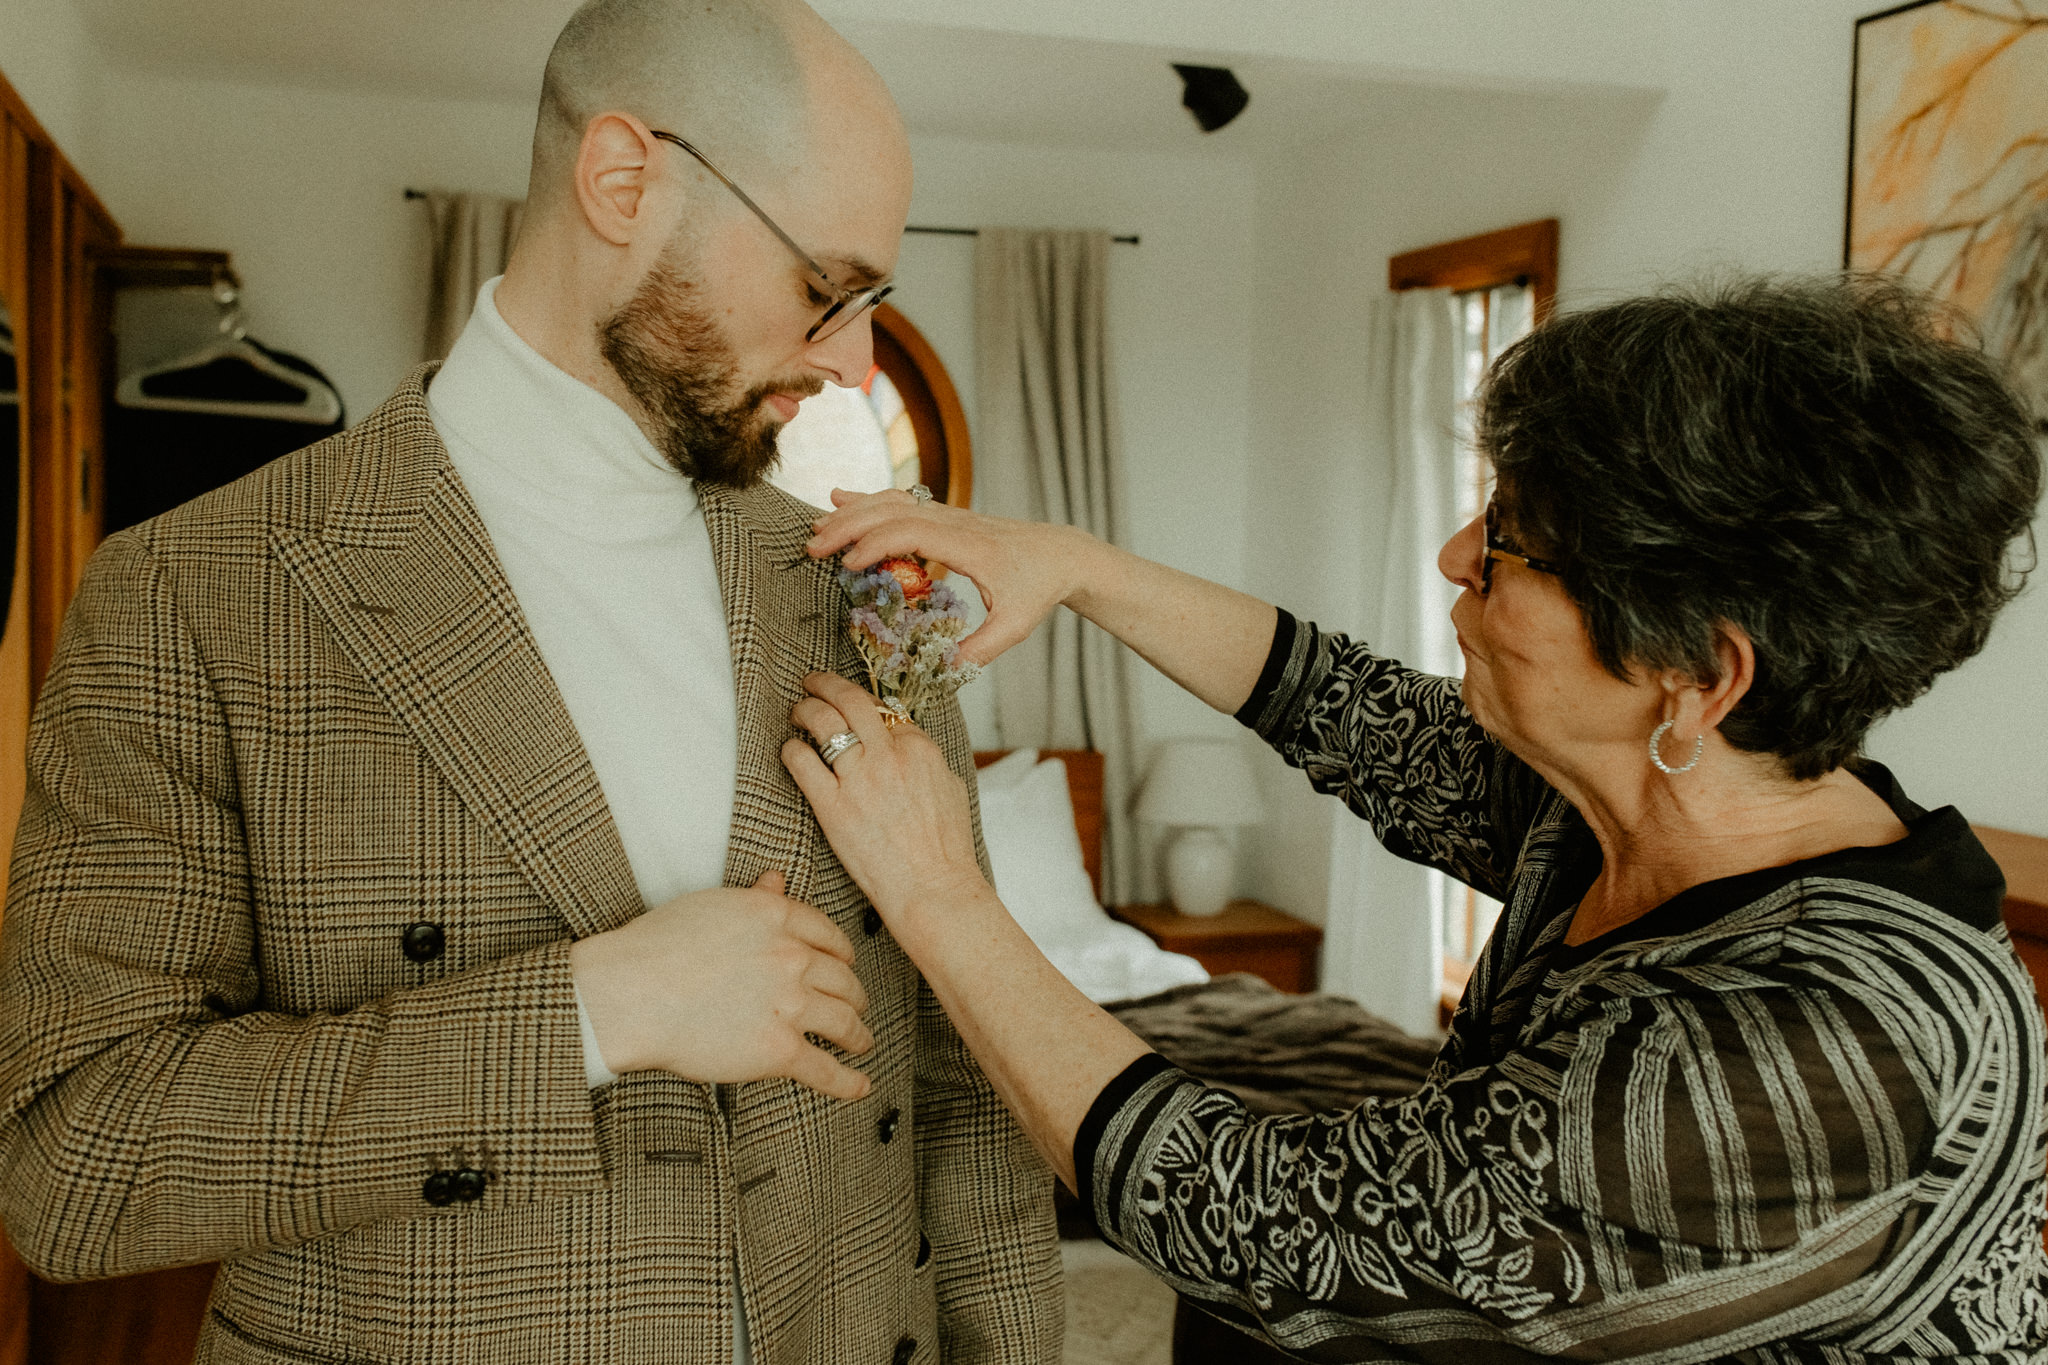
One of my favorite moments from A+D’s day was watching how every detail reflected who they are – including the florals. Instead of ordering pre-made flowers, they spent time just before their ceremony crafting their own dried bouquets and a boutonniere together.
Also? Why don’t we give guys full bouquets? It’s a vibe and should totally be more normal. Boutonnieres are just tiny bouquets anyway, so it’s not even weird.
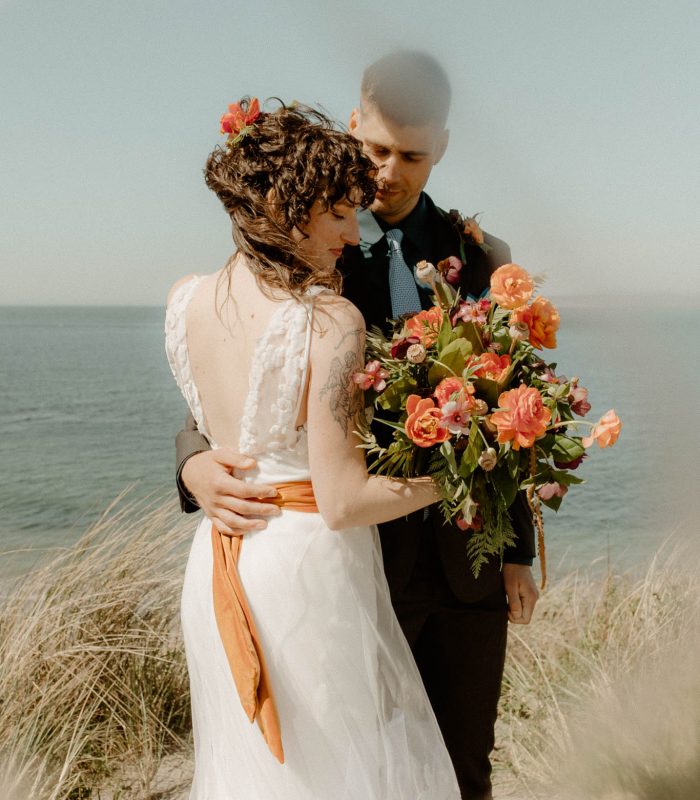
Making your own wedding florals isn’t just a budget-friendly option – it’s a bonding, creative, and super meaningful ritual to share with your partner. And it makes for a fun elopement day activity! Whether you opt for long-lasting dried florals or fresh seasonal blooms, here’s a crash course to making your own gorgeous, photo-ready arrangements.
supplies you’ll need:
- Florals & greenery: dried flowers (like pampas, bunny tails, dried eucalyptus, or preserved roses) or fresh seasonal blooms.
- Floral tape: green or brown stem tape to bind your arrangement securely.
- Floral wire: optional, but super helpful for stabilizing delicate dried stems or shaping boutonnieres.
- Decorative ribbon or fabric: velvet, silk, frayed cotton ribbon, or natural jute twine to finish the look and wrap the stems.
- Meaningful keepsakes/tchotchkes: a small photo locket of a loved one, vintage charms, or heirloom pins to tie into the stems.
- Floral shears/wire cutters: for clean treams.
step-by-step instructions:
- Gather & arrange
Don’t worry about perfection. Play with textures, varying heights, and color palettes that feel like you. Build out from a piece you really like, then add surrounding stems intuitively. - Bind the base
Once you like the shape, use floral tape to tightly bind the stems together near the top of the handle. Pull the tape slightly as your wrap – it activates the adhesive to hold everything tightly so no stray stems fall out mid-vows! - Tailor your boutonnieres
When assembling your boutonniere, pay attention to scale and lay. Keep in mind this will sit flat against a suit jacket lapel – try to arrange it with a flat back and keep it slim so it doesn’t flop forward or bulge unnaturally. When you wrap the stems, go easy on the jute because it gets very thick very fast, making it difficult to pin to the lapel. Don’t forget at least two long boutonniere pins. - Hide the mechanics
Wrap your decorative ribbon, silk strip, or rustic jute cord over the floral tape, completely concealing it. Secure it with a dab of hot glue and attach any sentimental lockets or charms.
Pro-Tips for fresh vs. dried florals
- Dried florals: you can make these weeks or even months in advance if you need to. Store them in a cool, dry place out of direct sunlight to prevent fading or brittleness.
- Fresh florals timing: purchase your fresh flowers as close to gameday as possible (1-2 days max depending on the type of flower) and assemble them the day before.
- Storage: Keep assembled fresh bouquets in a vase of cool water inside a refrigerator or a very cool room. Place fresh boutonnieres in an airtight container or sealable plastic baggie lined with a lightly damp paper towel, then pop them in the fridge to stay crisp.
A crucial photo day tip for fresh bouquets: Before grabbing your bouquet out of the vase, always dab the bottom of fresh stems on a towel after removing them from a water vase! Wet stem ends can leave stubborn water spots on silk, satin, or delicate suit fabrics – satin is especially unforgiving!